Workbench
My garage is pretty small and I use it for a home office, gym, storage, and a workshop.
I wanted a workbench that was both space efficient for storage but also easy to use for a variety of types of projects. Most commonly, this space would be for software, electronics, and 3d printed projects, but I also wanted the space to accomodate woodworking projects, as well as provide a surface for project car work.
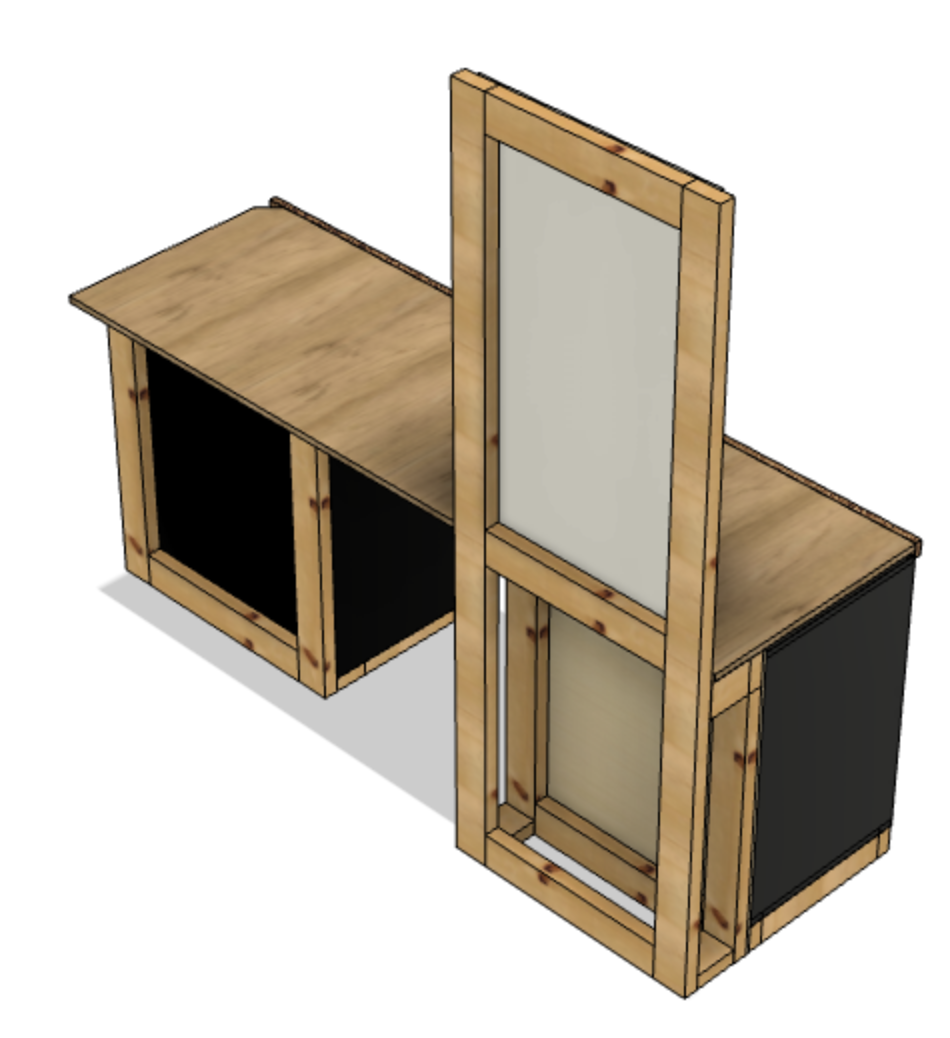
I took a stab at designing a simple workbench that incorporated some Husky tool drawers that I had been using as my main tool storage. I planned for a tool cabinet to be used opposite this tool drawer to provide additional storage space. I also designed it so my shop vac could be stored underneath the bench for easy use when working at the bench as well as convenient storage. Finally, I designed a pegboard extension that could be mounted to the workbench to provide a structure for a freestanding pegbaord. A
This is what I came up with.
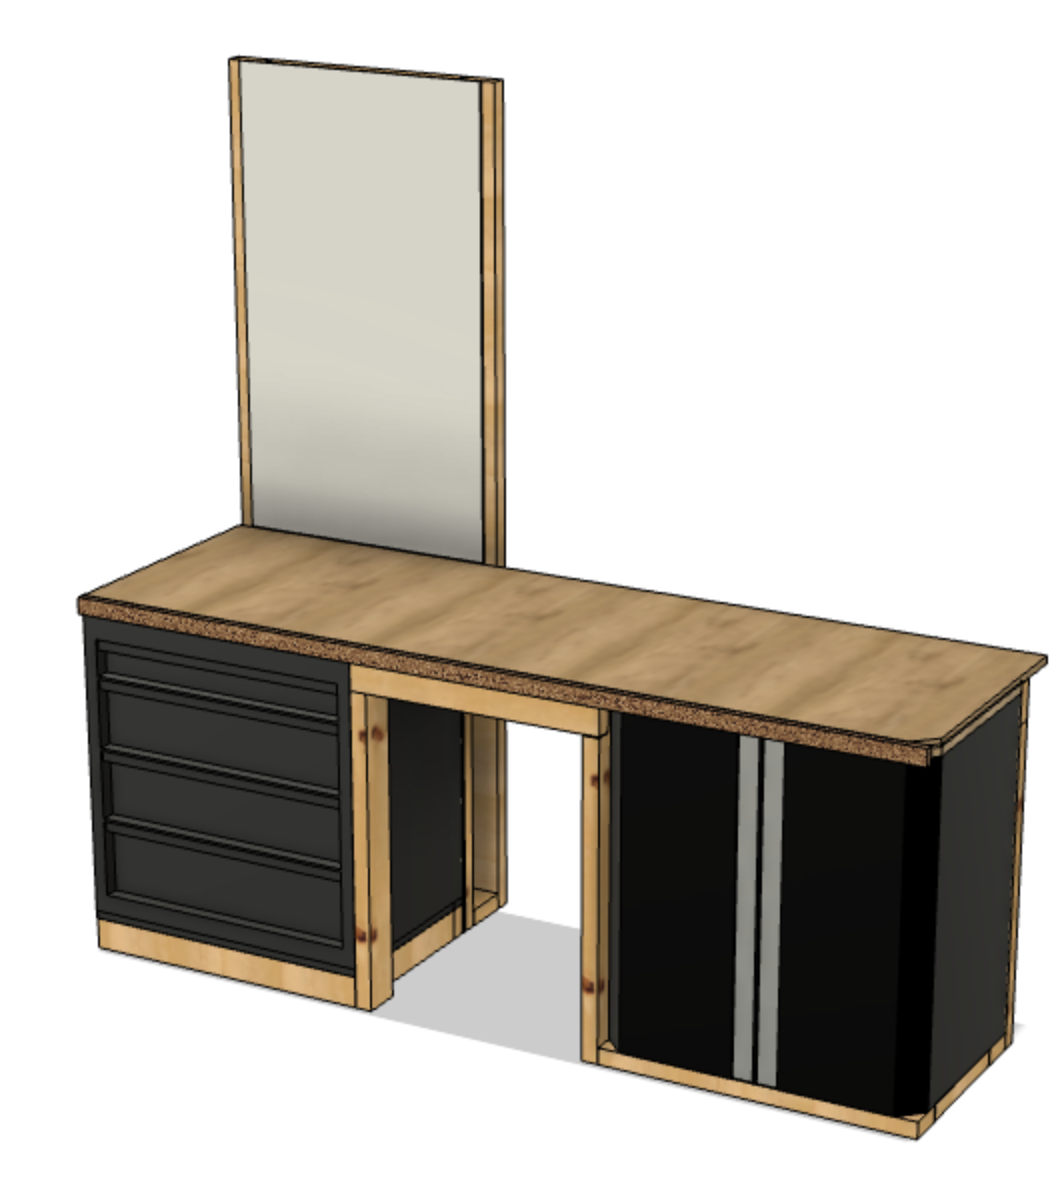
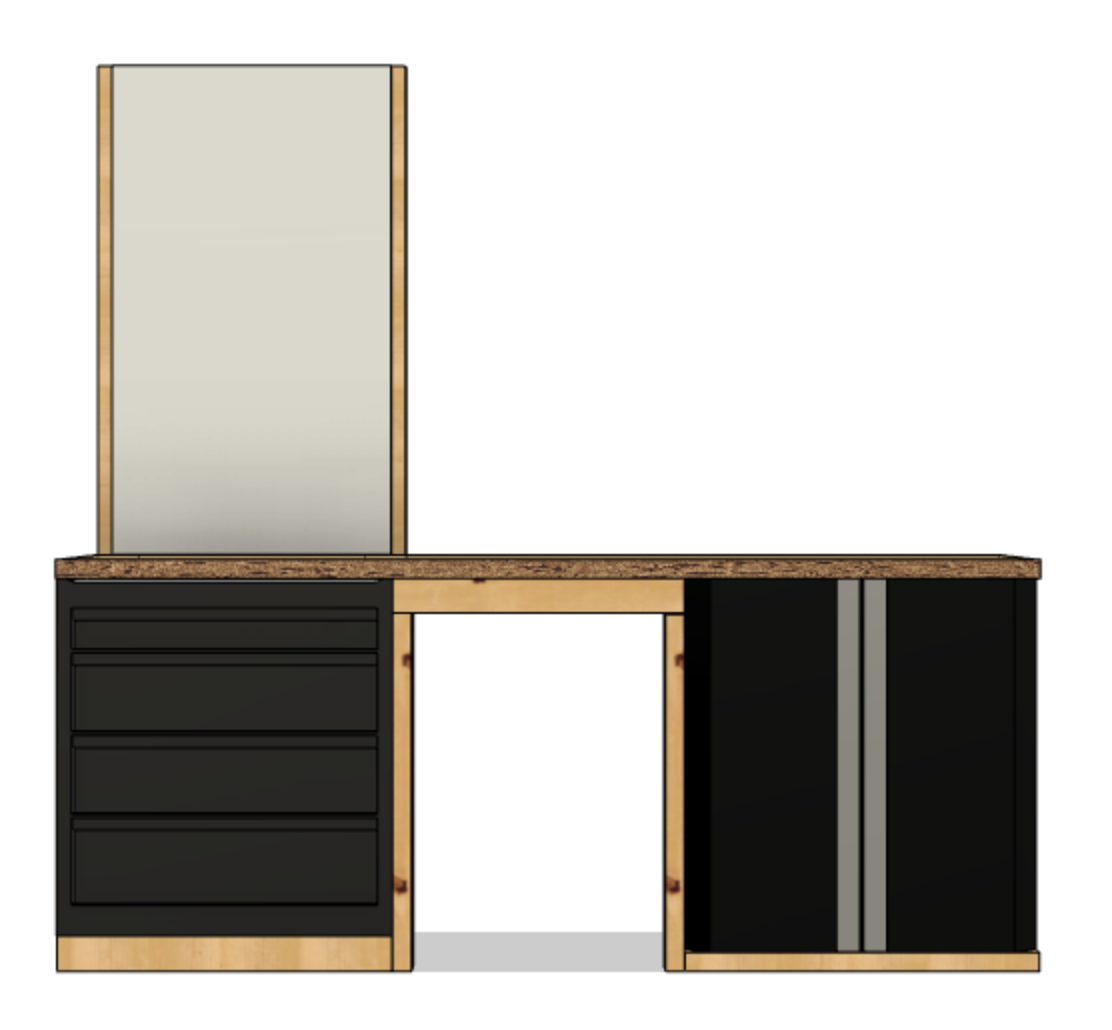
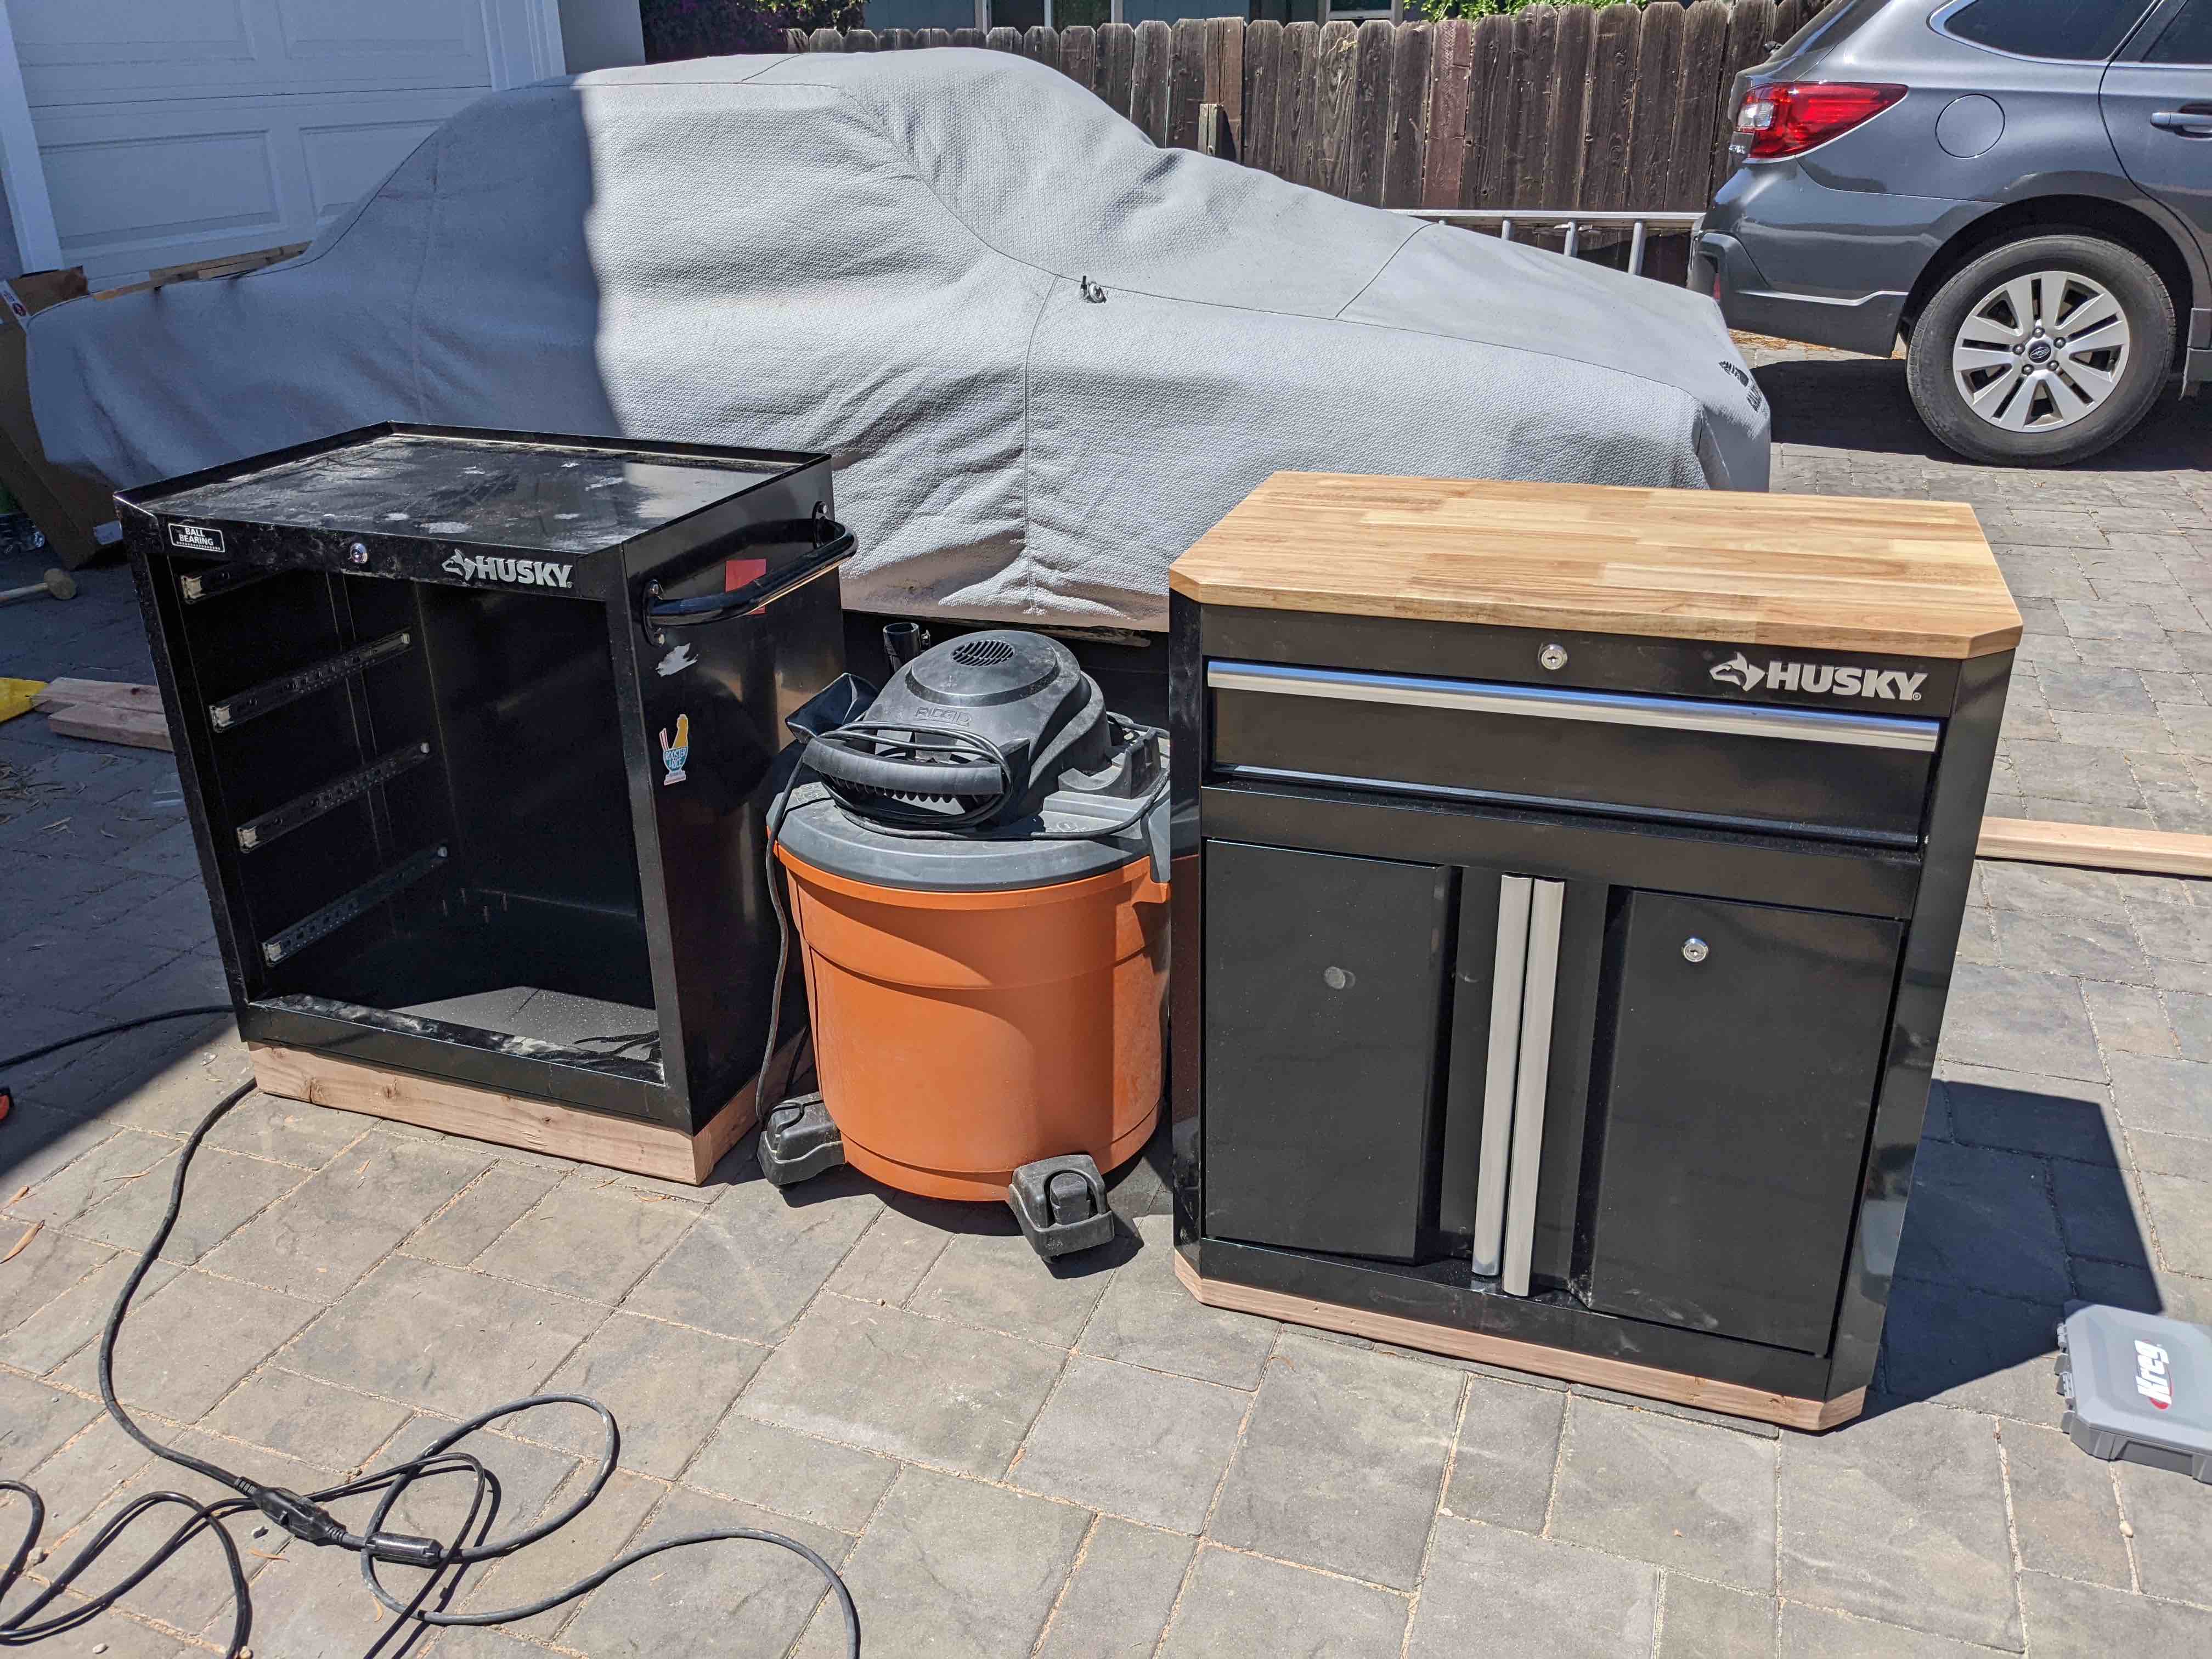
The workbench surface measures 77.4" wide, 24" deep, and sits at 32.5" high. There are 23" in between the drawer and cabinet, which is just about 1" more than I need to place the shop vac.
The surface itself is relatively thin for a workbench: 23/32" thick plywood with a 1/8" thick layer of hardwood. This is more than sufficient to provide a surface for the majority of my projects but will likely be insufficient for things that require more impact or force. The base of the workbench itself seemed like the weak structural link (the drawers and cabinet) so I did not find it necessary to make the top stronger. Due to space constraints, the inclusion of the drawers, cabinet, and shop vac space were one of my top priorities.
Workbench Build
- Husky tool drawers (I have an older model with slightly different dimensions)
- Husky tool cabinet
- (8) 8ft 2x4s - I ended up getting 9 since I miscut a piece :)
- 23/32" plywood sheet
- 1" nominal thick common board - this was used to match heights of the tops of the drawer and cabinet. The thickness here depends on the specifics of the units.
- Hardboard sheet - used as a top layer over the plywood sheet. I was originally going to get tempered hardboard for its durability but ended up a standard hardboard sheet since tempered hardboard looks pretty ugly.
- Pegboard (24" x 42")
I started by putting together the bases for the drawer and cabinet units. Due to the difference in height, the base of the (shorter) drawer used the 2x4s standing up on their side to provide 3.5" of height while the (taller) cabinet used the 2x4s laying on their side to provide 1.5" of height.
On the underside of the drawers, there are two spines that run down the width of the unit. I had to cut slits in the drawer base to fit around these spines.

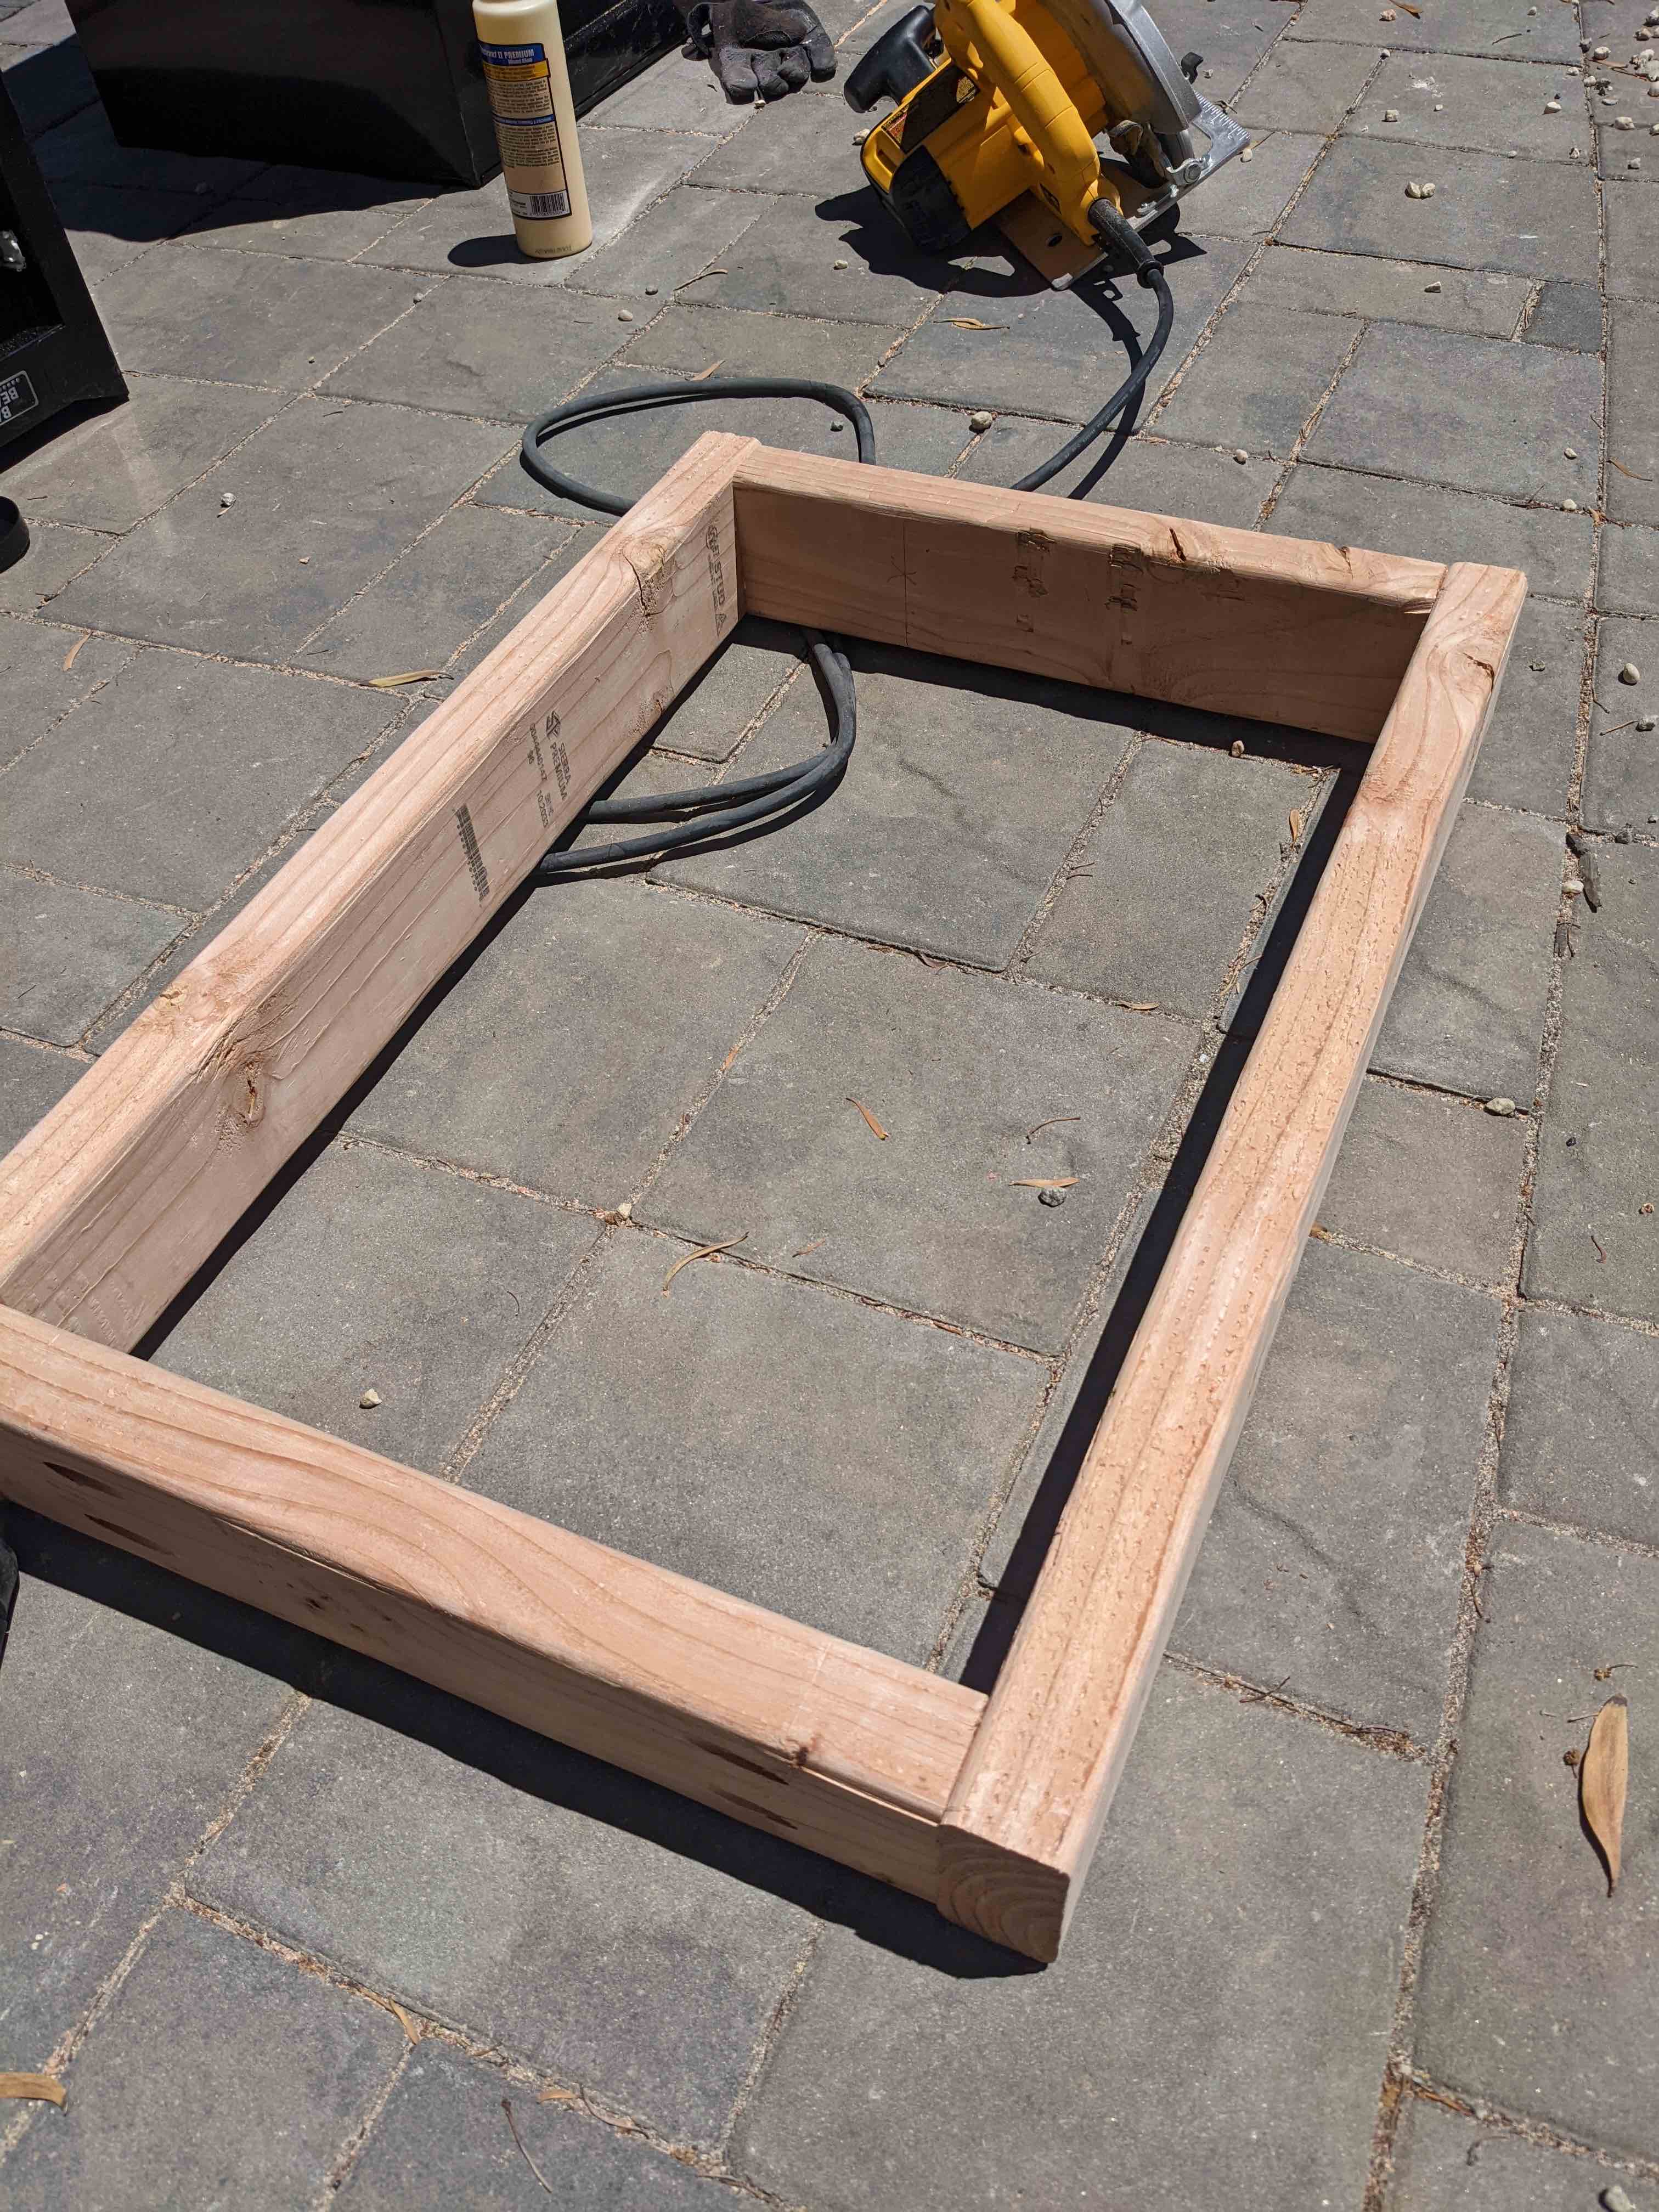
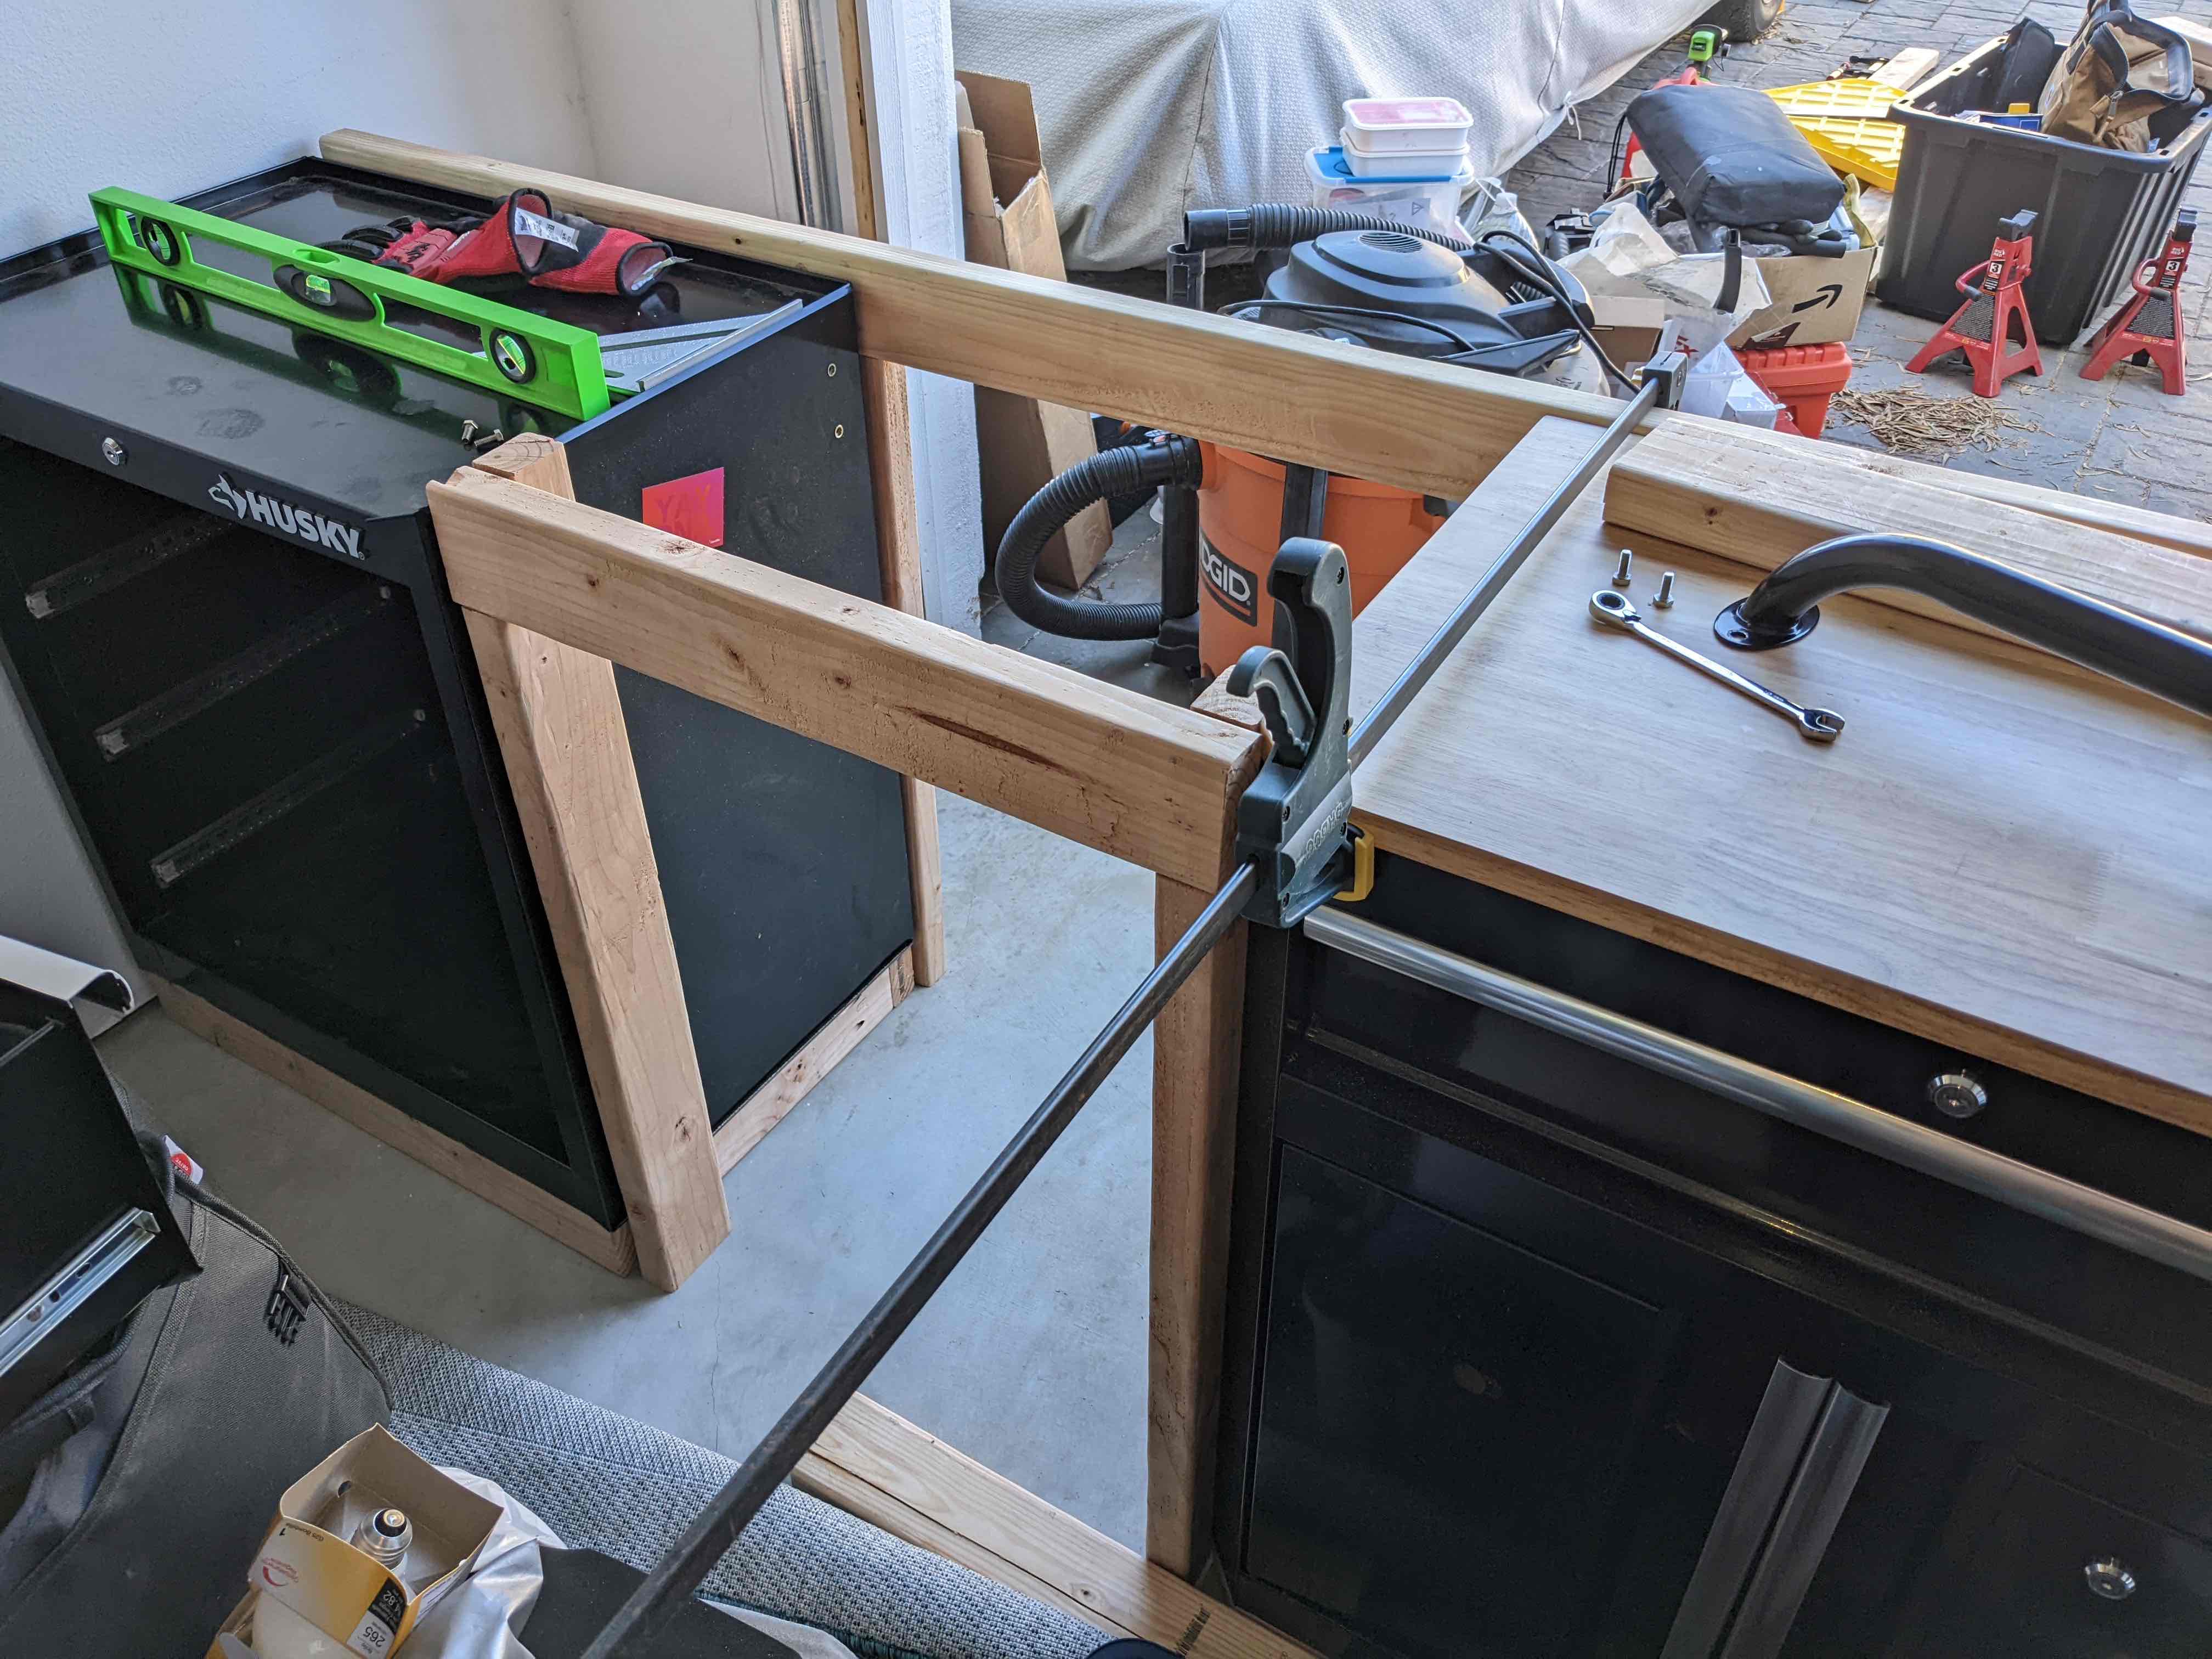
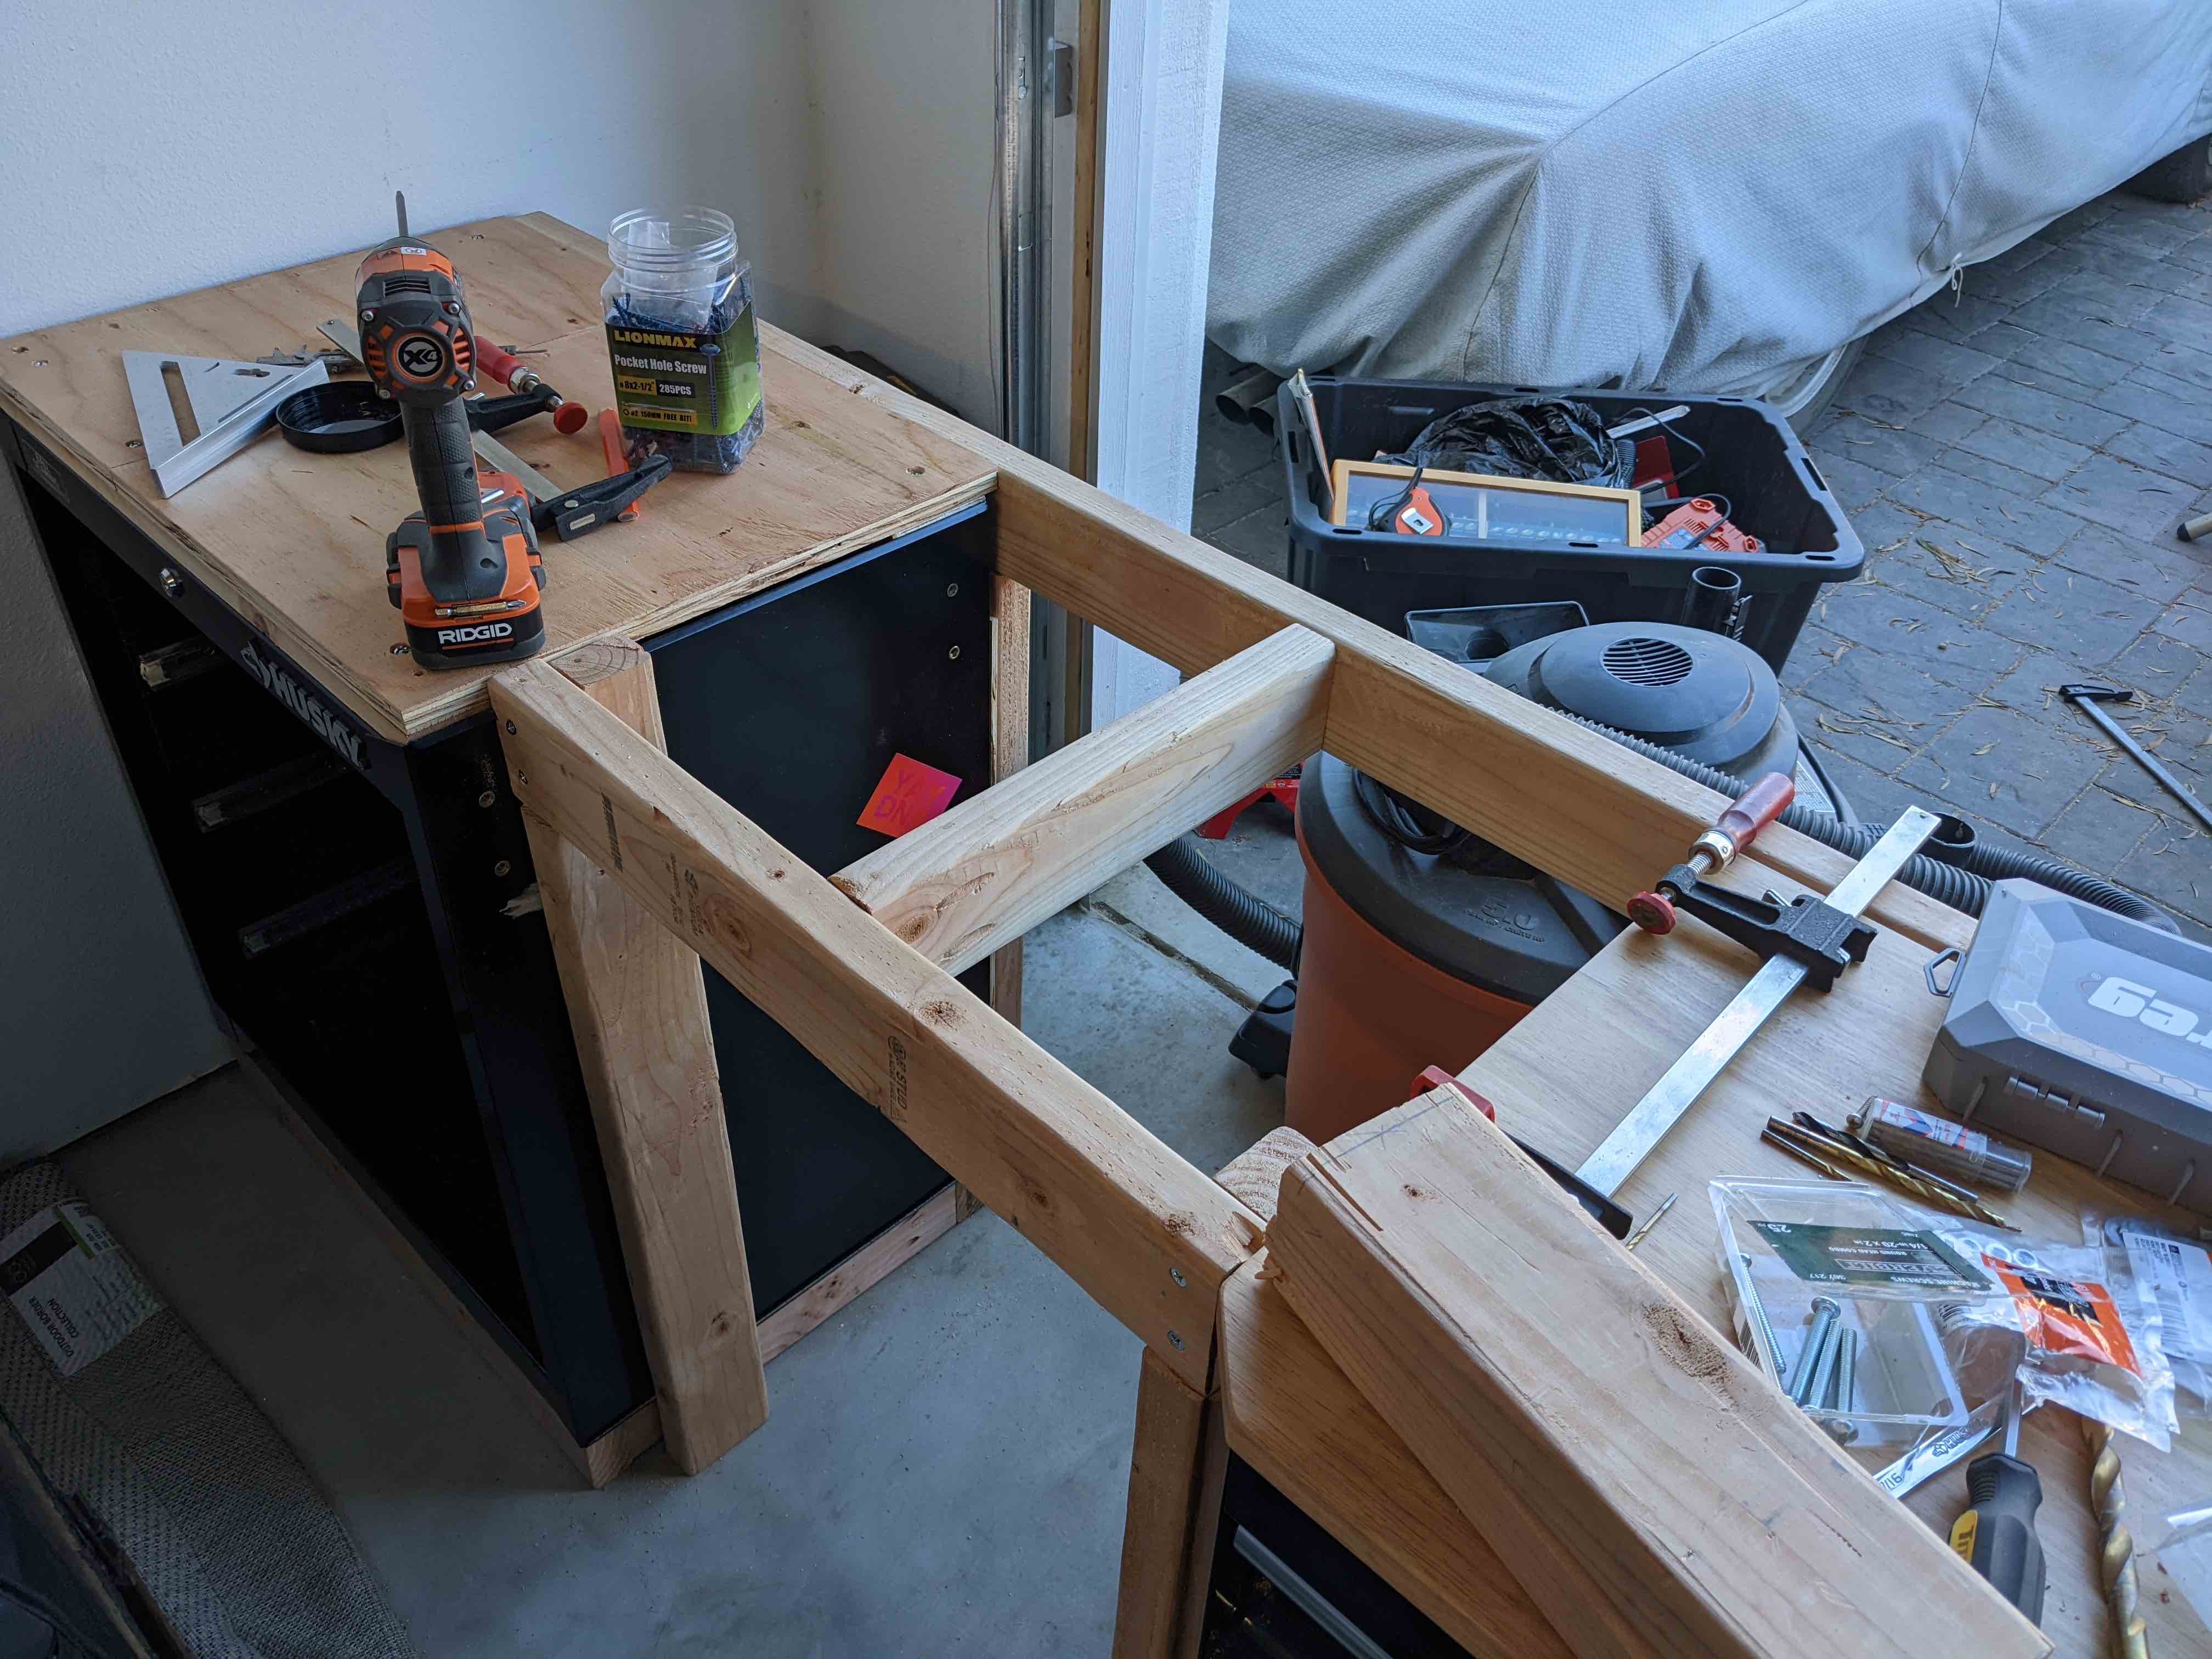
Next, I put together the frames that hold the back support beam in place. These both are set up so they are 3.5" shorter than the height of the cabinet top. This is to allow space for a horizontally running 2x4. The cabinet is also around .375" deeper than the drawers, so the back frame on the drawers actually sits off the drawer a little. When we attach the frames to the cabinet/drawers later, I add a shim on the drawer side to account for this difference.
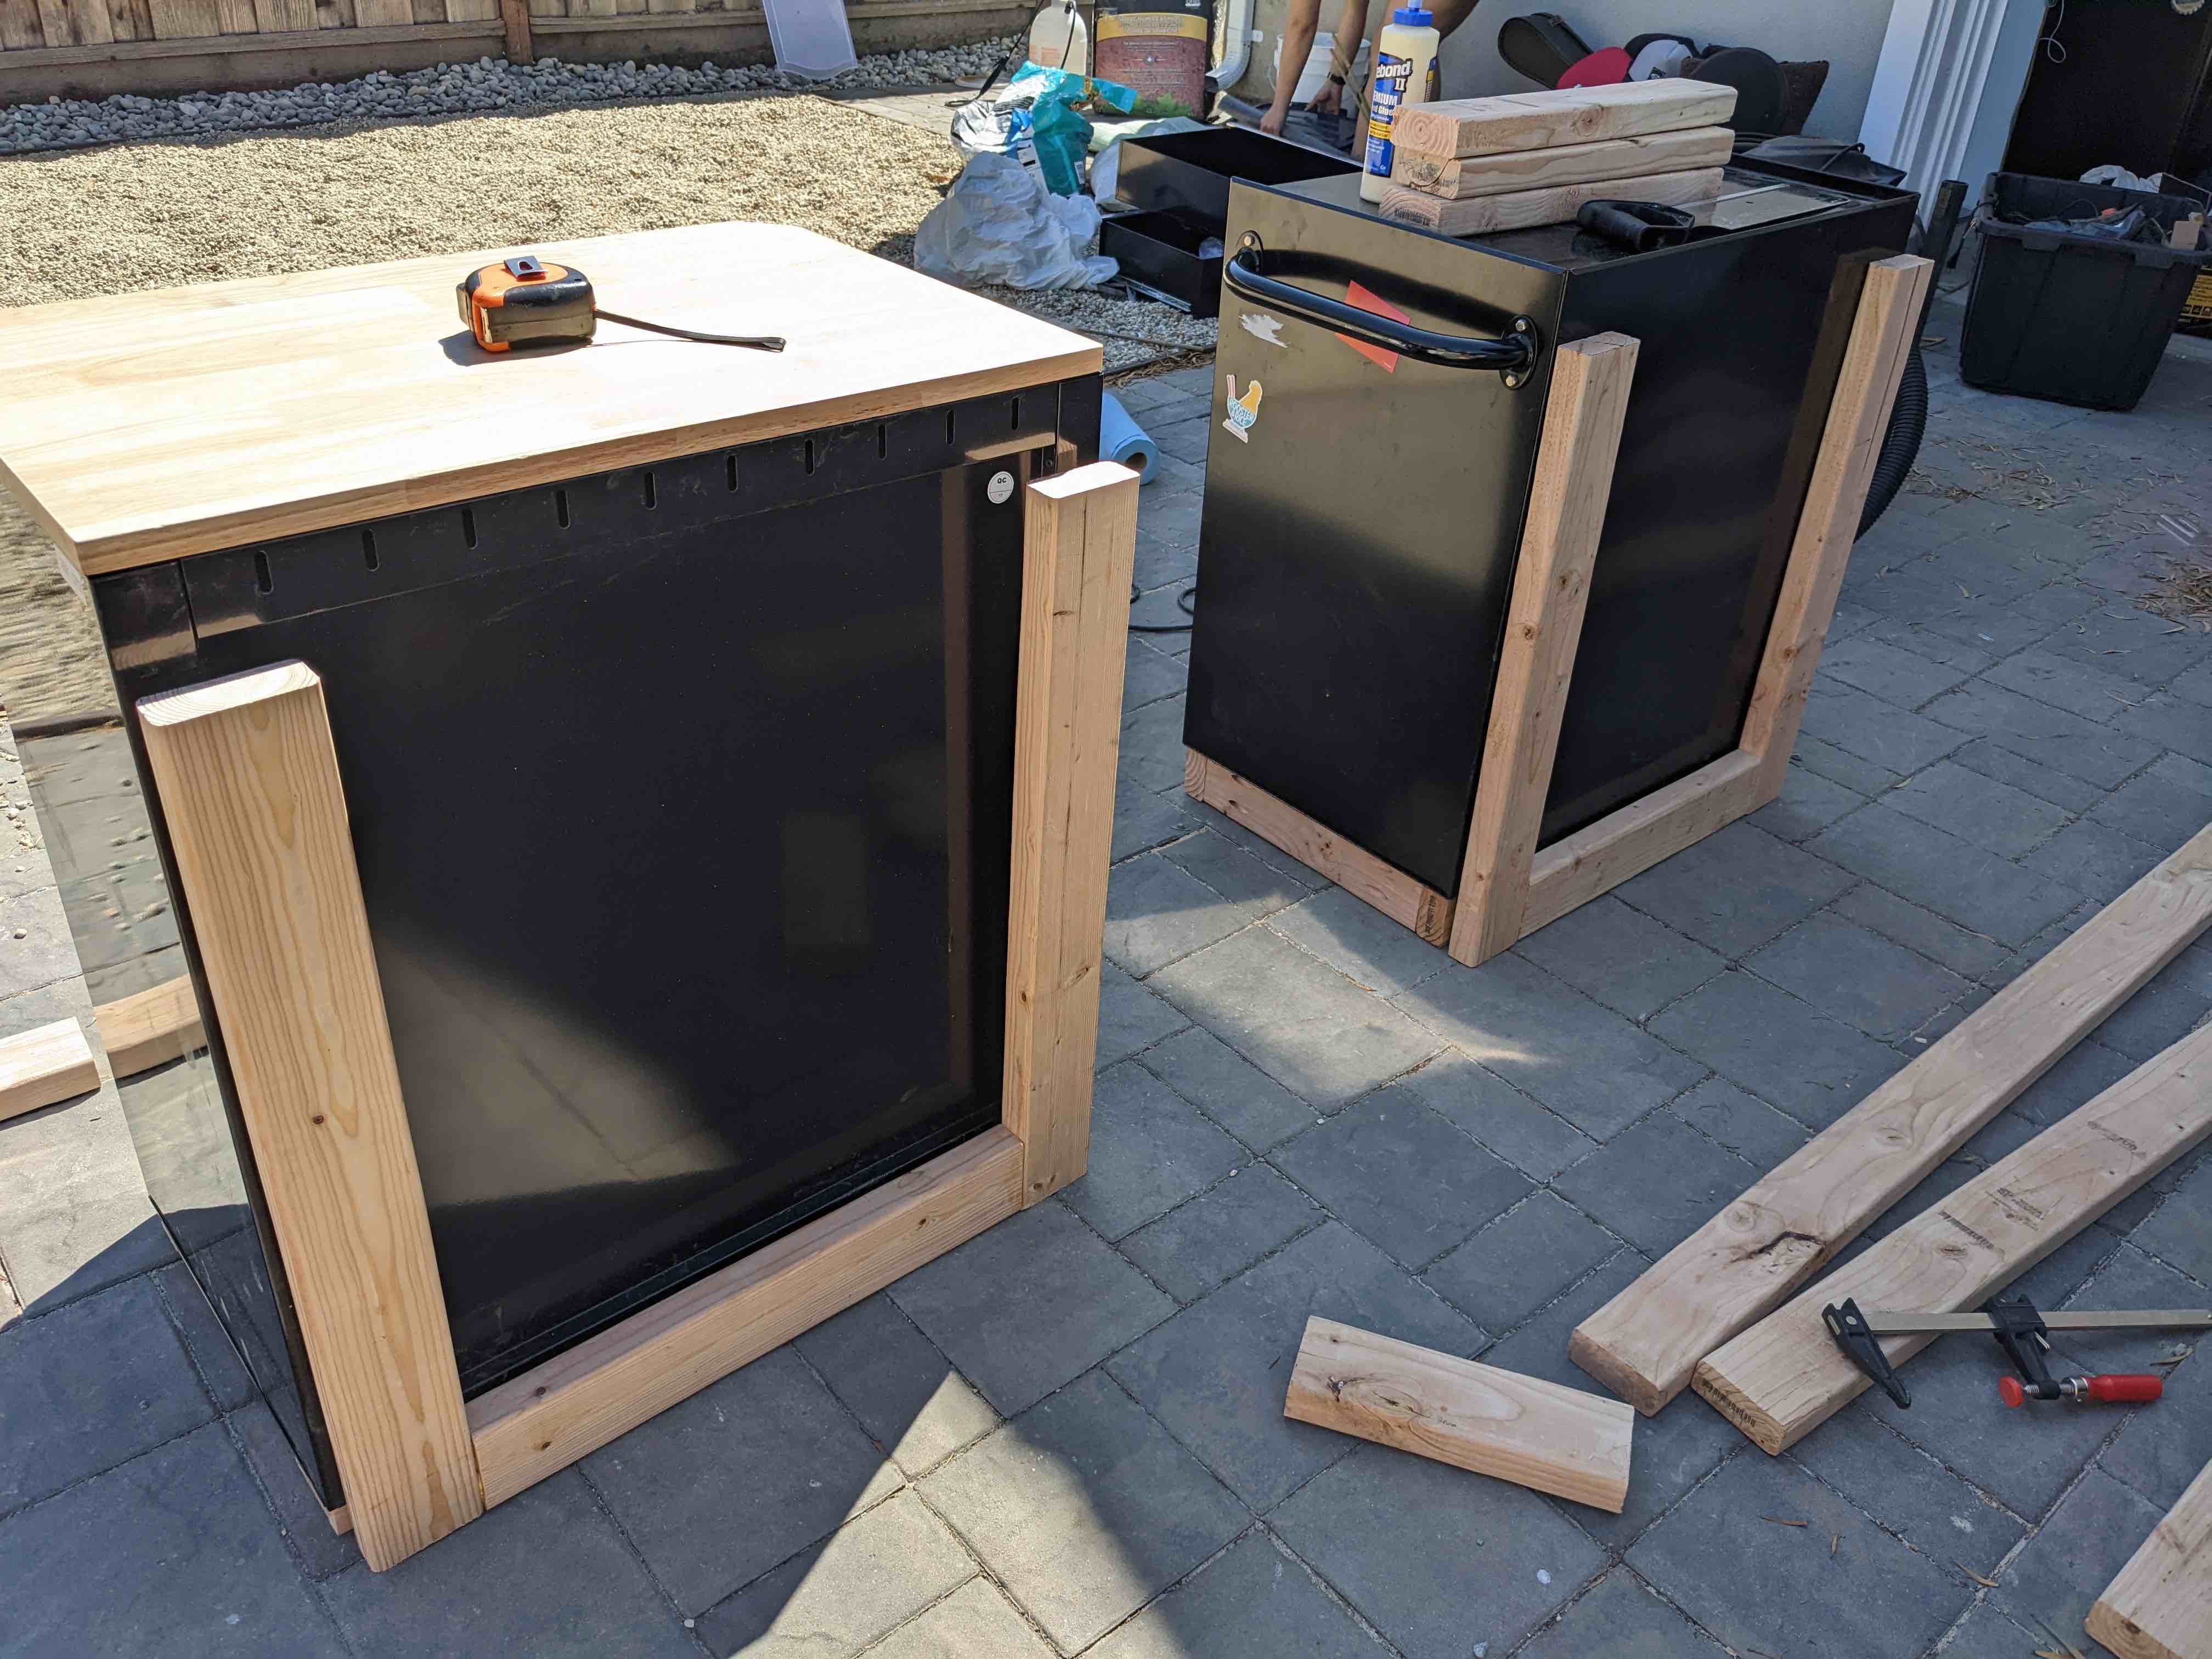
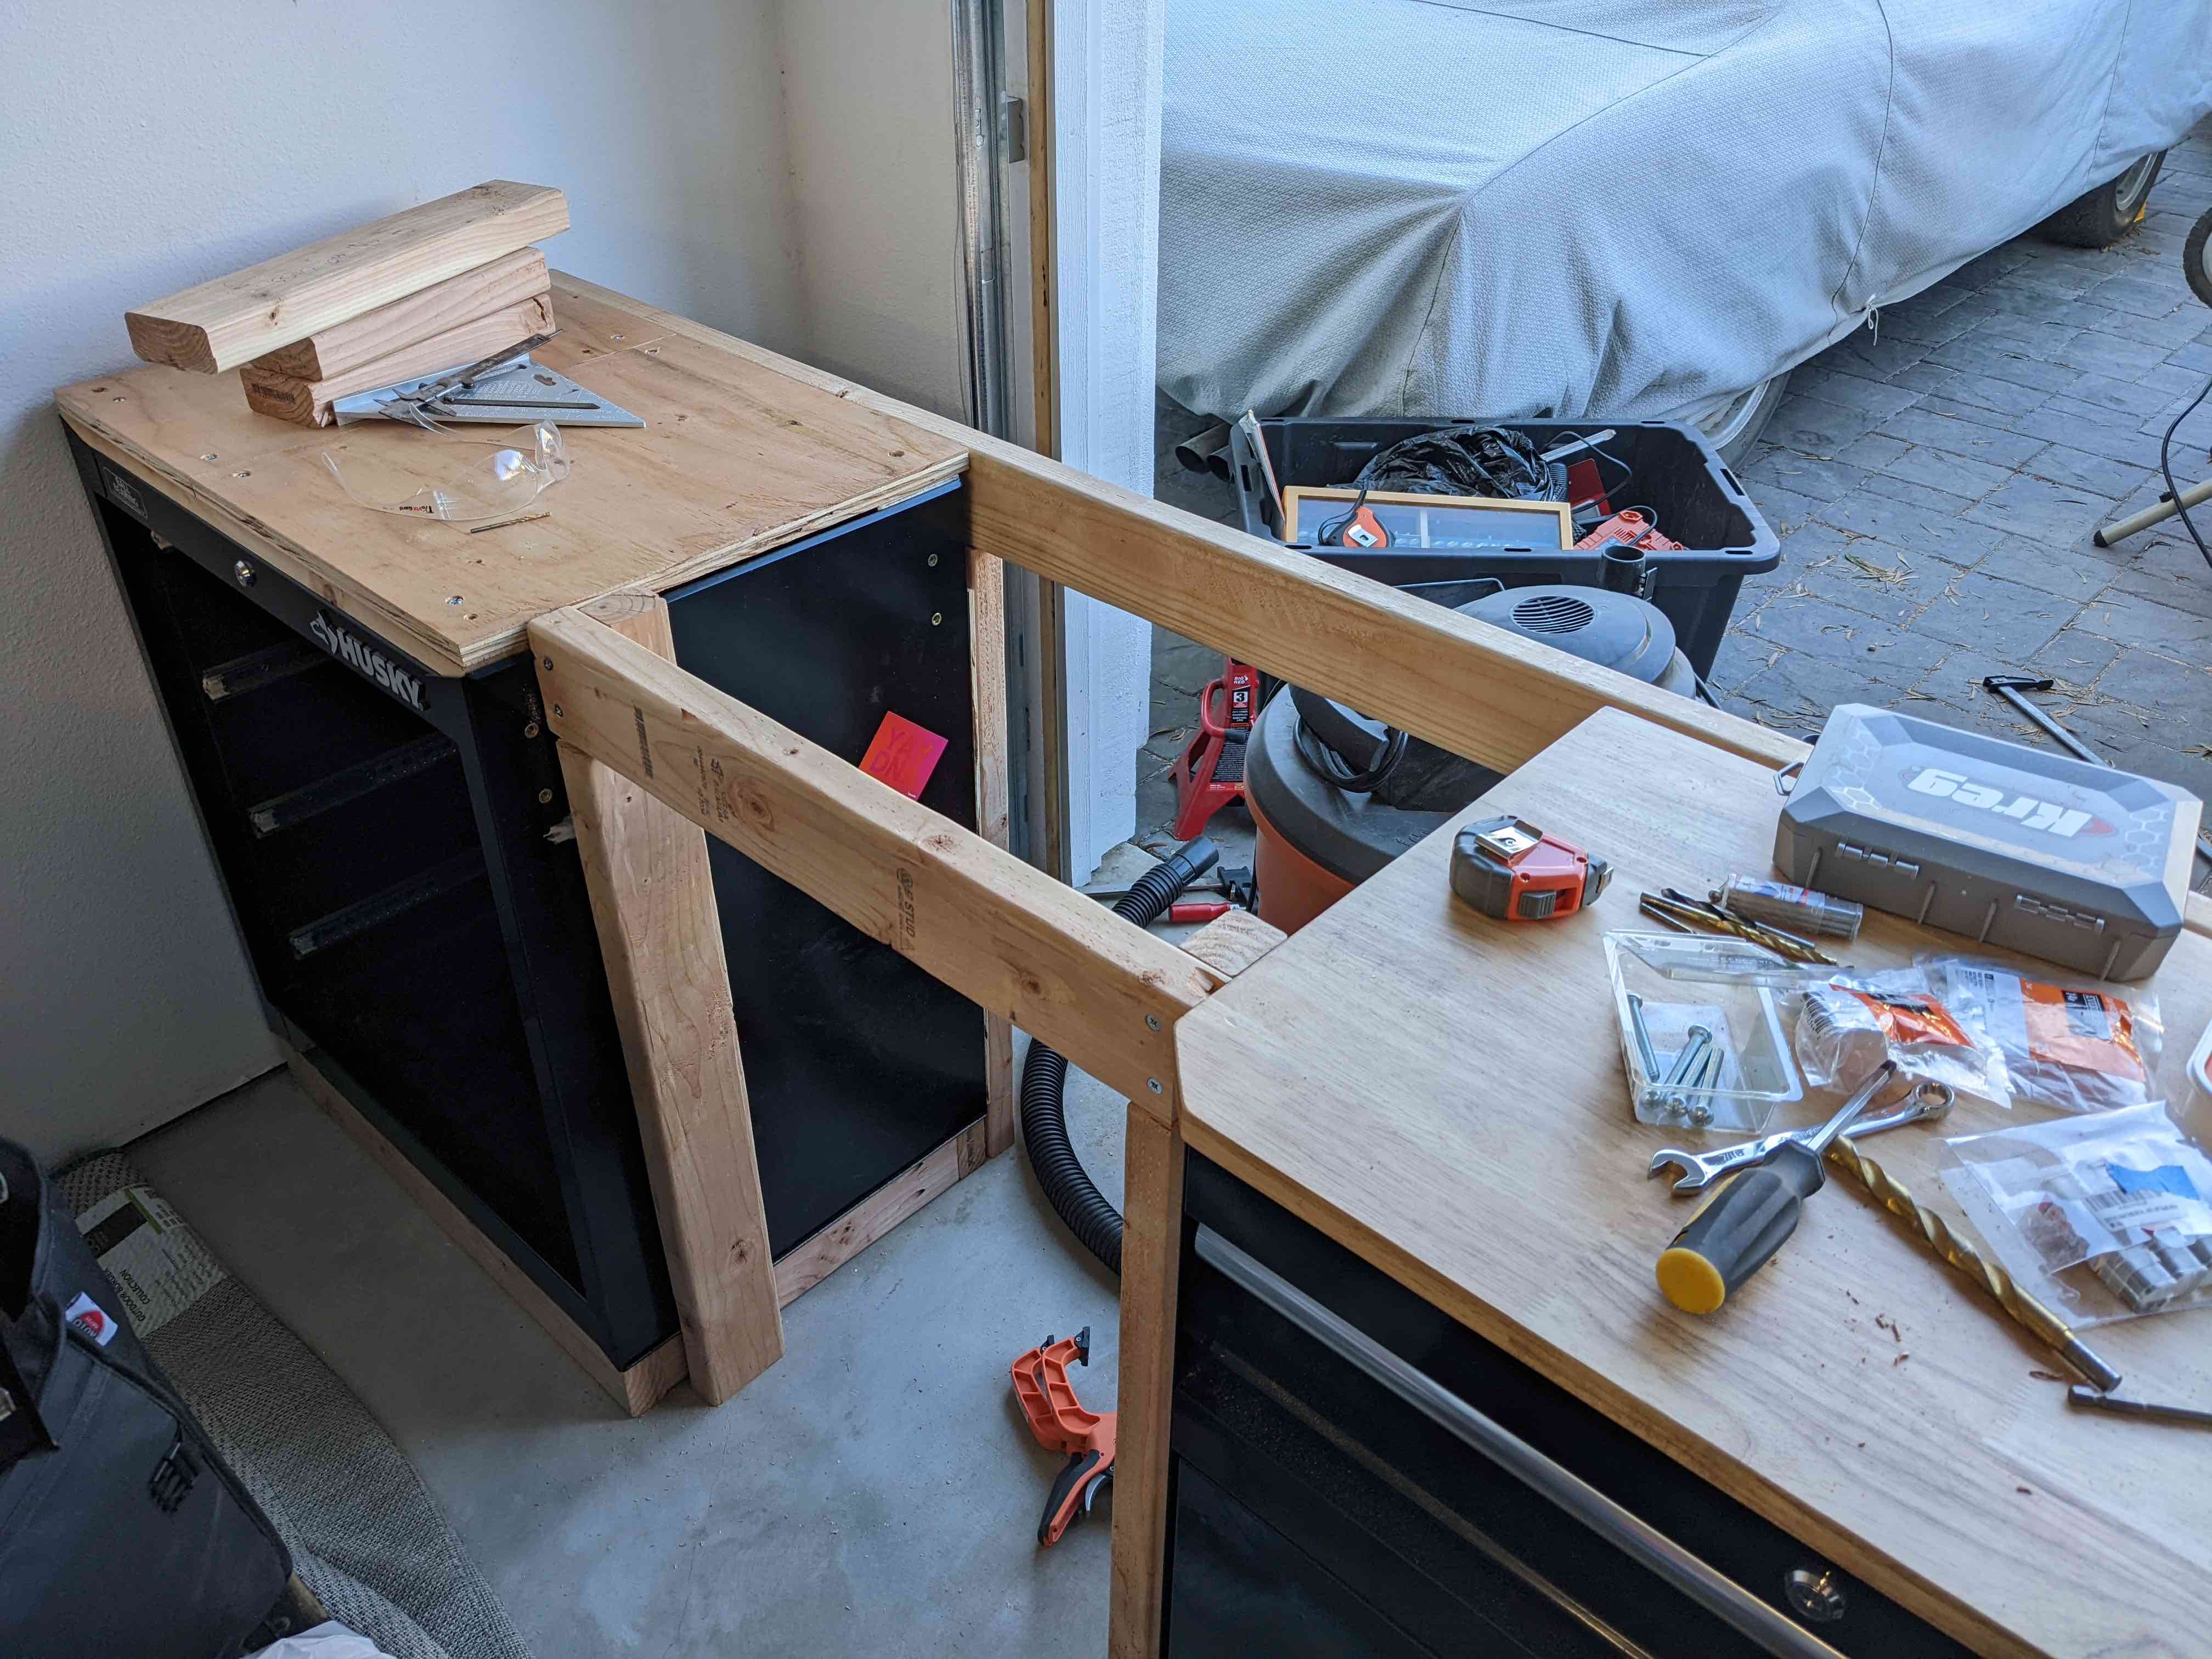
With the bases and backframes in place, I set the units up to get a feed for how it would look once it's all in place. This is how the pieces would sit relative to one another. I also threw in the shop vac that I intended to have sit in between the two pieces.
When completed, the shop vac will actually be set back about 6". This is because the top surface has a 6" overhang on the backside which isn't being accounted for at this point.
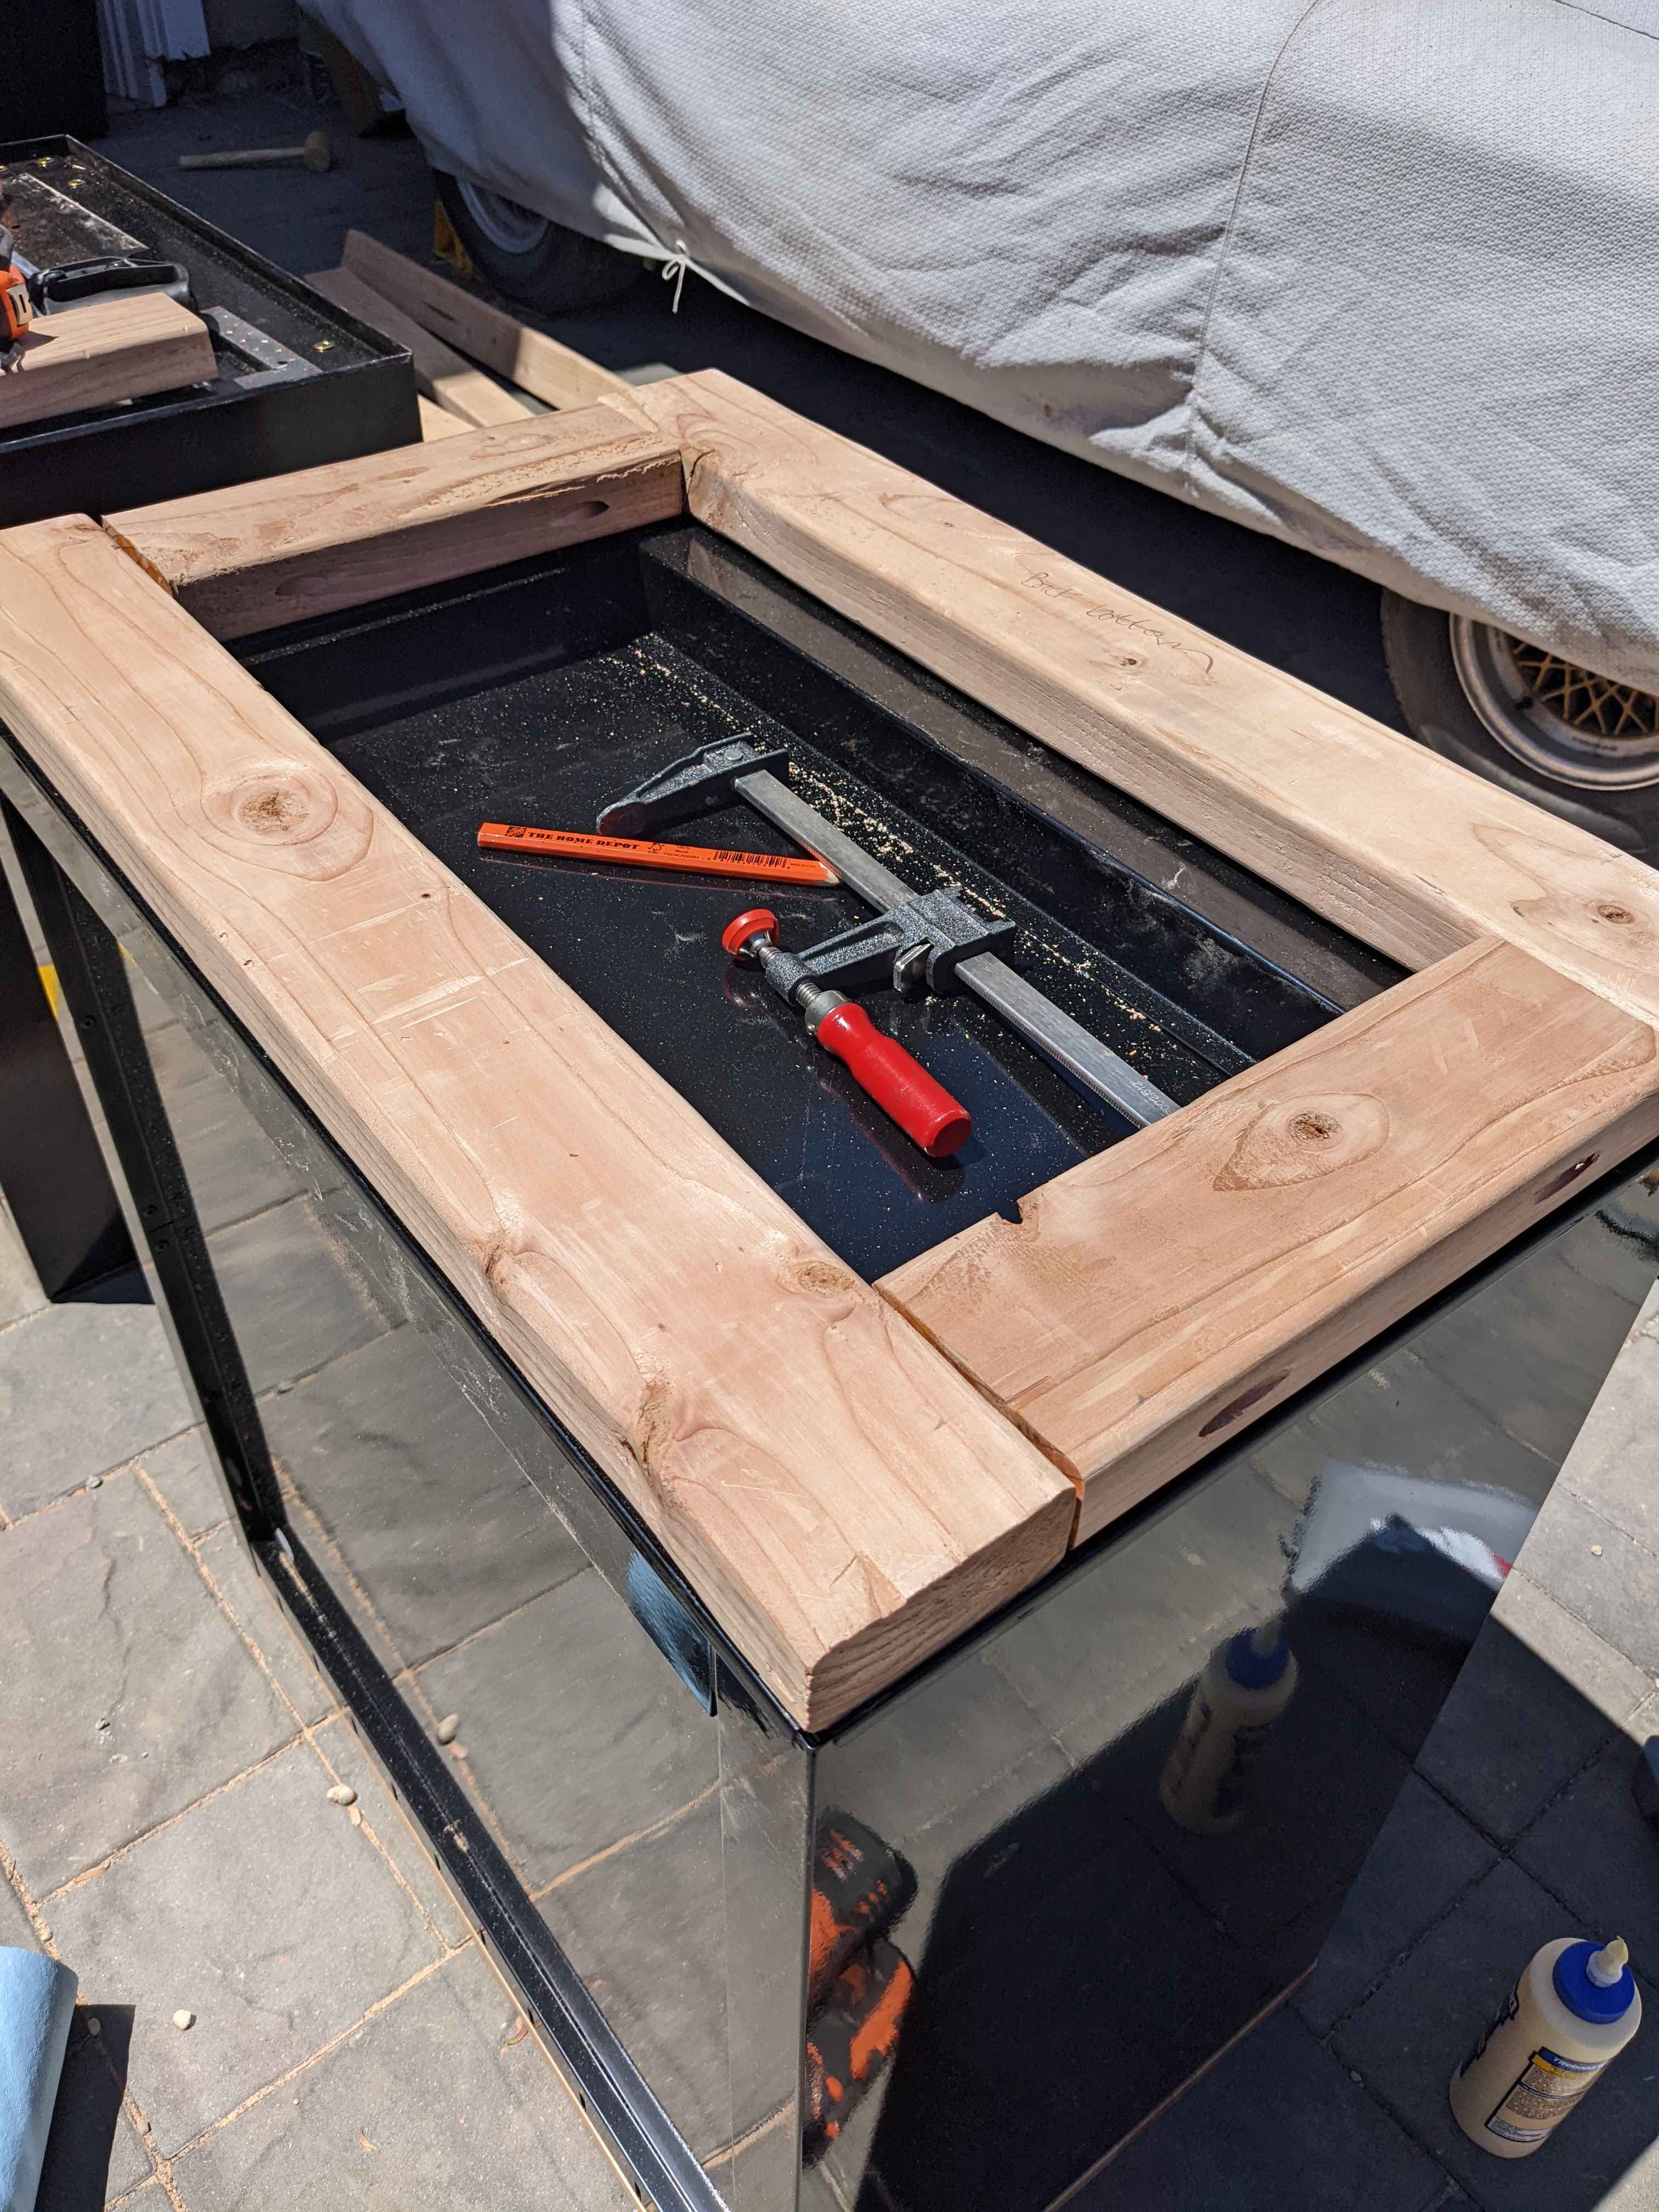
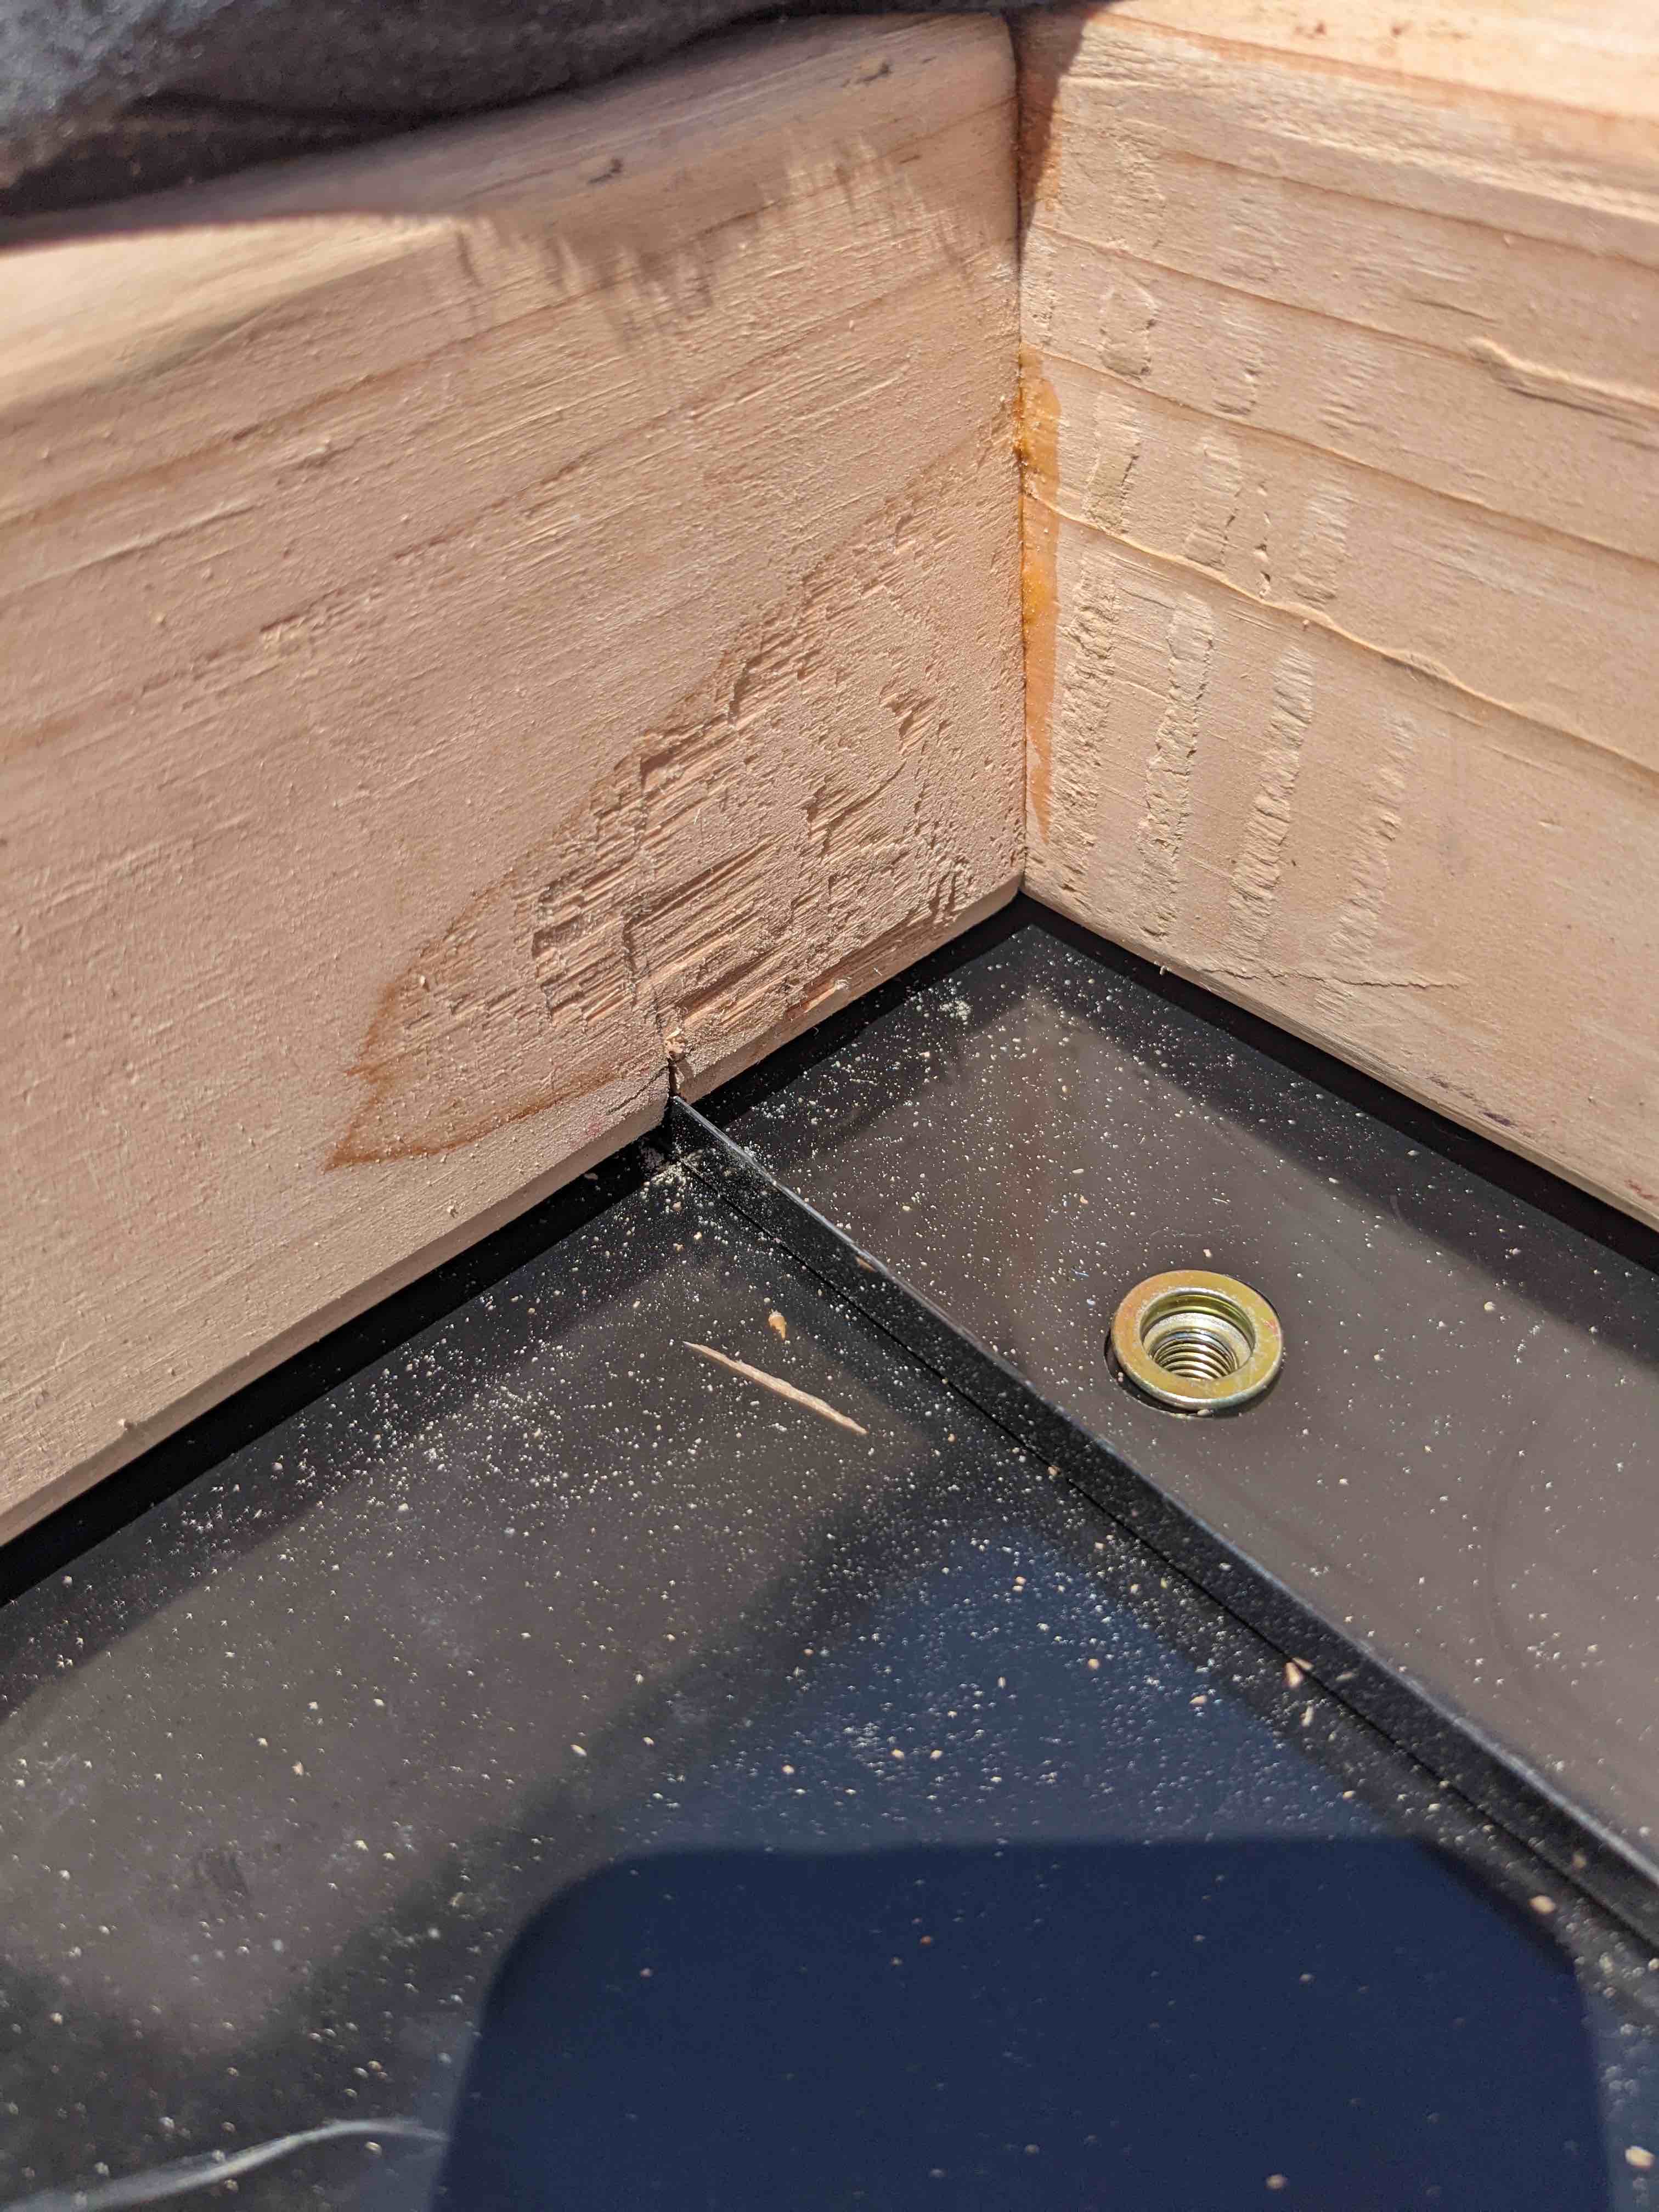
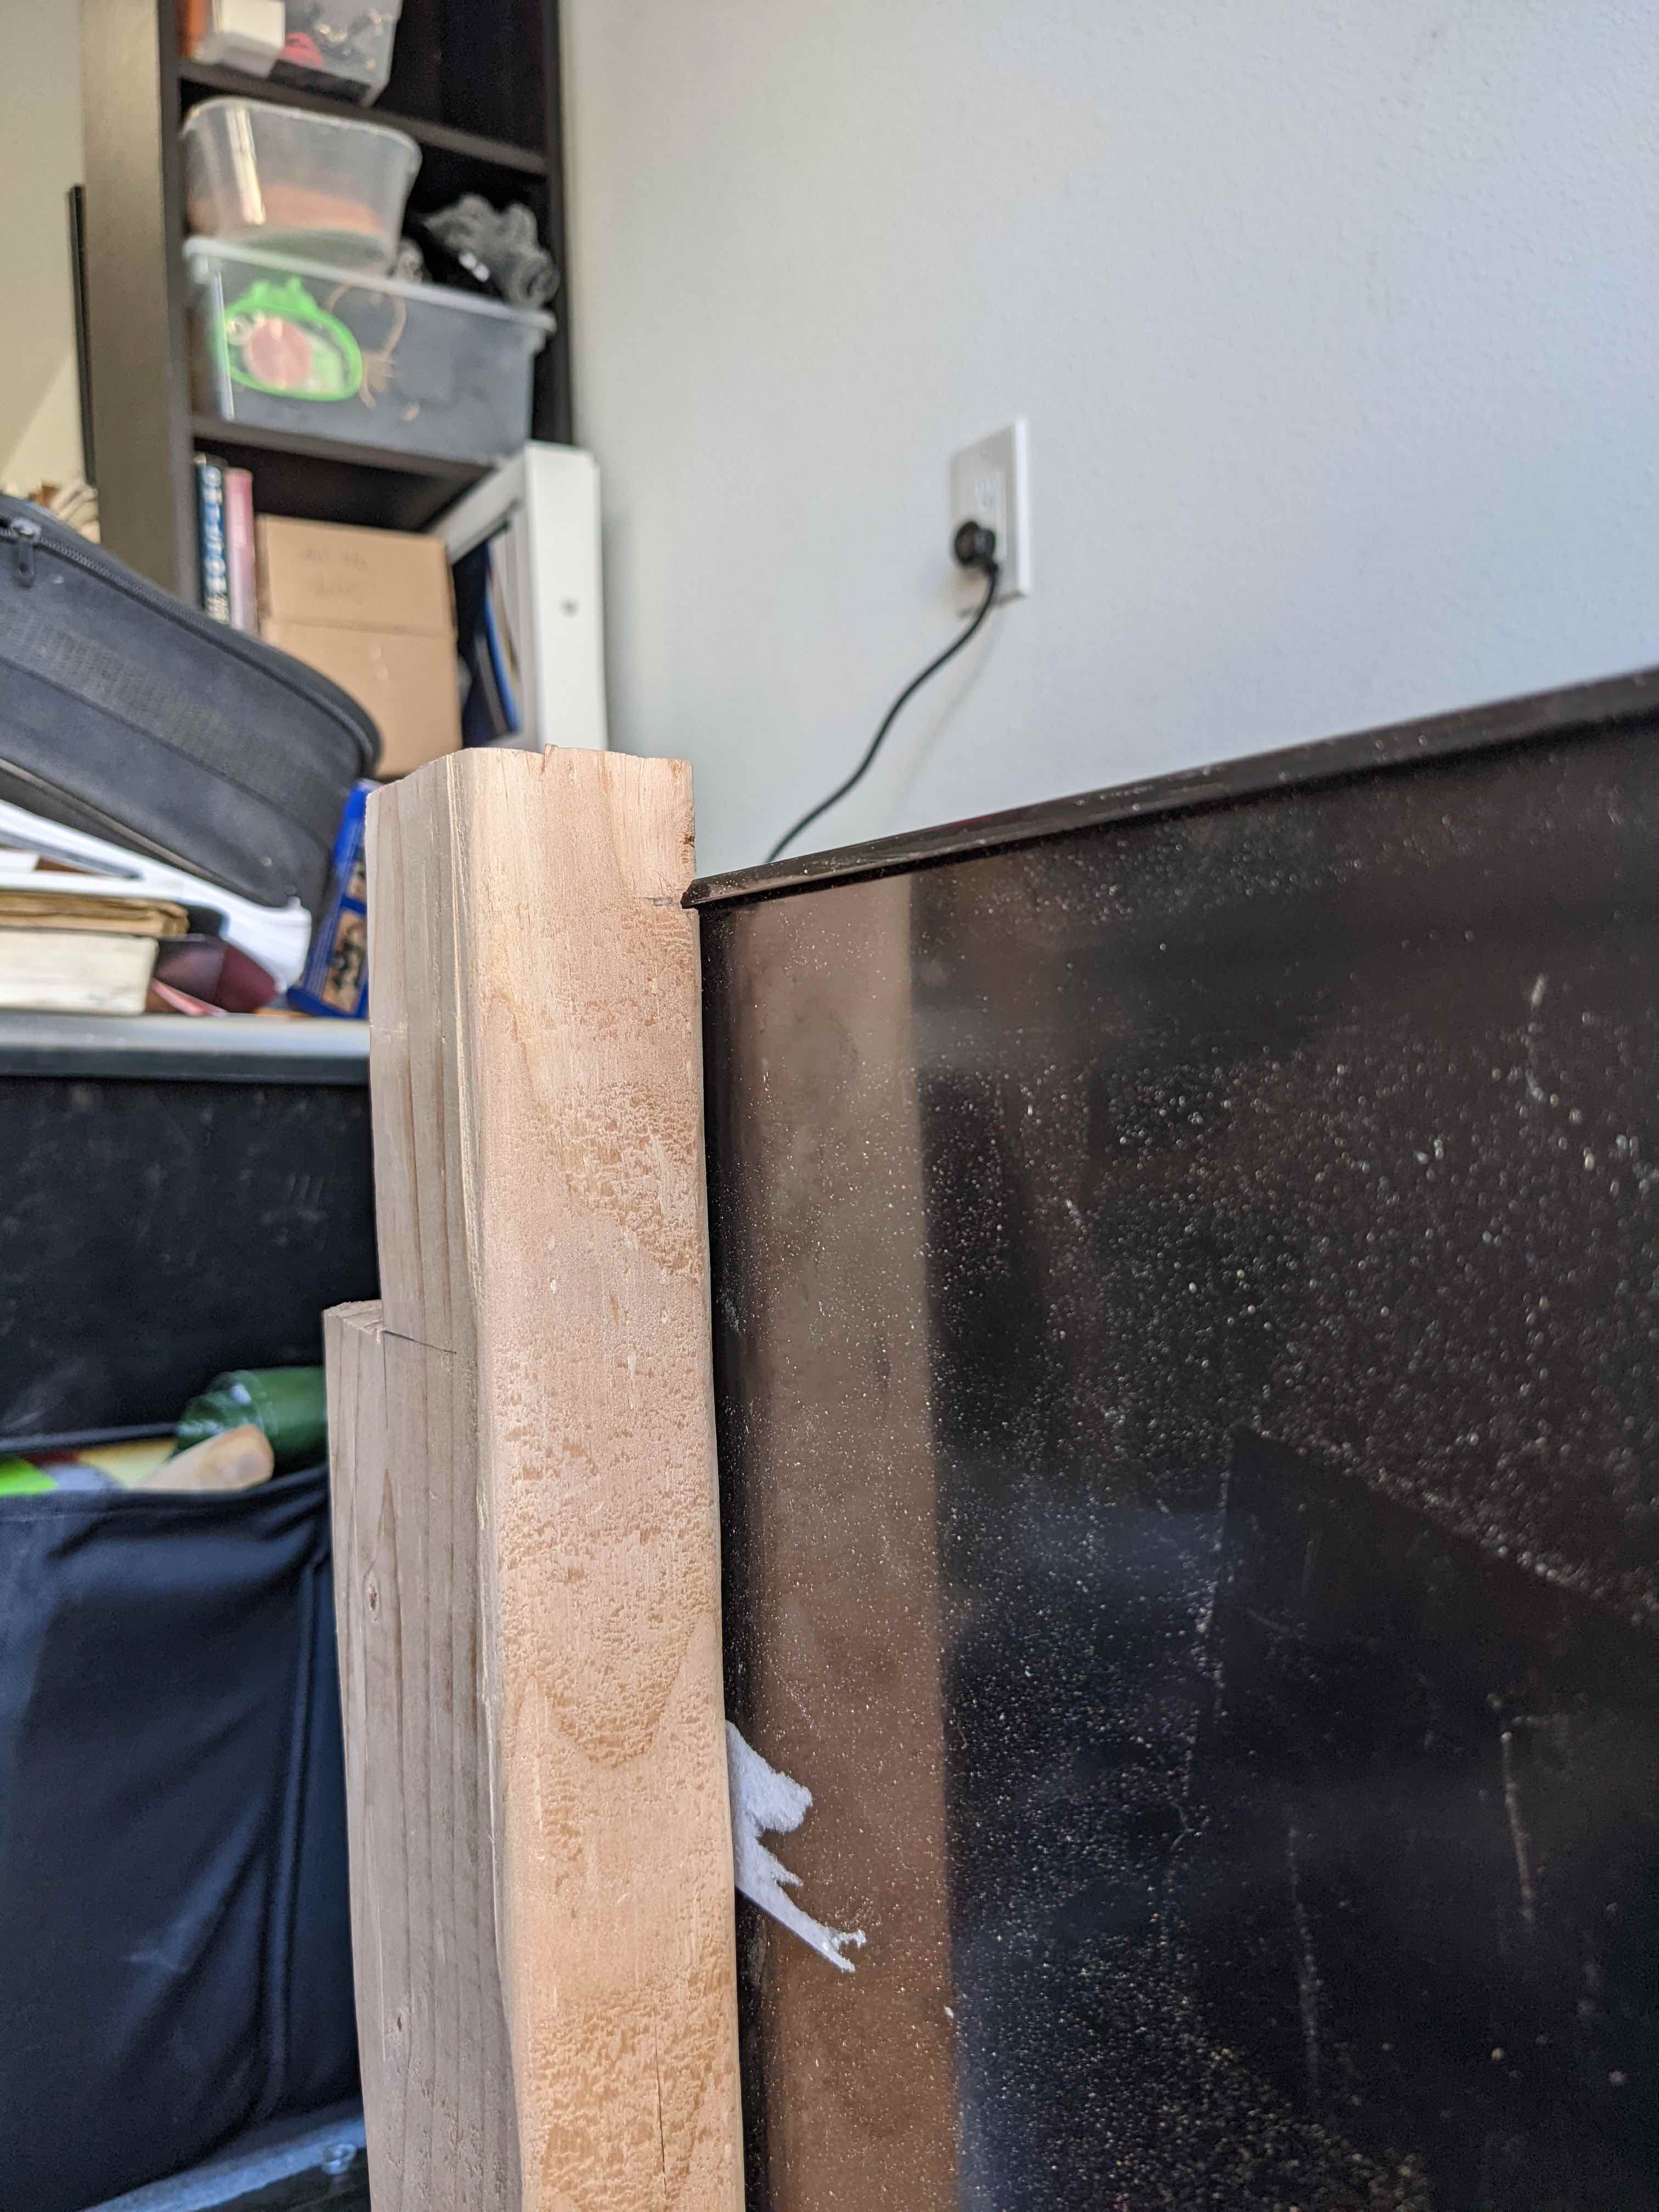
From there, I moved the parts back into the garage and placed them where I intended on setting up the bench. I started building the center part of the frame which is meant to support the part of the benchtop that sits in between the drawers and cabinet. There are two small lips on the side of the drawer unit that required me to cut out a little piece of the board. With this cutout, the drawer-side frame was able to sit flush to the drawer.
Due to the difference in the height between the drawers and cabinet, I needed to add some height to the drawer in order to provide a level surface for the workbench top. I needed approximately 1.25" of height. I used a 0.75" (actual) thick board as a first layer, and then some 0.5" (actual) plywood on top of that. Once in place, I drilled holes through both layers as well as the top layer of the drawer, and bolted them all together.
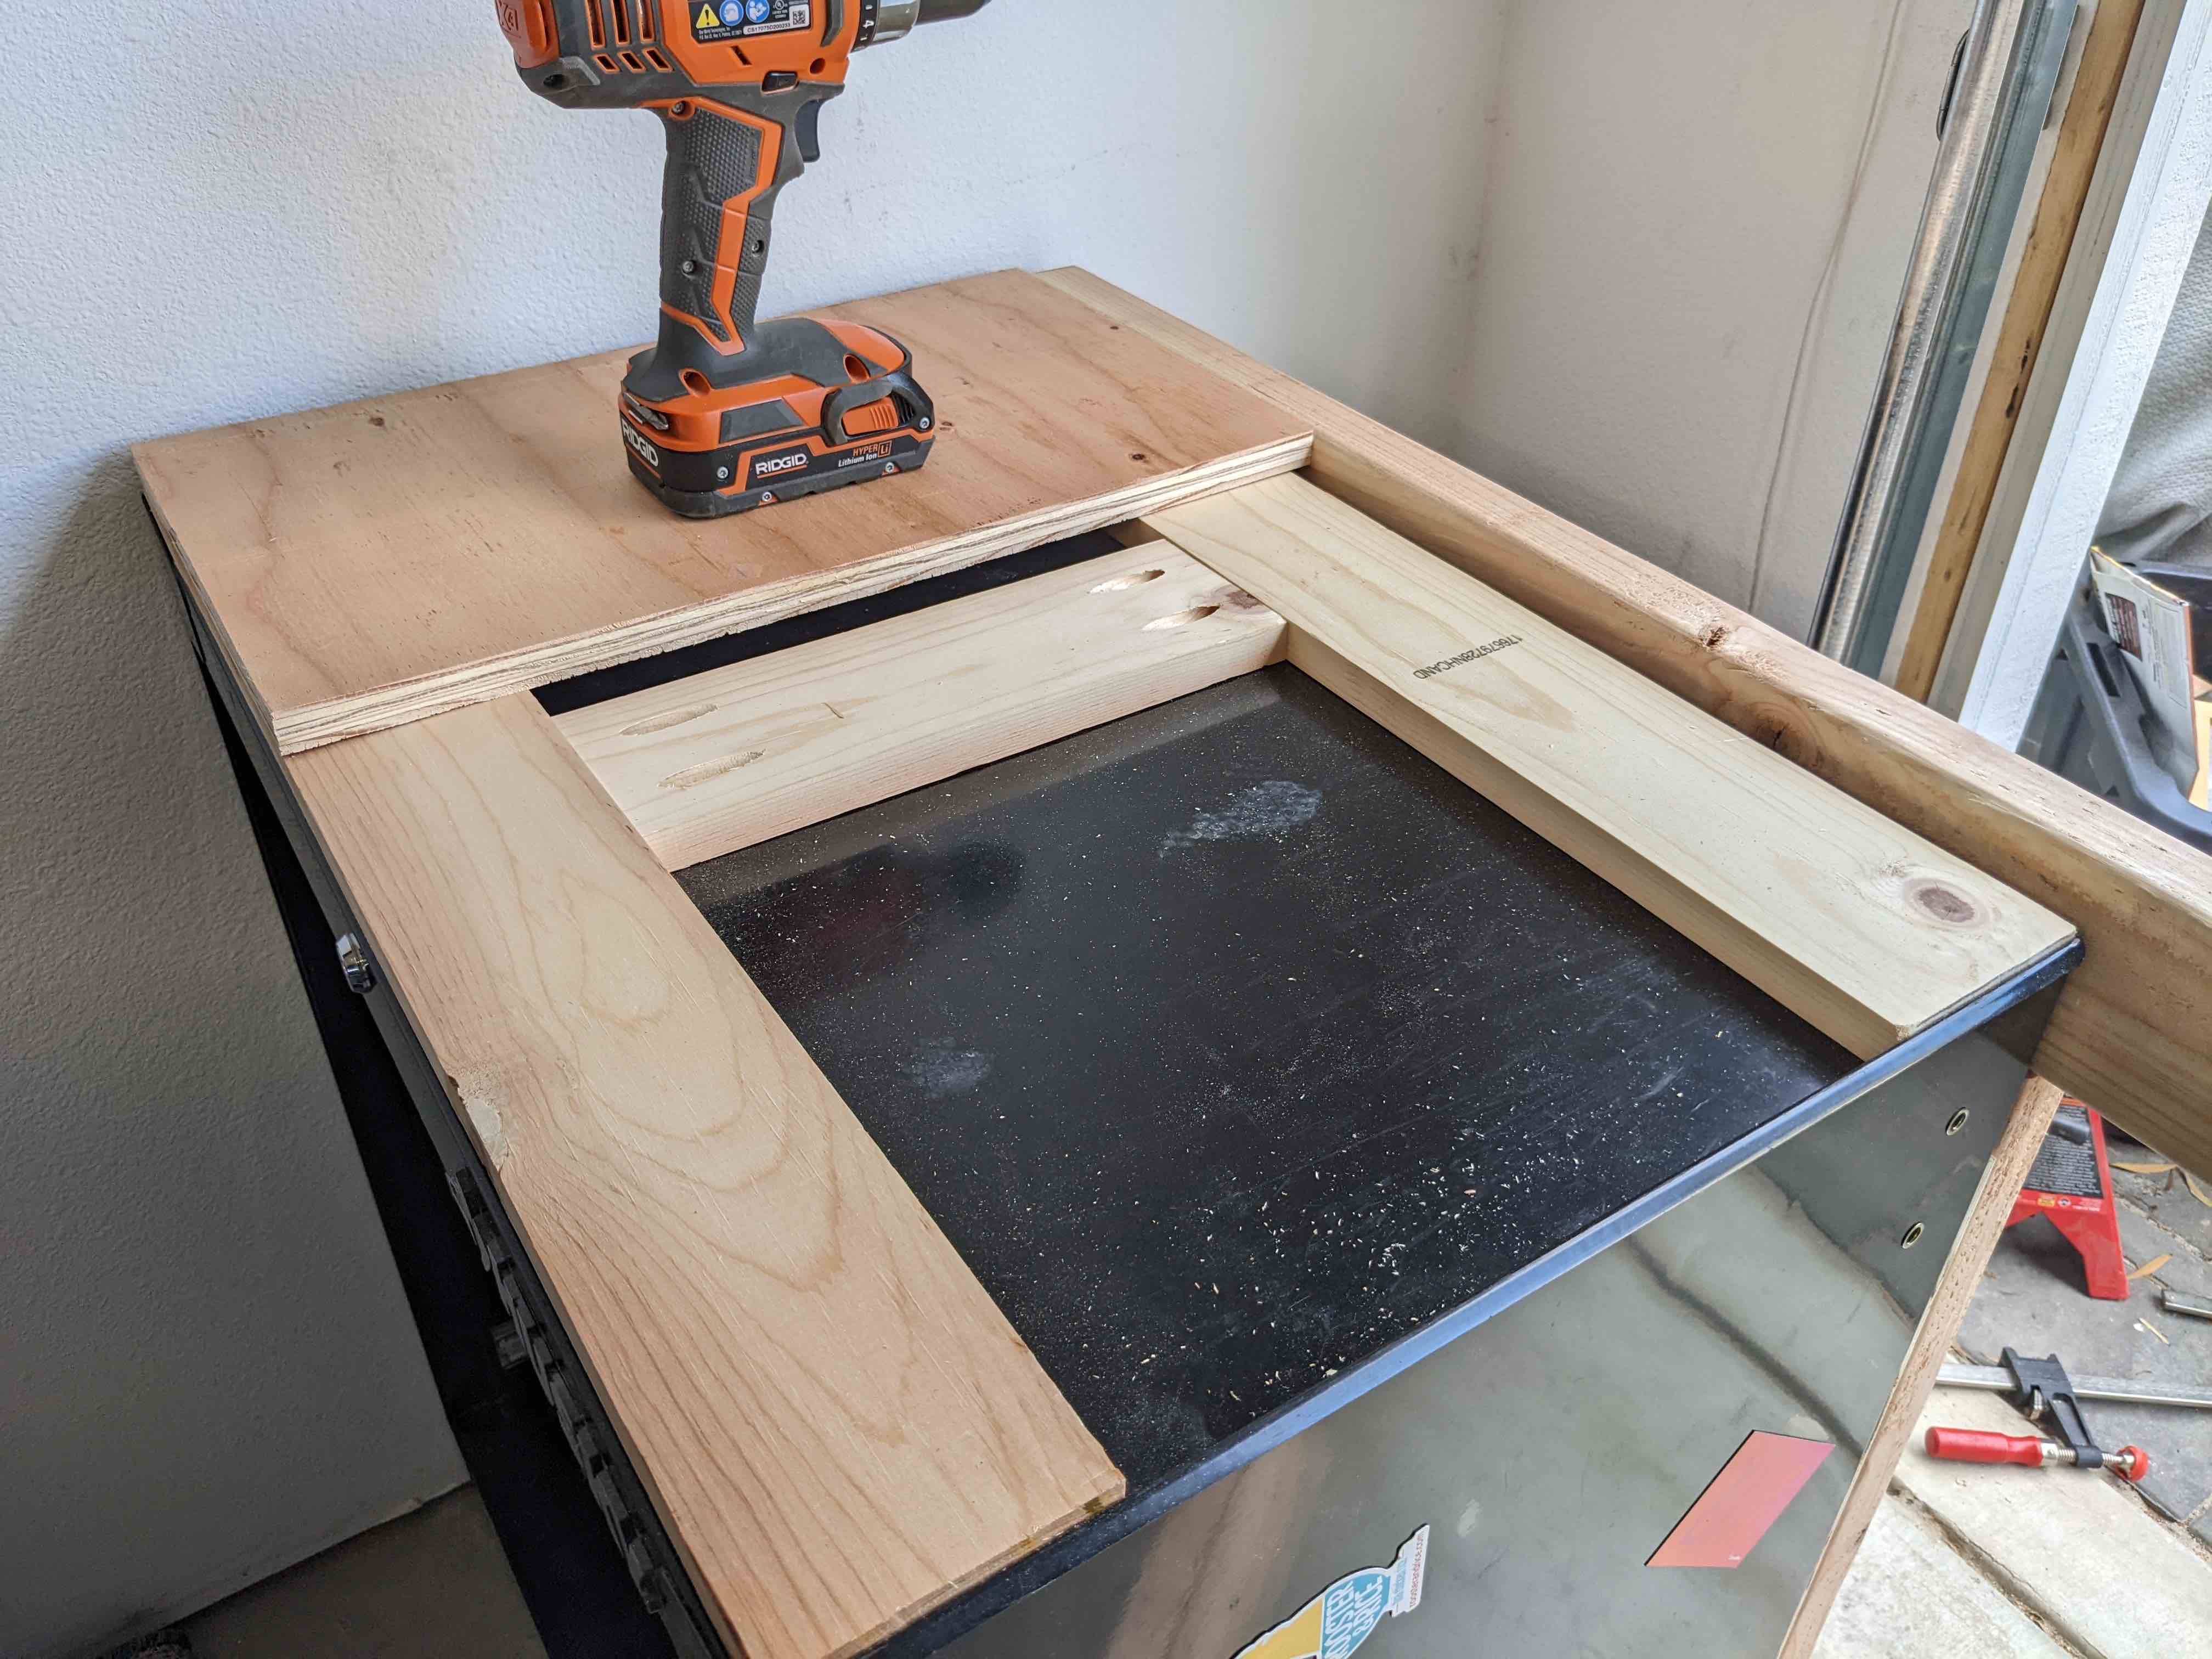

I then added another center support beam than spans from the middle support to the back support beam before placing the top on for a test fit. I screwed the lower plywood layer to the base structure and left the top layer just sitting on top. I figure I'll want to regularly swap out the top layer, so I didn't think it'd be worth securing.
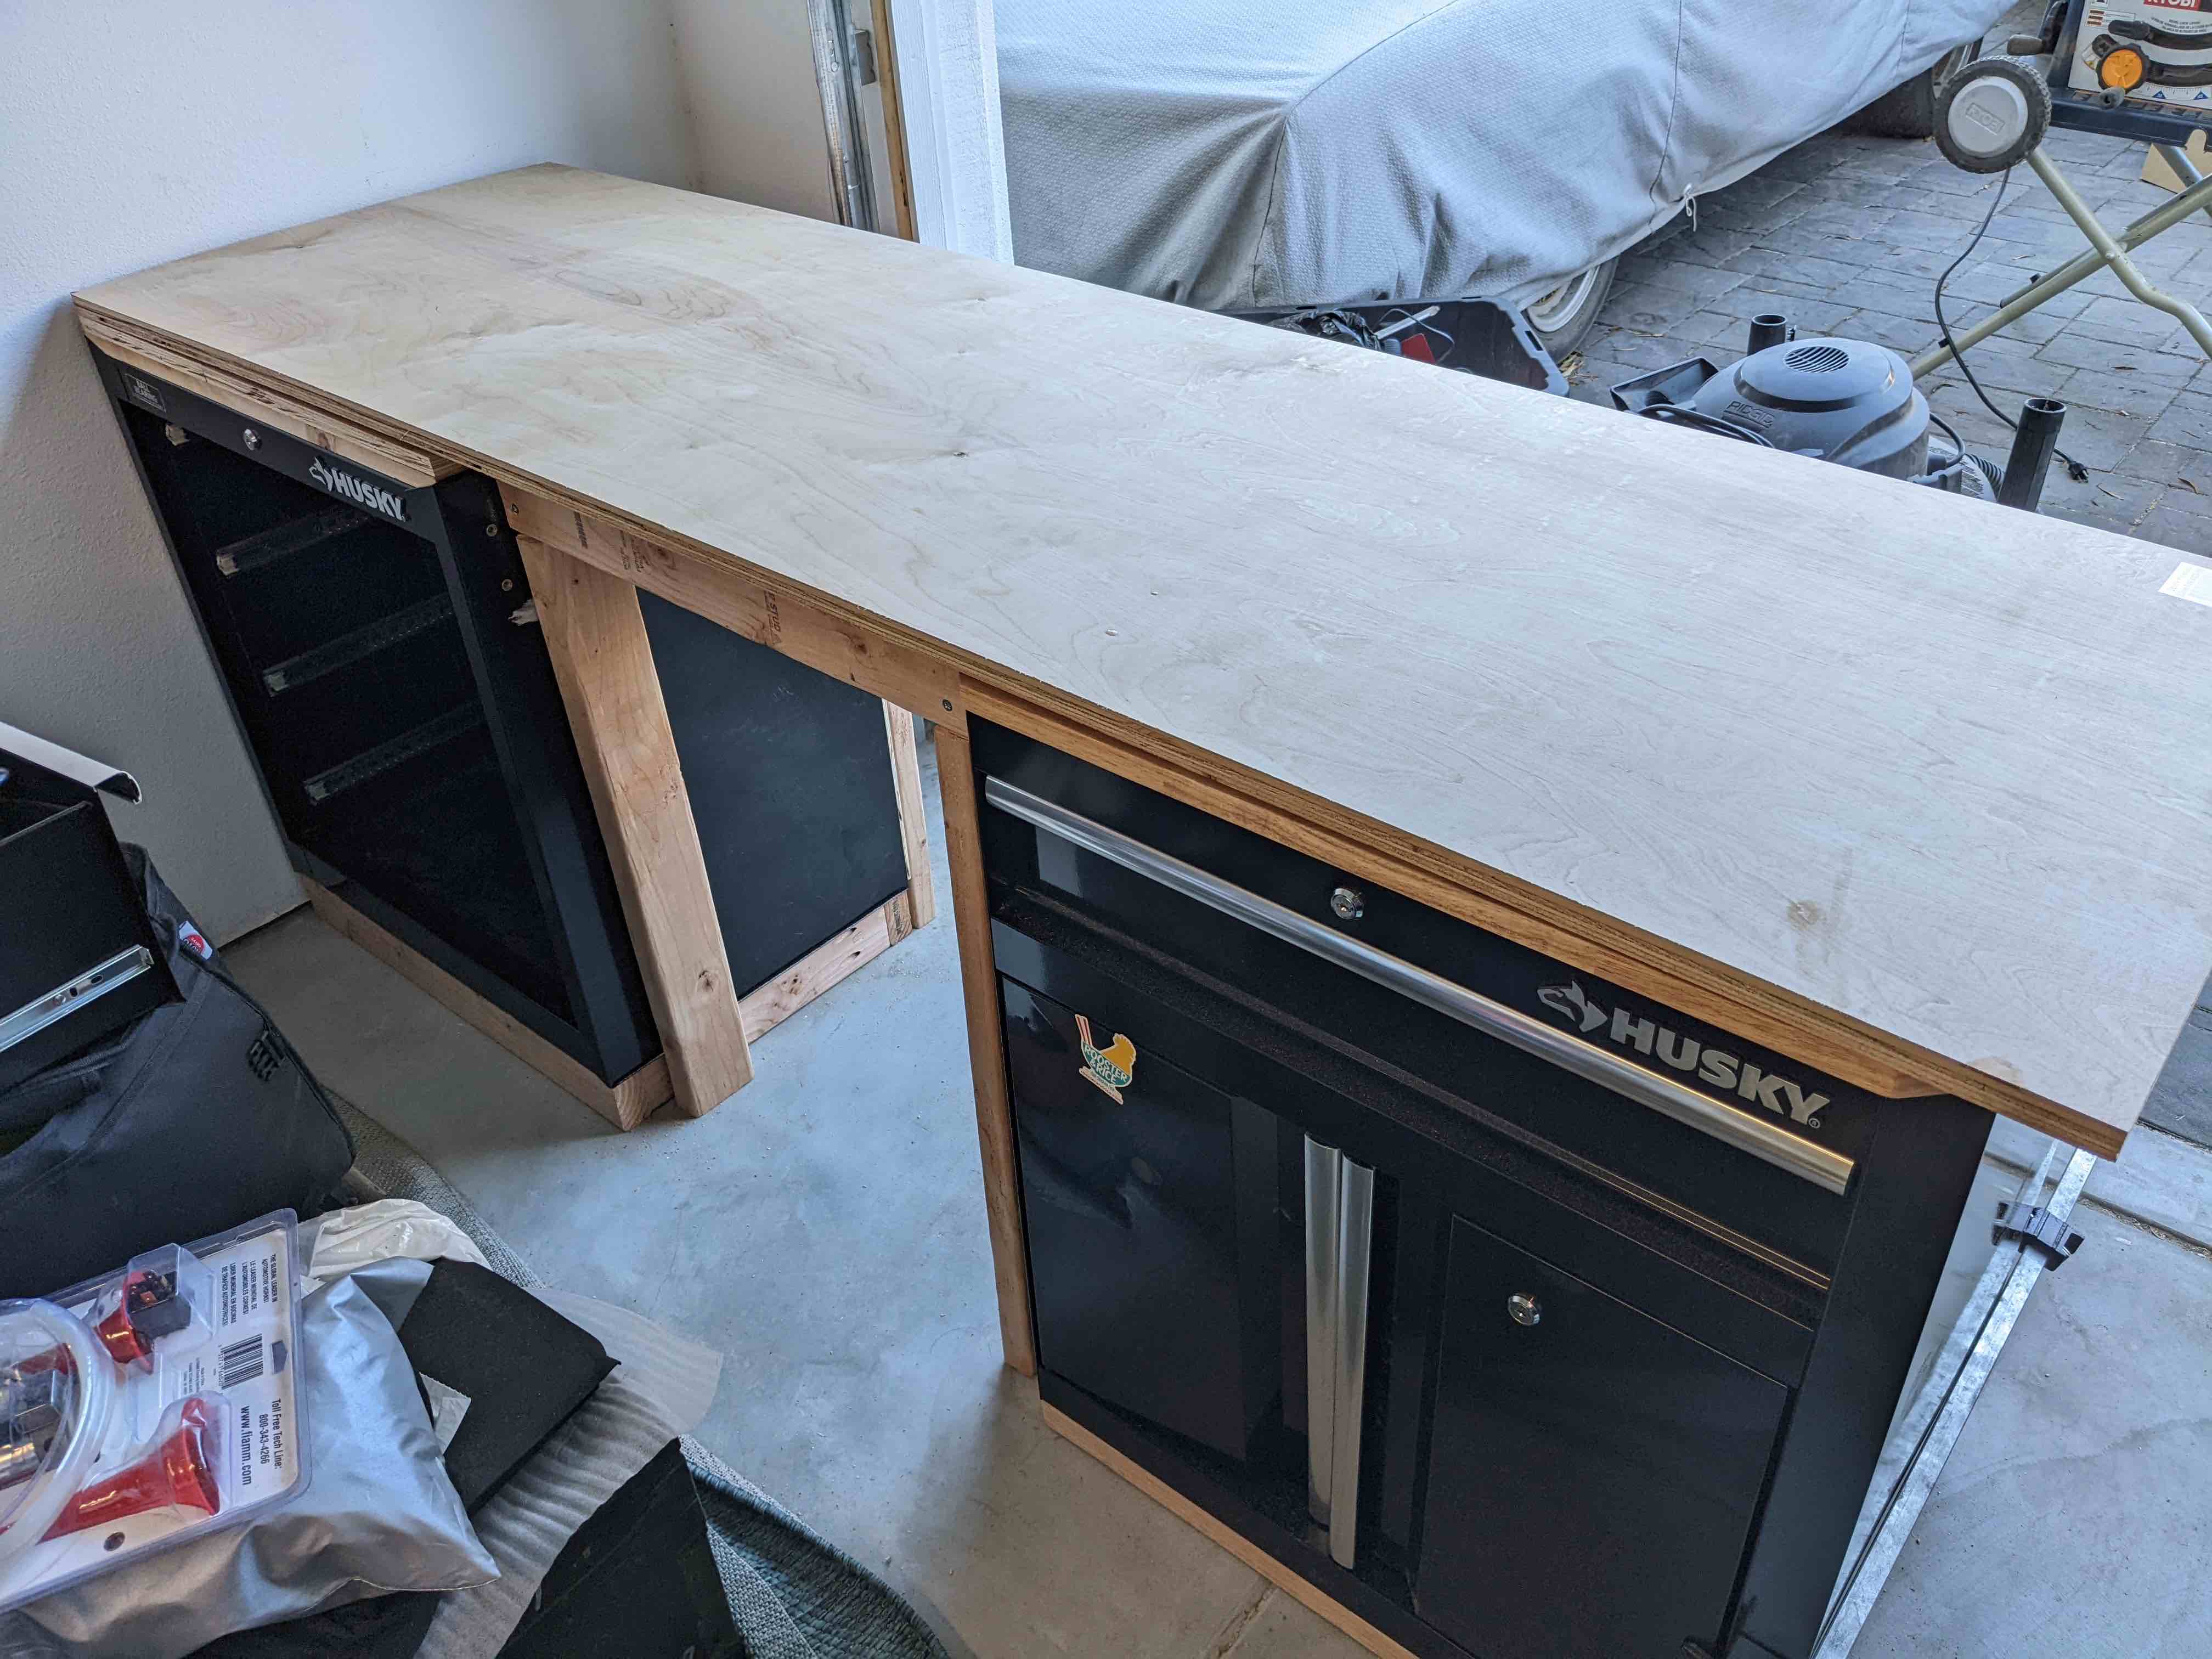
Since getting the main table put together, I've decided that I won't be adding the pegboard. Instead, I'm using the space by the wall for my 3d printer / laser cutter / CNC router. I've found that the space on the right has been sufficient for everything I need and the drawer / cabinet space is decent for most of the tools I regularly use at it.
Anyways, I'm incredibly happy with this setup because it's incredibly low profile and doesn't waste any space (which is a necessity for my small space). I use the vaccuum under the bench almost every time I'm at it, and there's plenty of space within reach for easy access to tools and parts.