Project Car
Project: Changing the Oil
Changing a car's oil is pretty important job that is fairly simple, quick, and well worth the time and money to do yourself. My first oil change was on the 124 Spider. Here's how to do it!
- Floor jack and jackstands or car ramps
- Oil filter wrench or pliers
- Oil drain pan
- Funnel
- 12mm allen wrench
- 10mm socket wrench
- Plastic bag
- Replacement oil filter
- Replacement oil
Oil Selection
The first thing I had to do before doing anything is determine the right type of oil to replace the old oil with. I did some research and am very happy that I did since I ended up learning a lot about oil selection as well as some details about the internals of the Spider's engine.
As the camshafts in an engine rotate, the camshaft lobes push against the tappets in order to actuate the push rods, and in turn, the valves. The tappets used in this engine have flat heads, and in this case, they are not in contact with the lobes for more than half of the rotation of the camshaft. Because of this, the lobes on the camshaft physically strike the tappet on every rotation. In contast, a more modern style of tappet is the roller tappet, which has a roller on the end and is always in contact with the lobe. Since each rotatation of a lobe strikes the tappet, more lubrication is necessary. In this case, Zinc dithiophosphate (or ZDDP) is great at being this lubricant; however, it is commonly removed from most engine oils with a viscosity lower than 15W-40, but is an important part of keeping the Fiat's engine healthy.
In my case, I purchased some Shell Rotella T5 15W-40. If you're in the same boat and are purcahsing engine oil, note that the Rotella T6 (as opposed to T5) has a reduced level of ZDDP so it might not be a good selection for this car.
Process
If the car hasn't been driven recently, the first thing to do is to warm up the oil a bit. You can do this by running the car for around 5 minutes to get it circulating. When oil heats up, it gets less viscous and will drain faster. This makes it less likely that there will be less oil coated on the walls of the engine and sump if it's thinner. It also helps with the removal of the drain plug if it's stuck a bit.
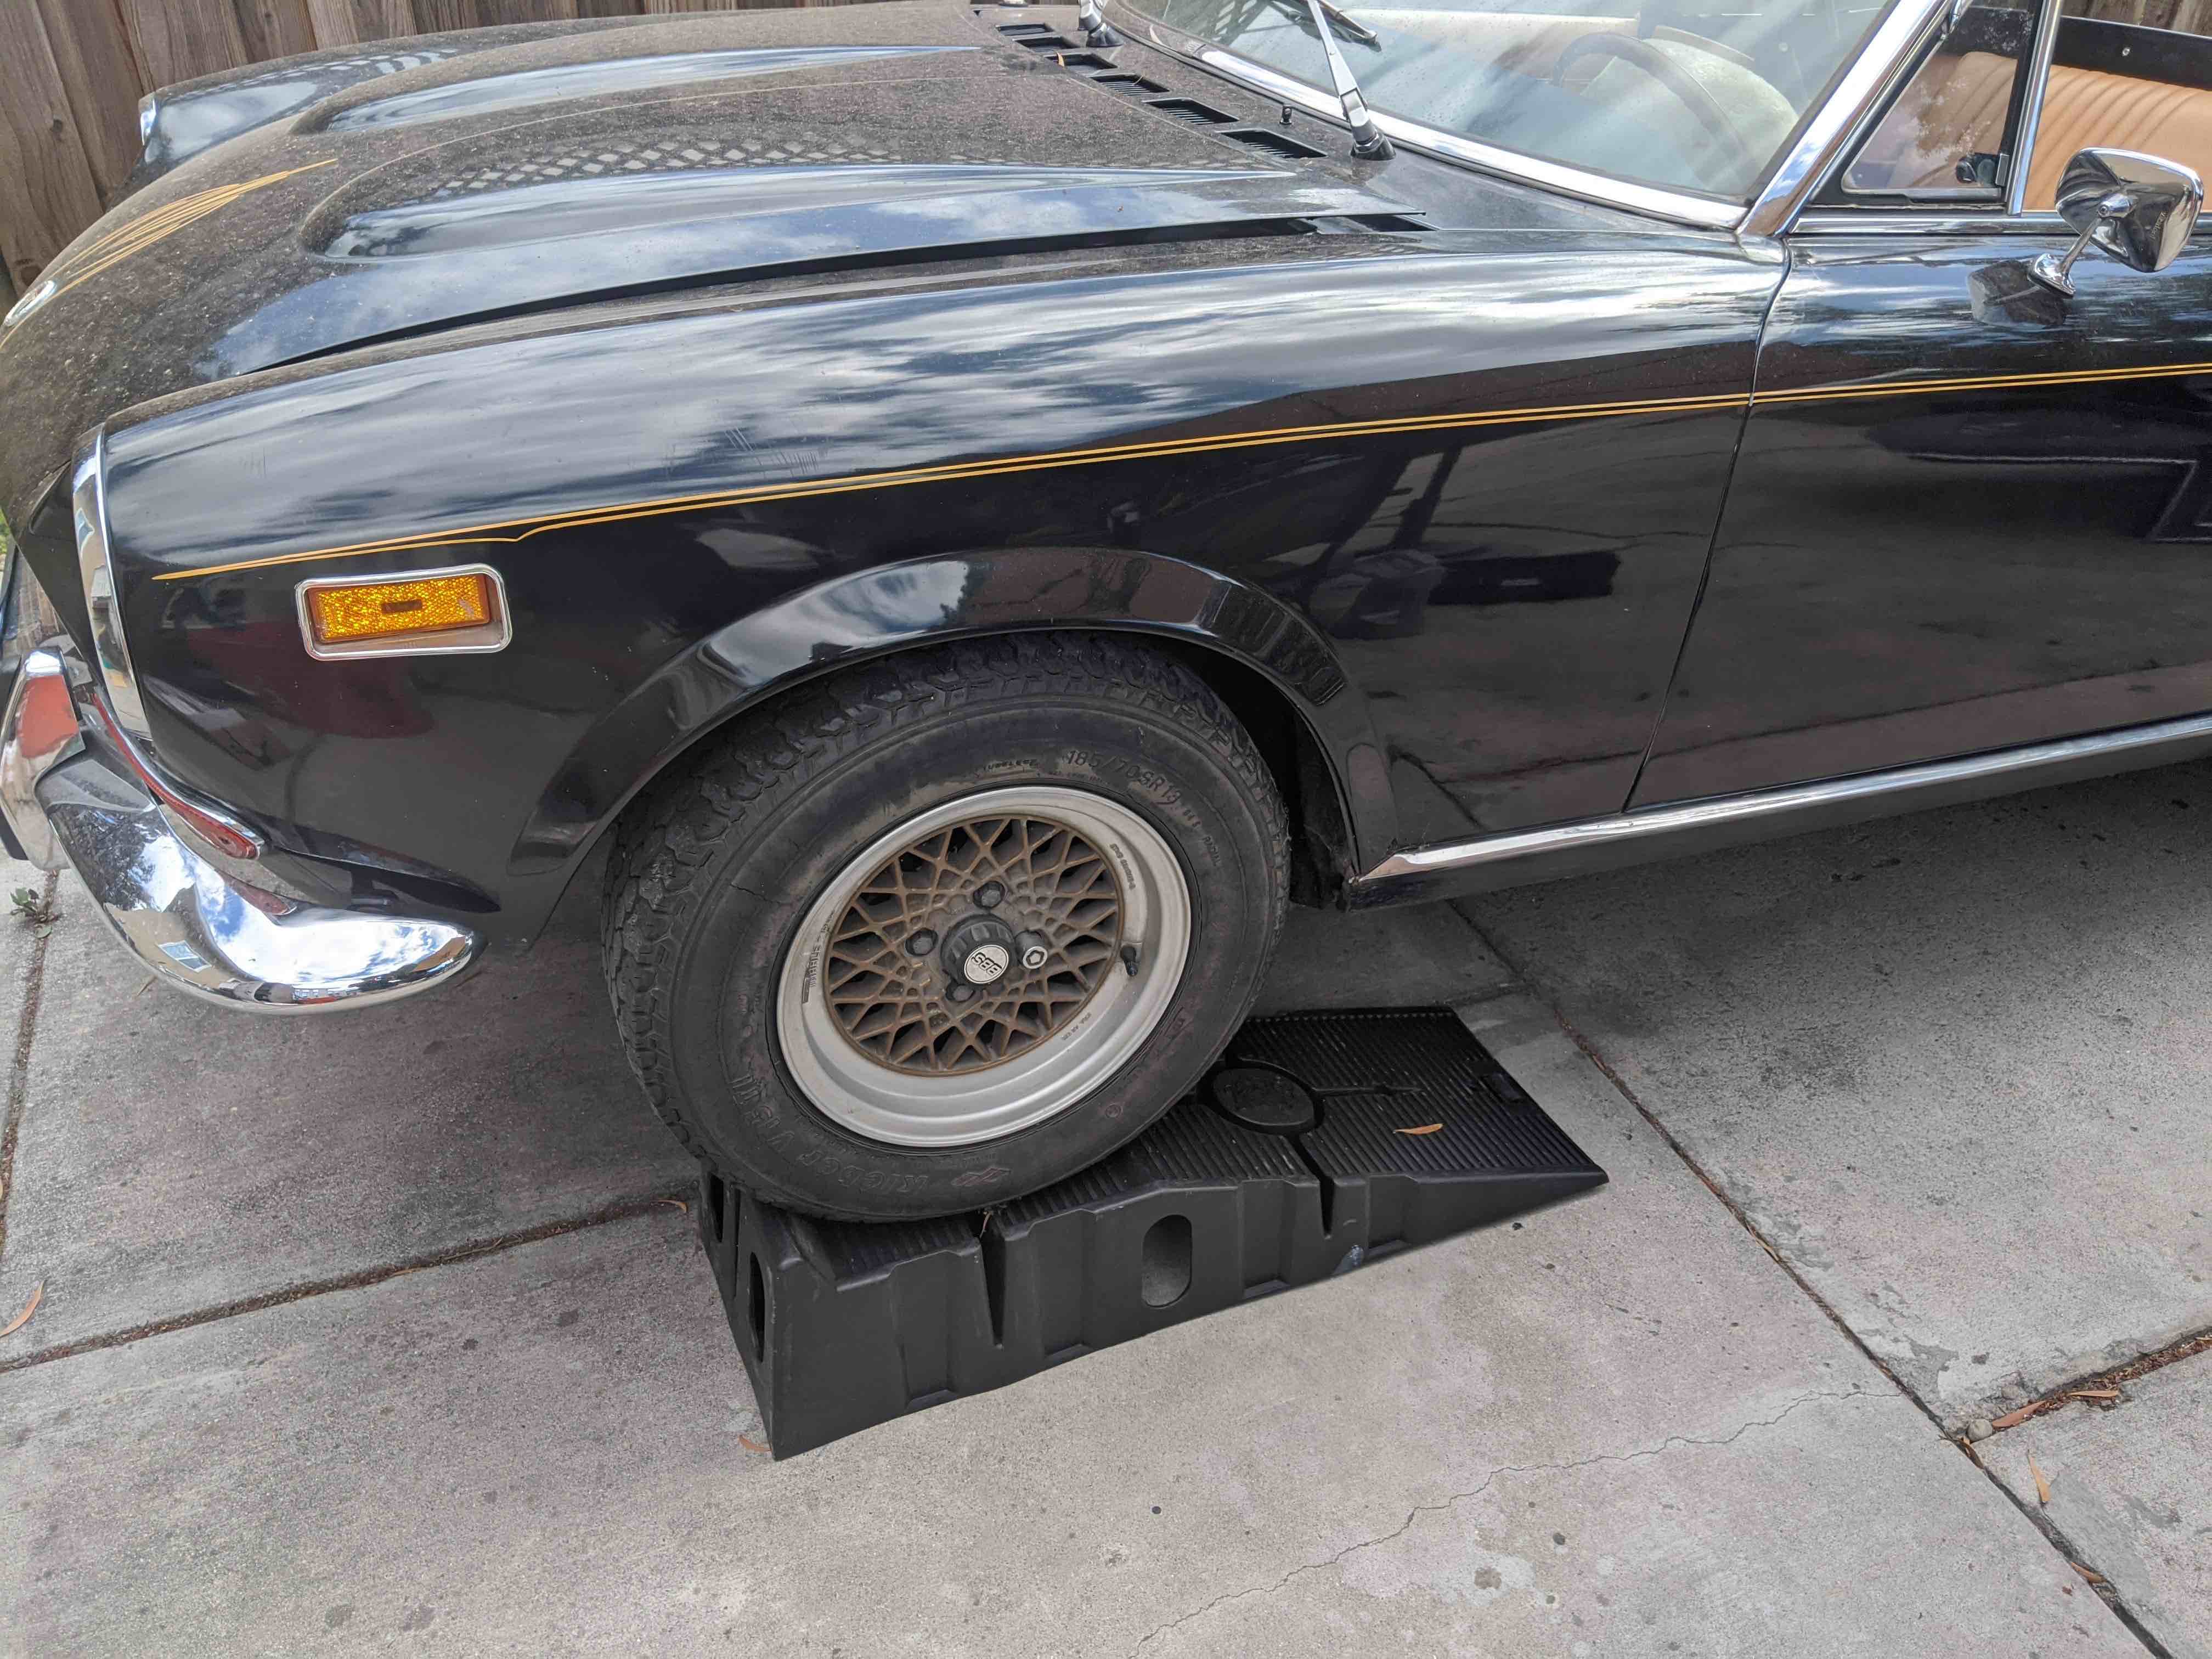
Once the engine is a bit warm, you'll need to lift the car so we can get underneath it to access the sump. You can either use some car ramps or a floor jack and jackstands. If you use a jack and jackstands, make sure to get the jack all the way behind the sump and onto the crossmember.
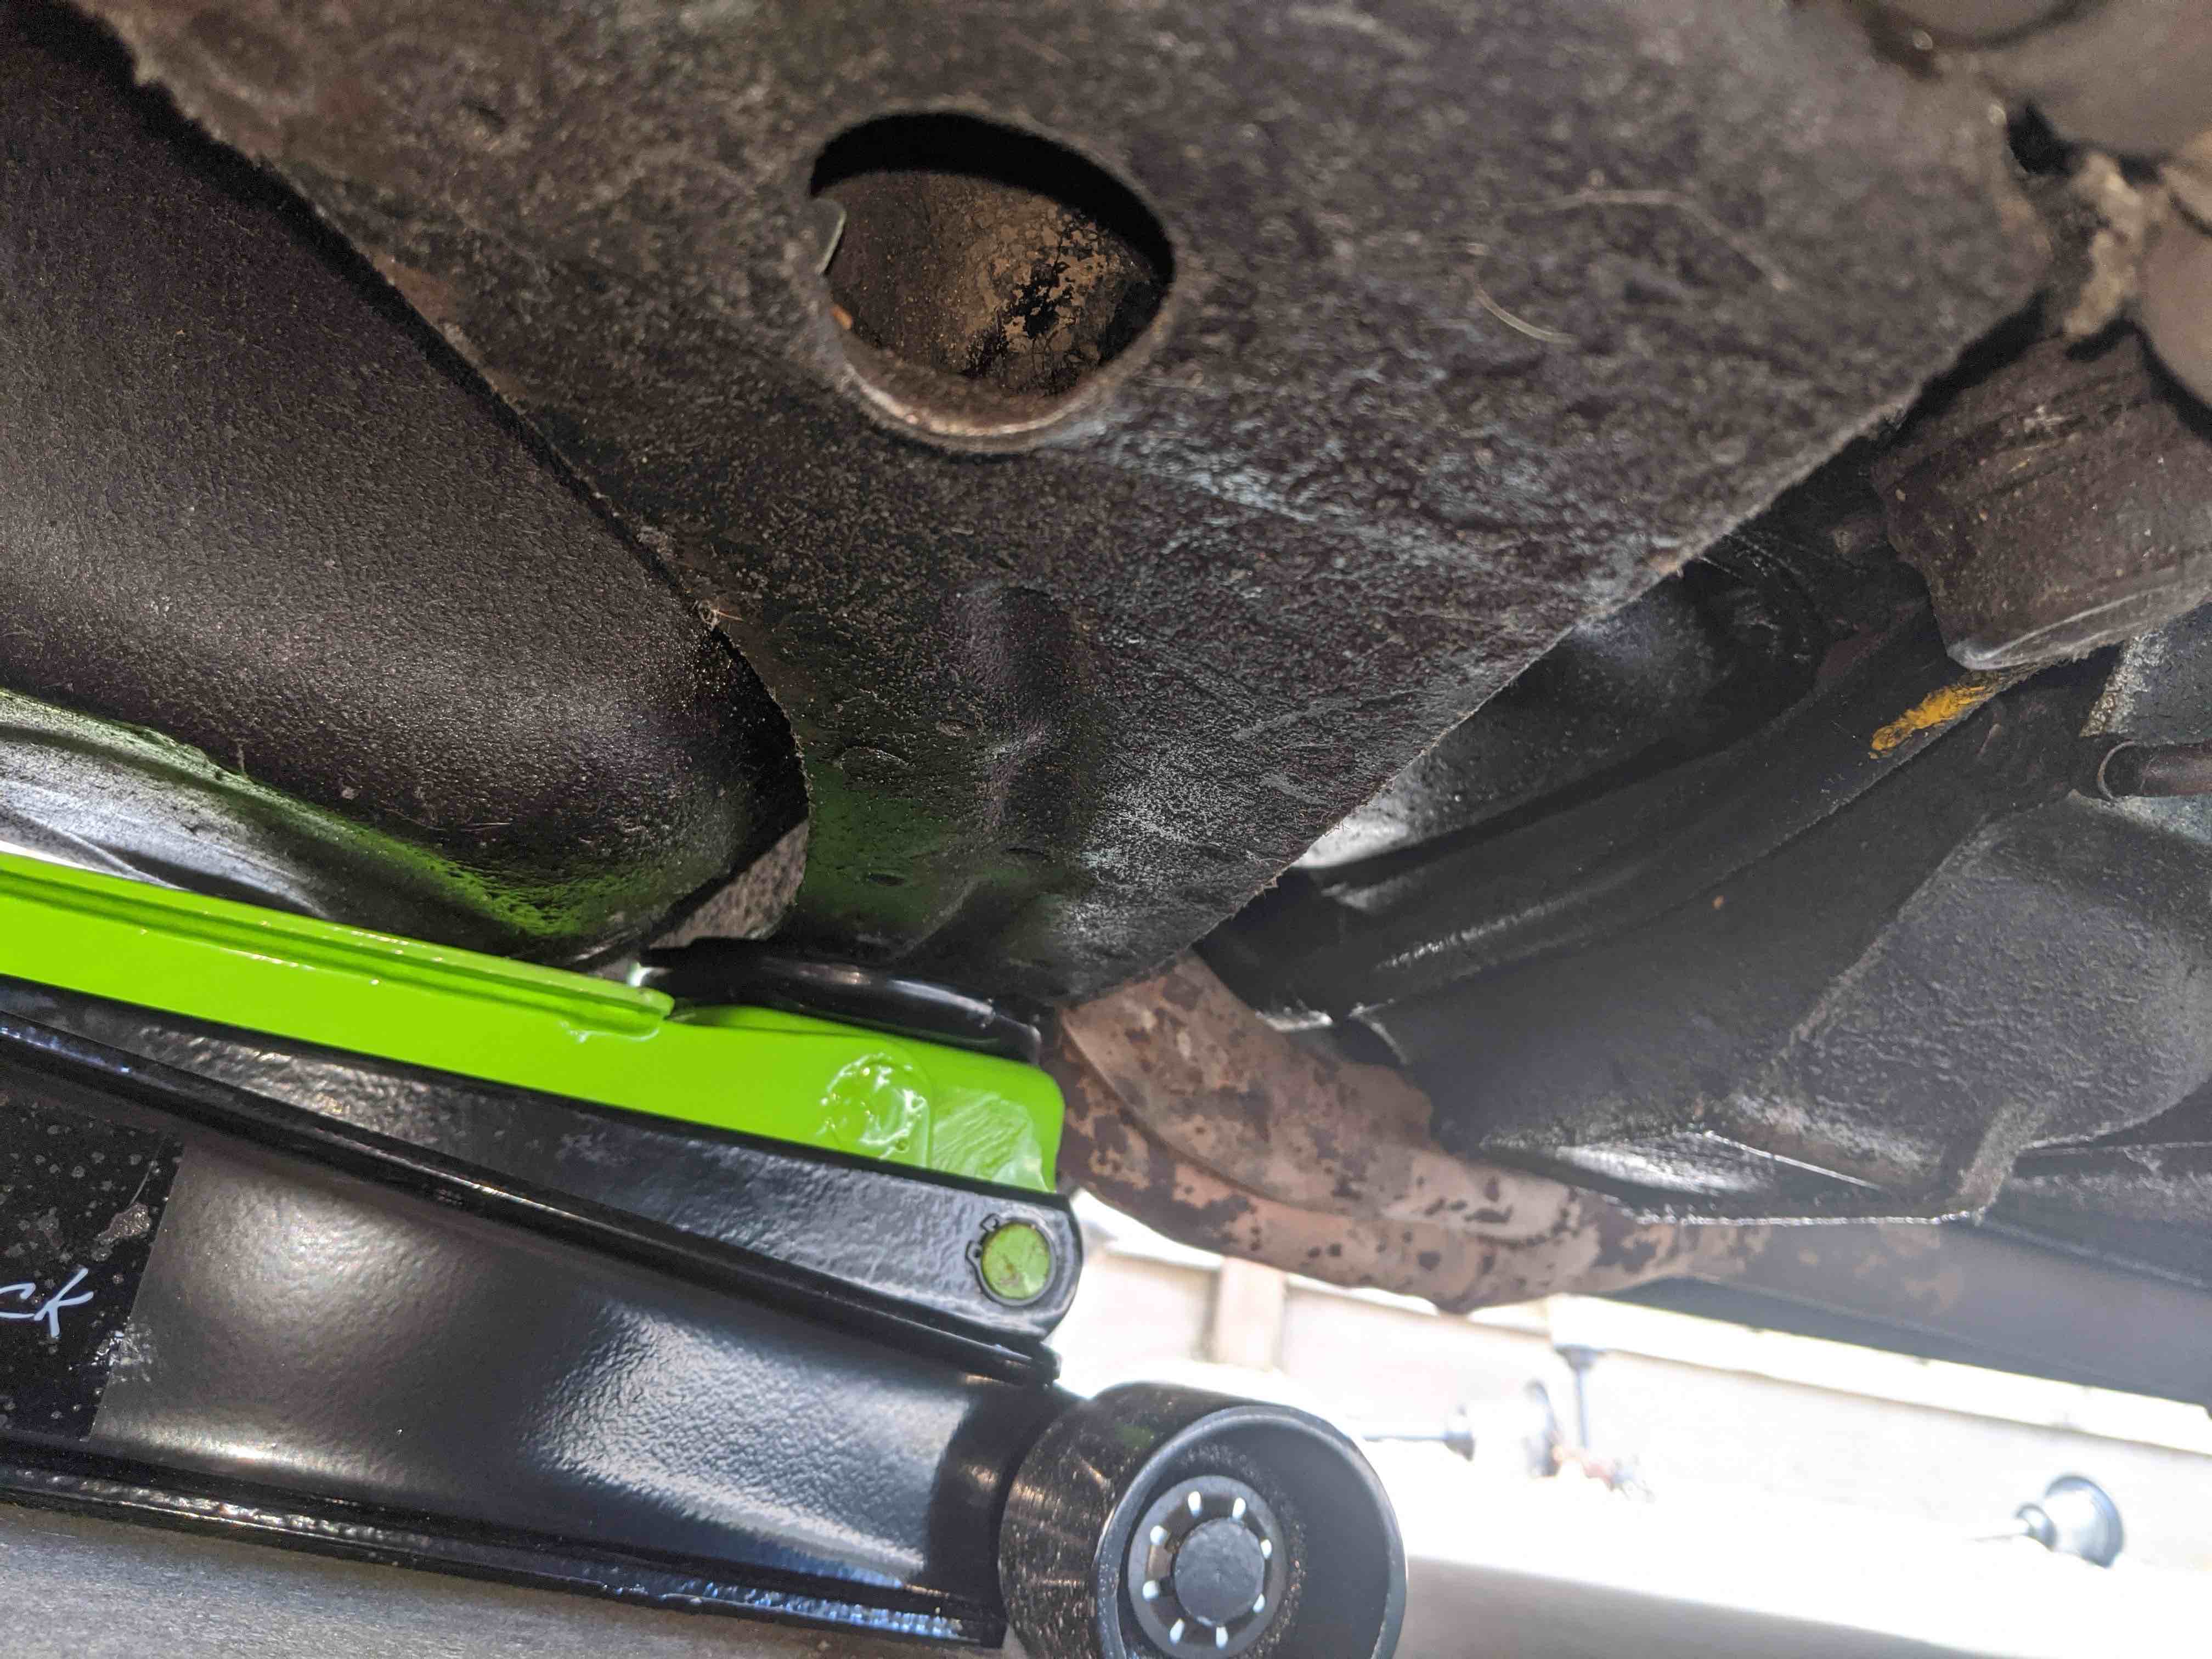
I ended up using ramps since they provide more space under the car and scare me less, but for this, either should be sufficient. Whichever you use, make sure to apply the e-brake. It's also never a bad idea to chock the wheels as well.
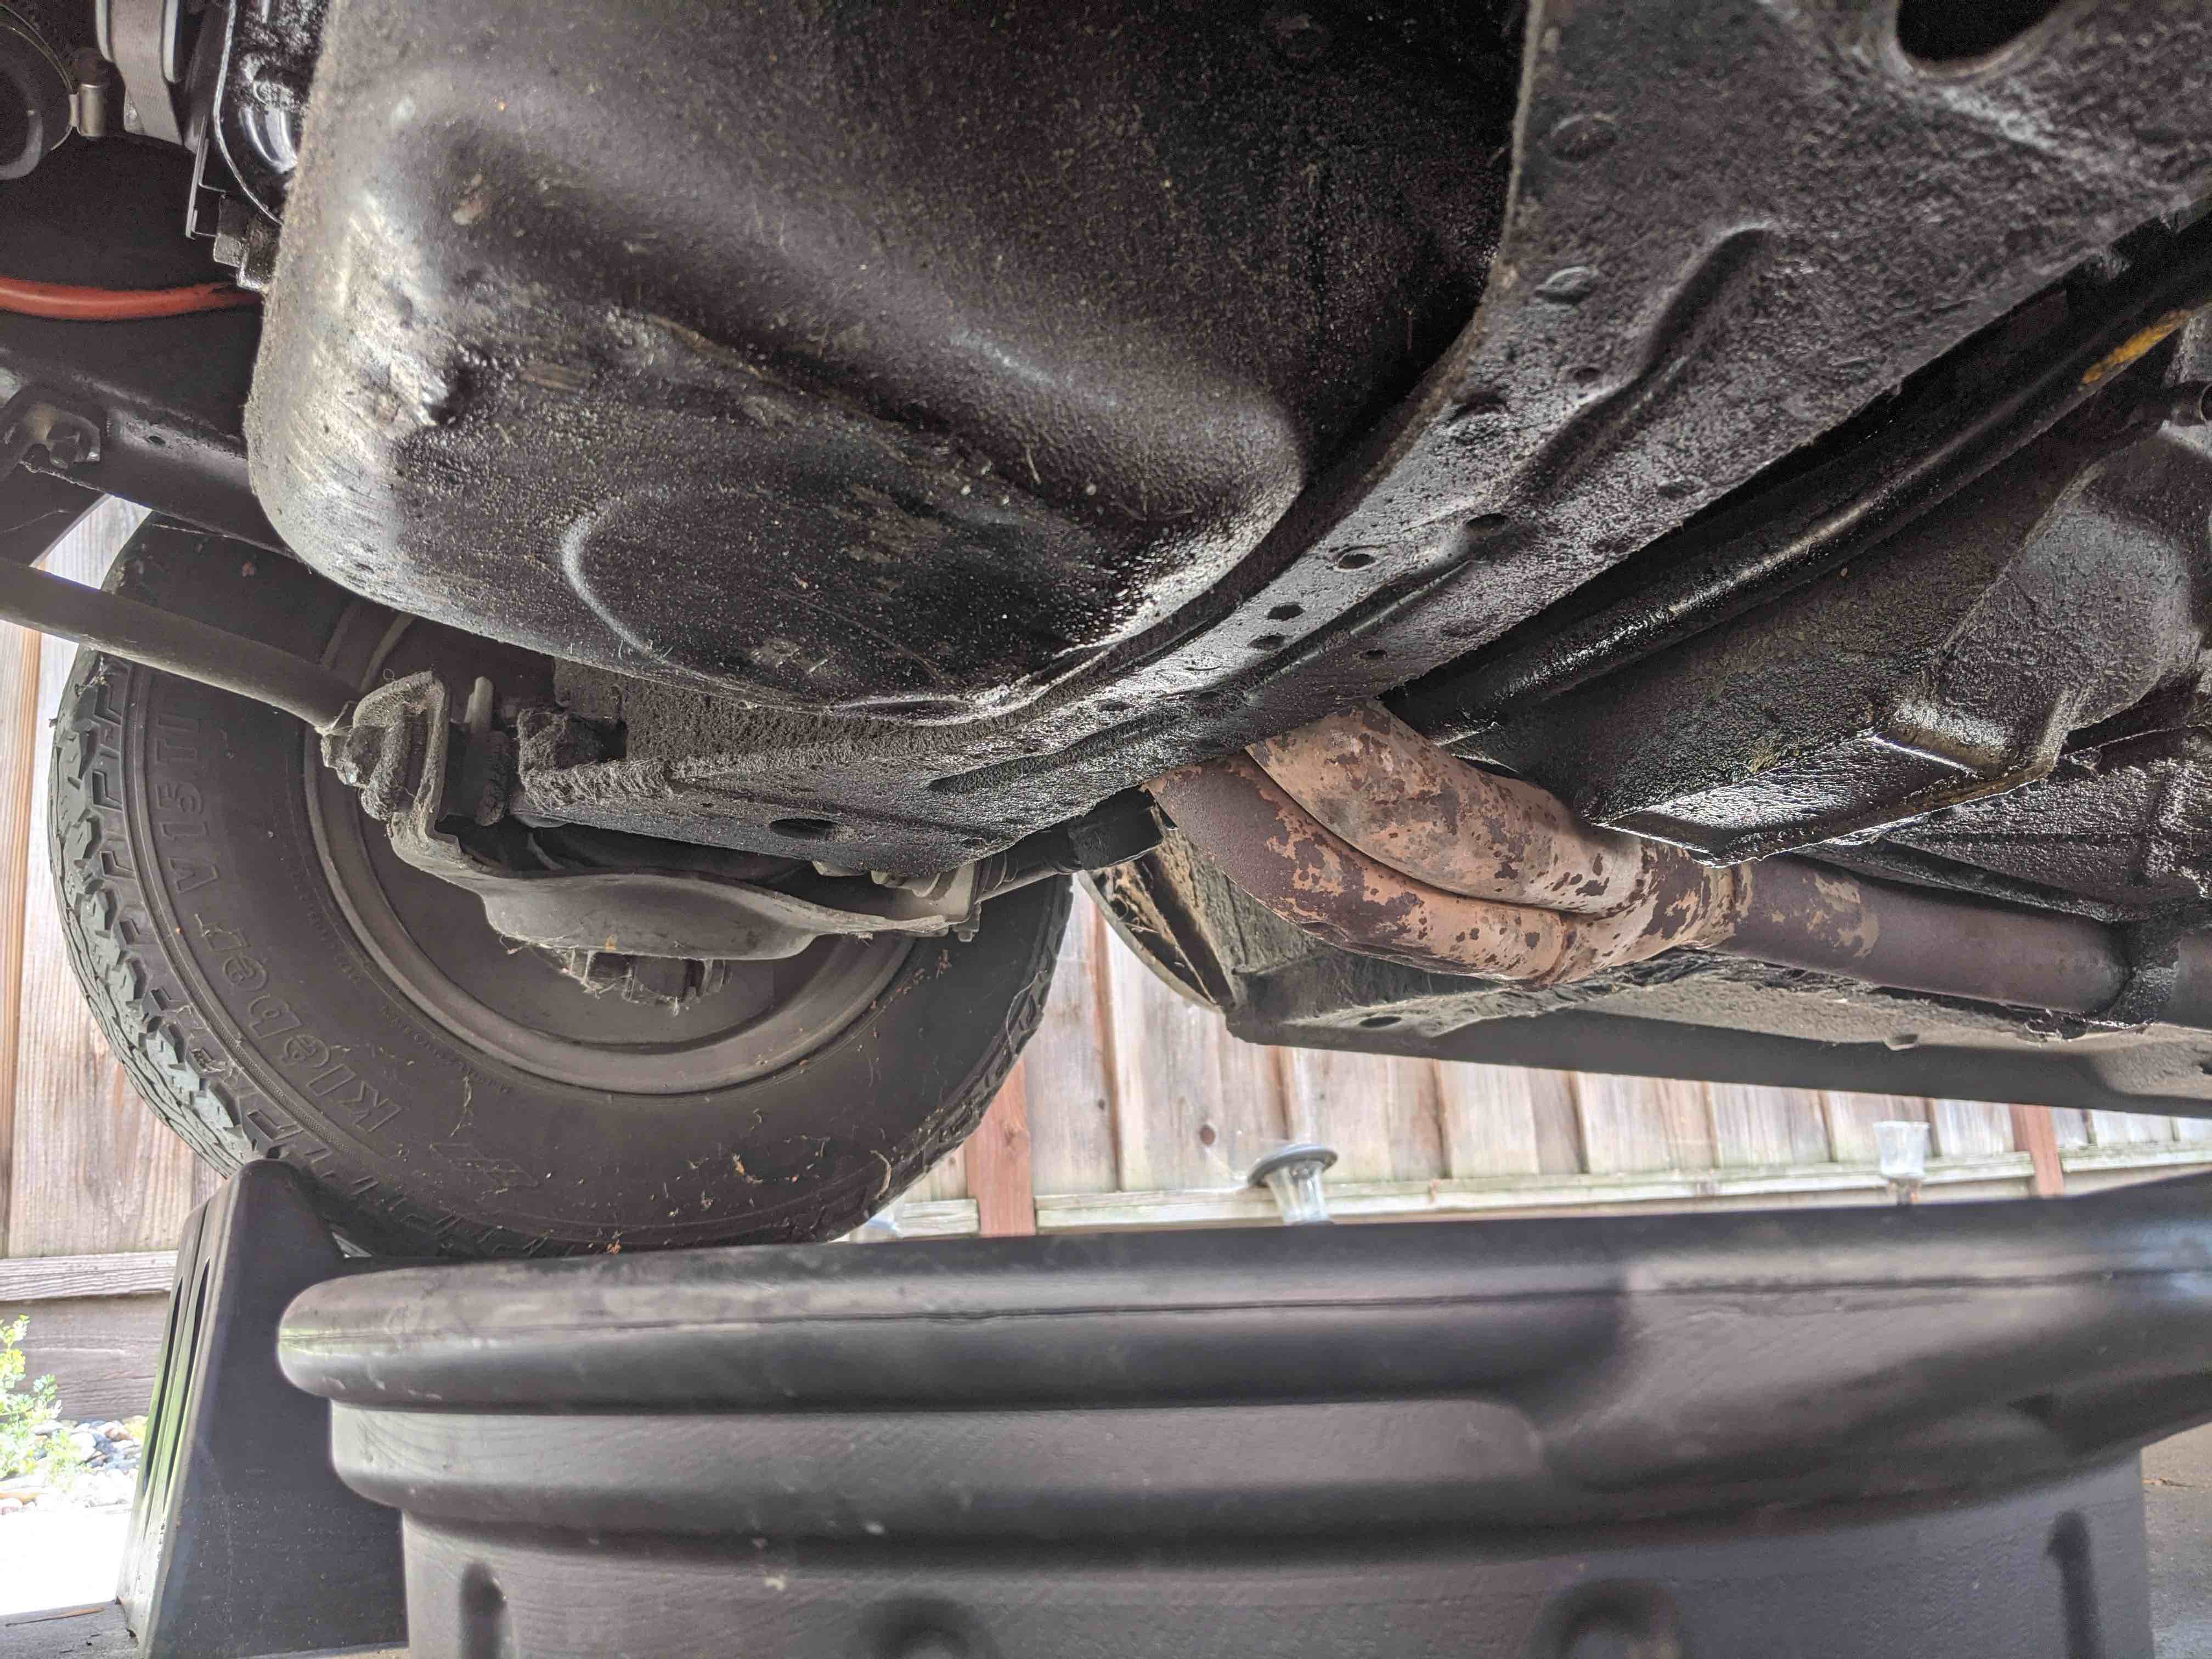
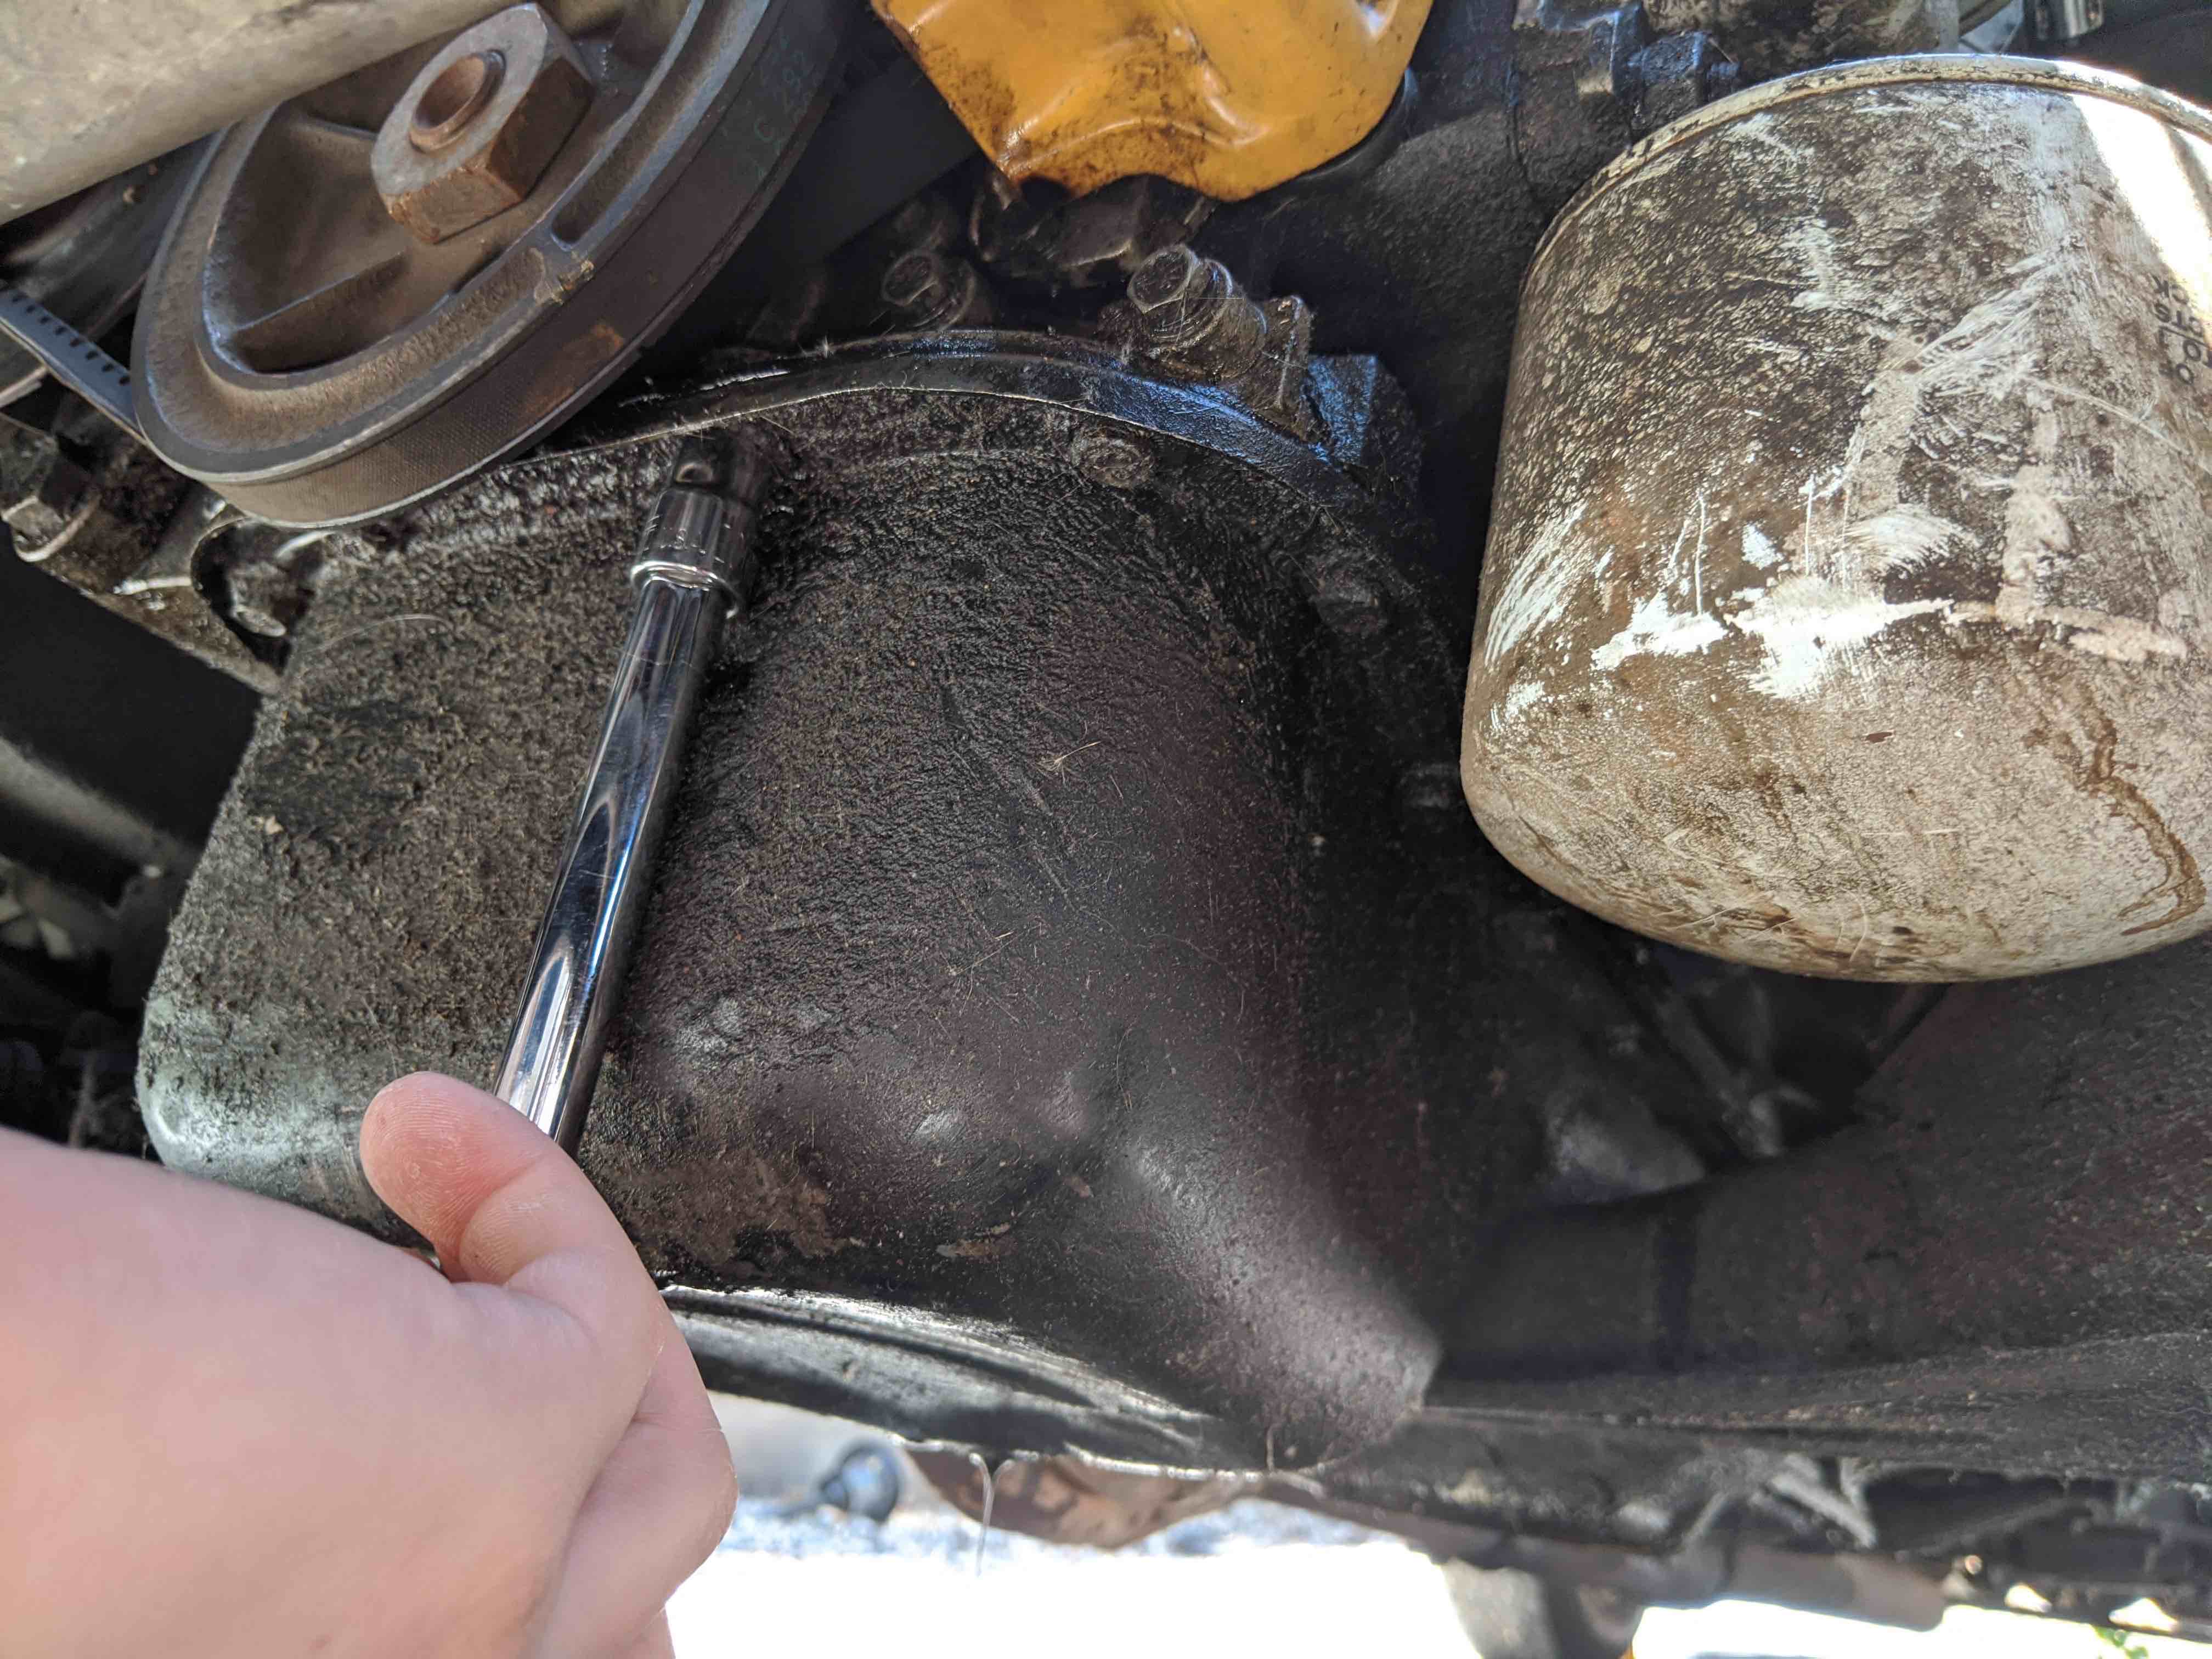
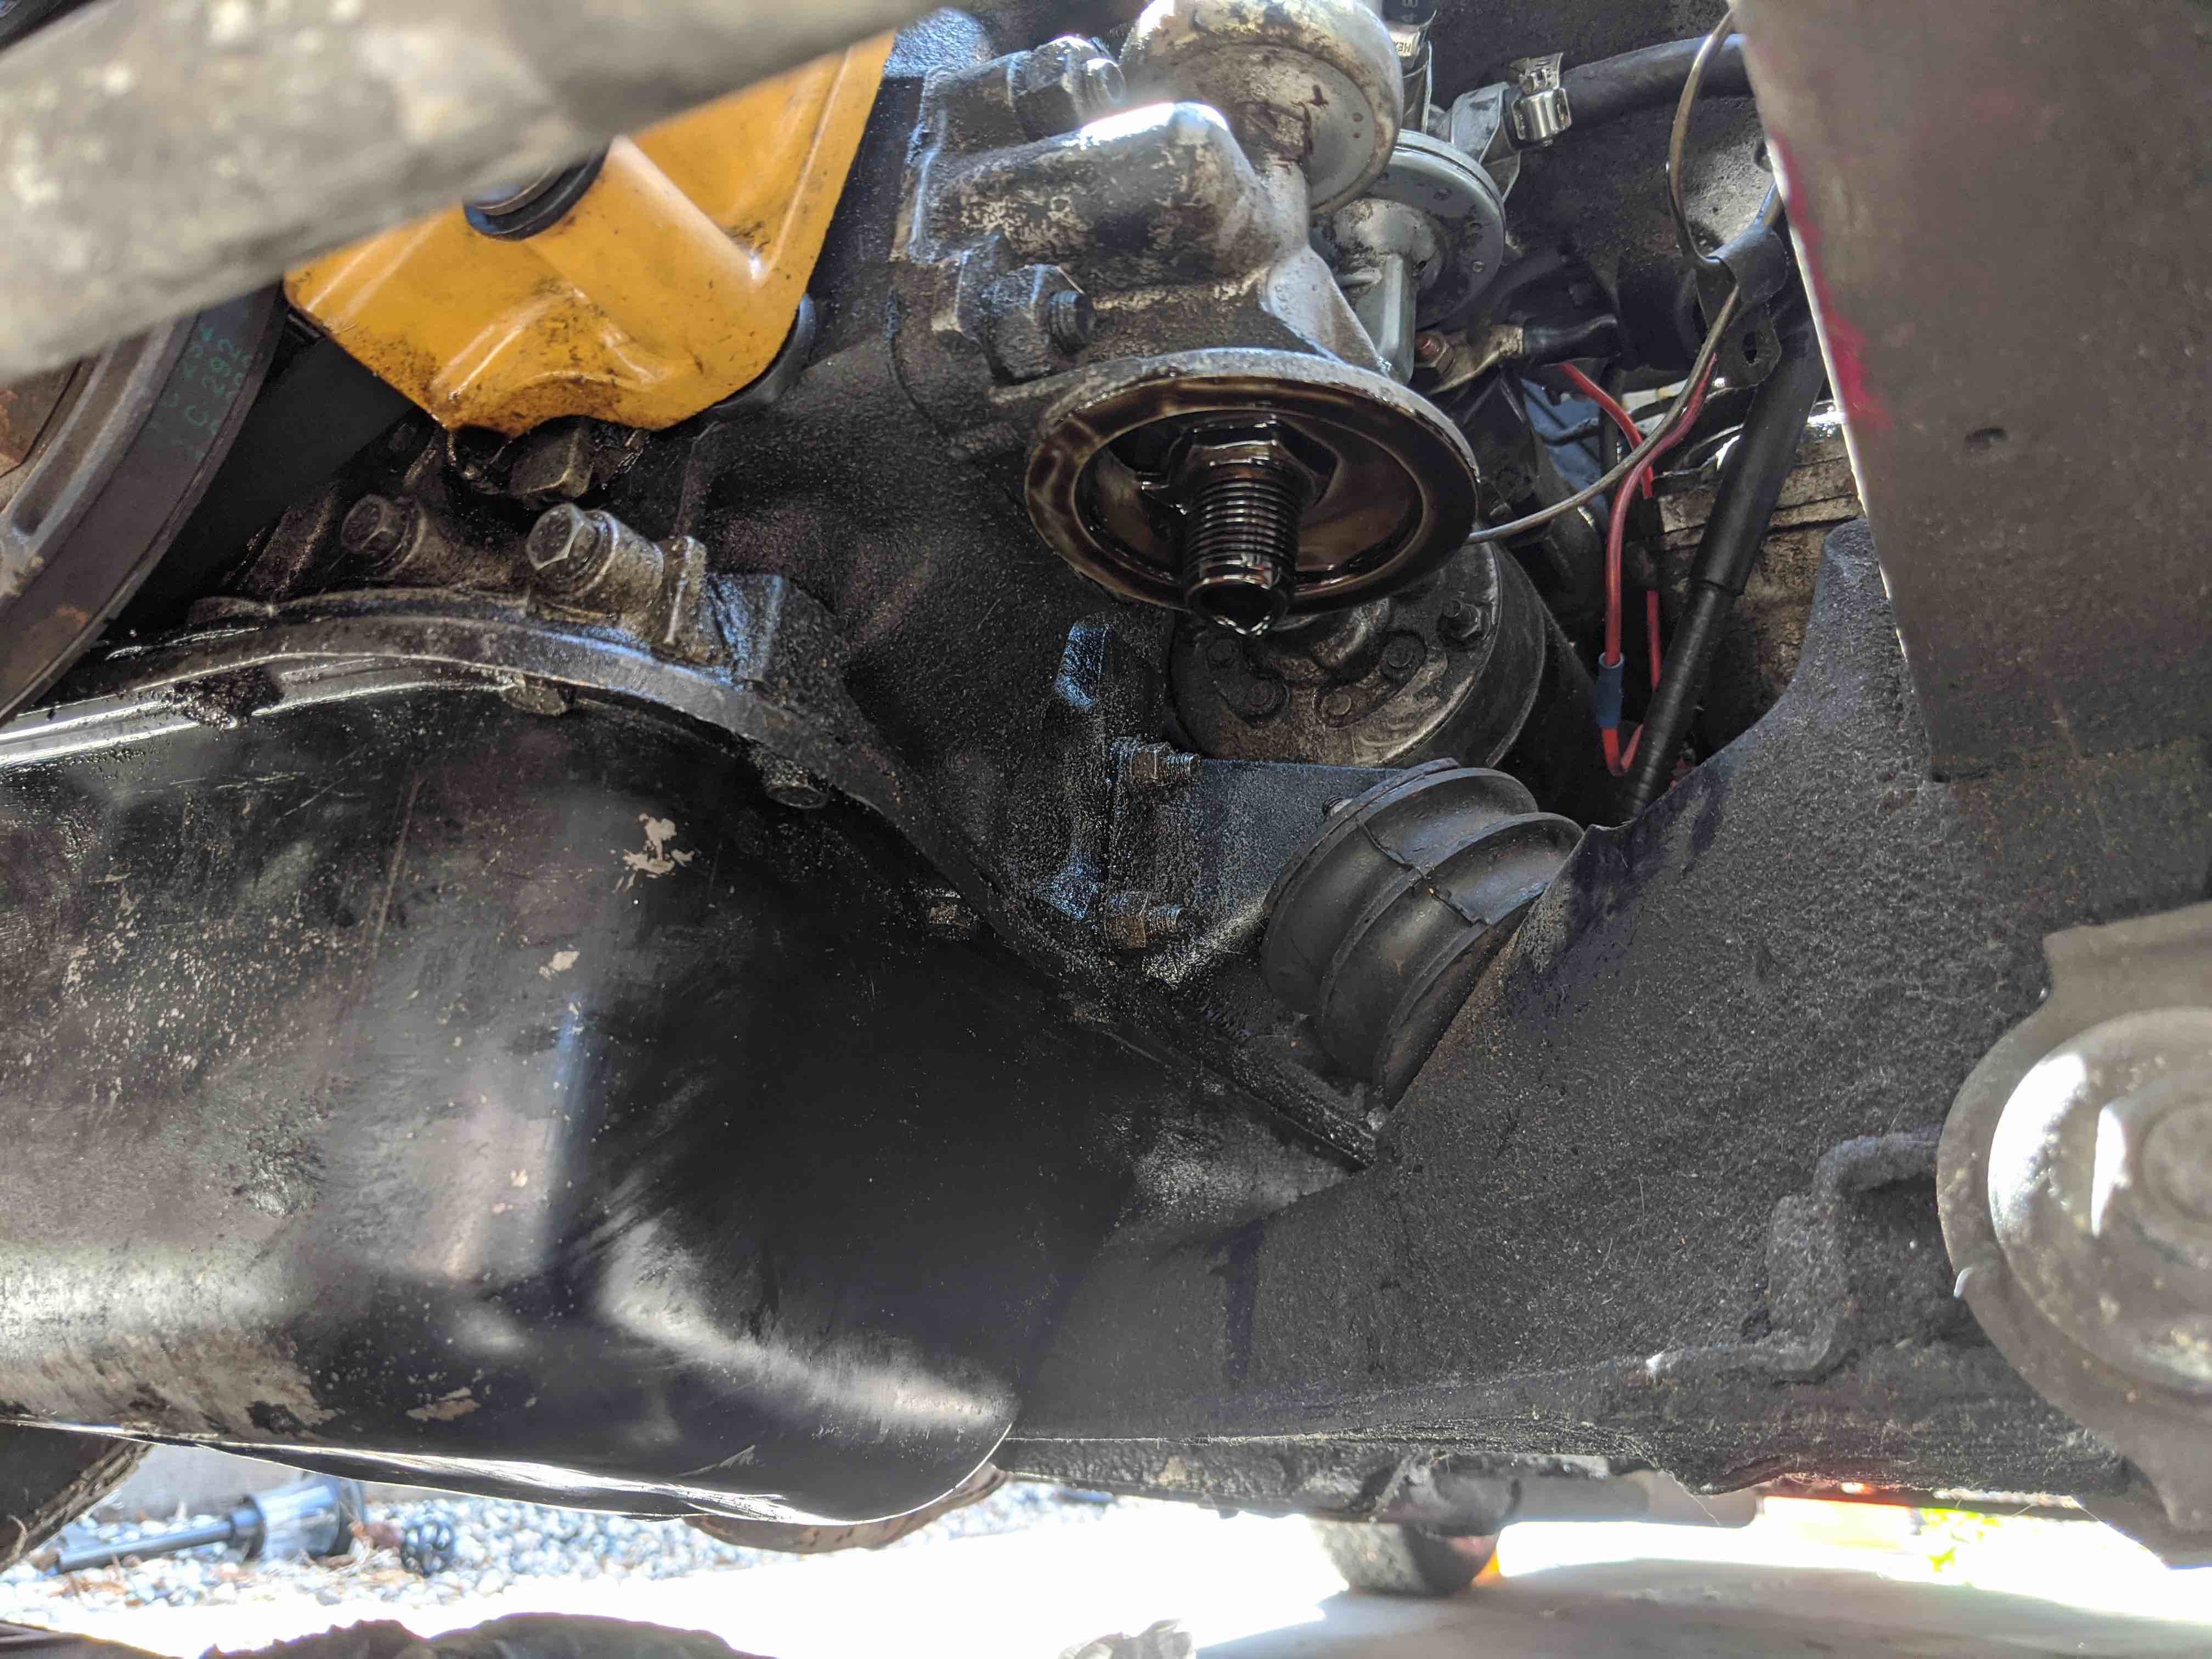
Once the car is raised, place the oil drain pan towards the back of the sump, since that's where the drain plug is located.
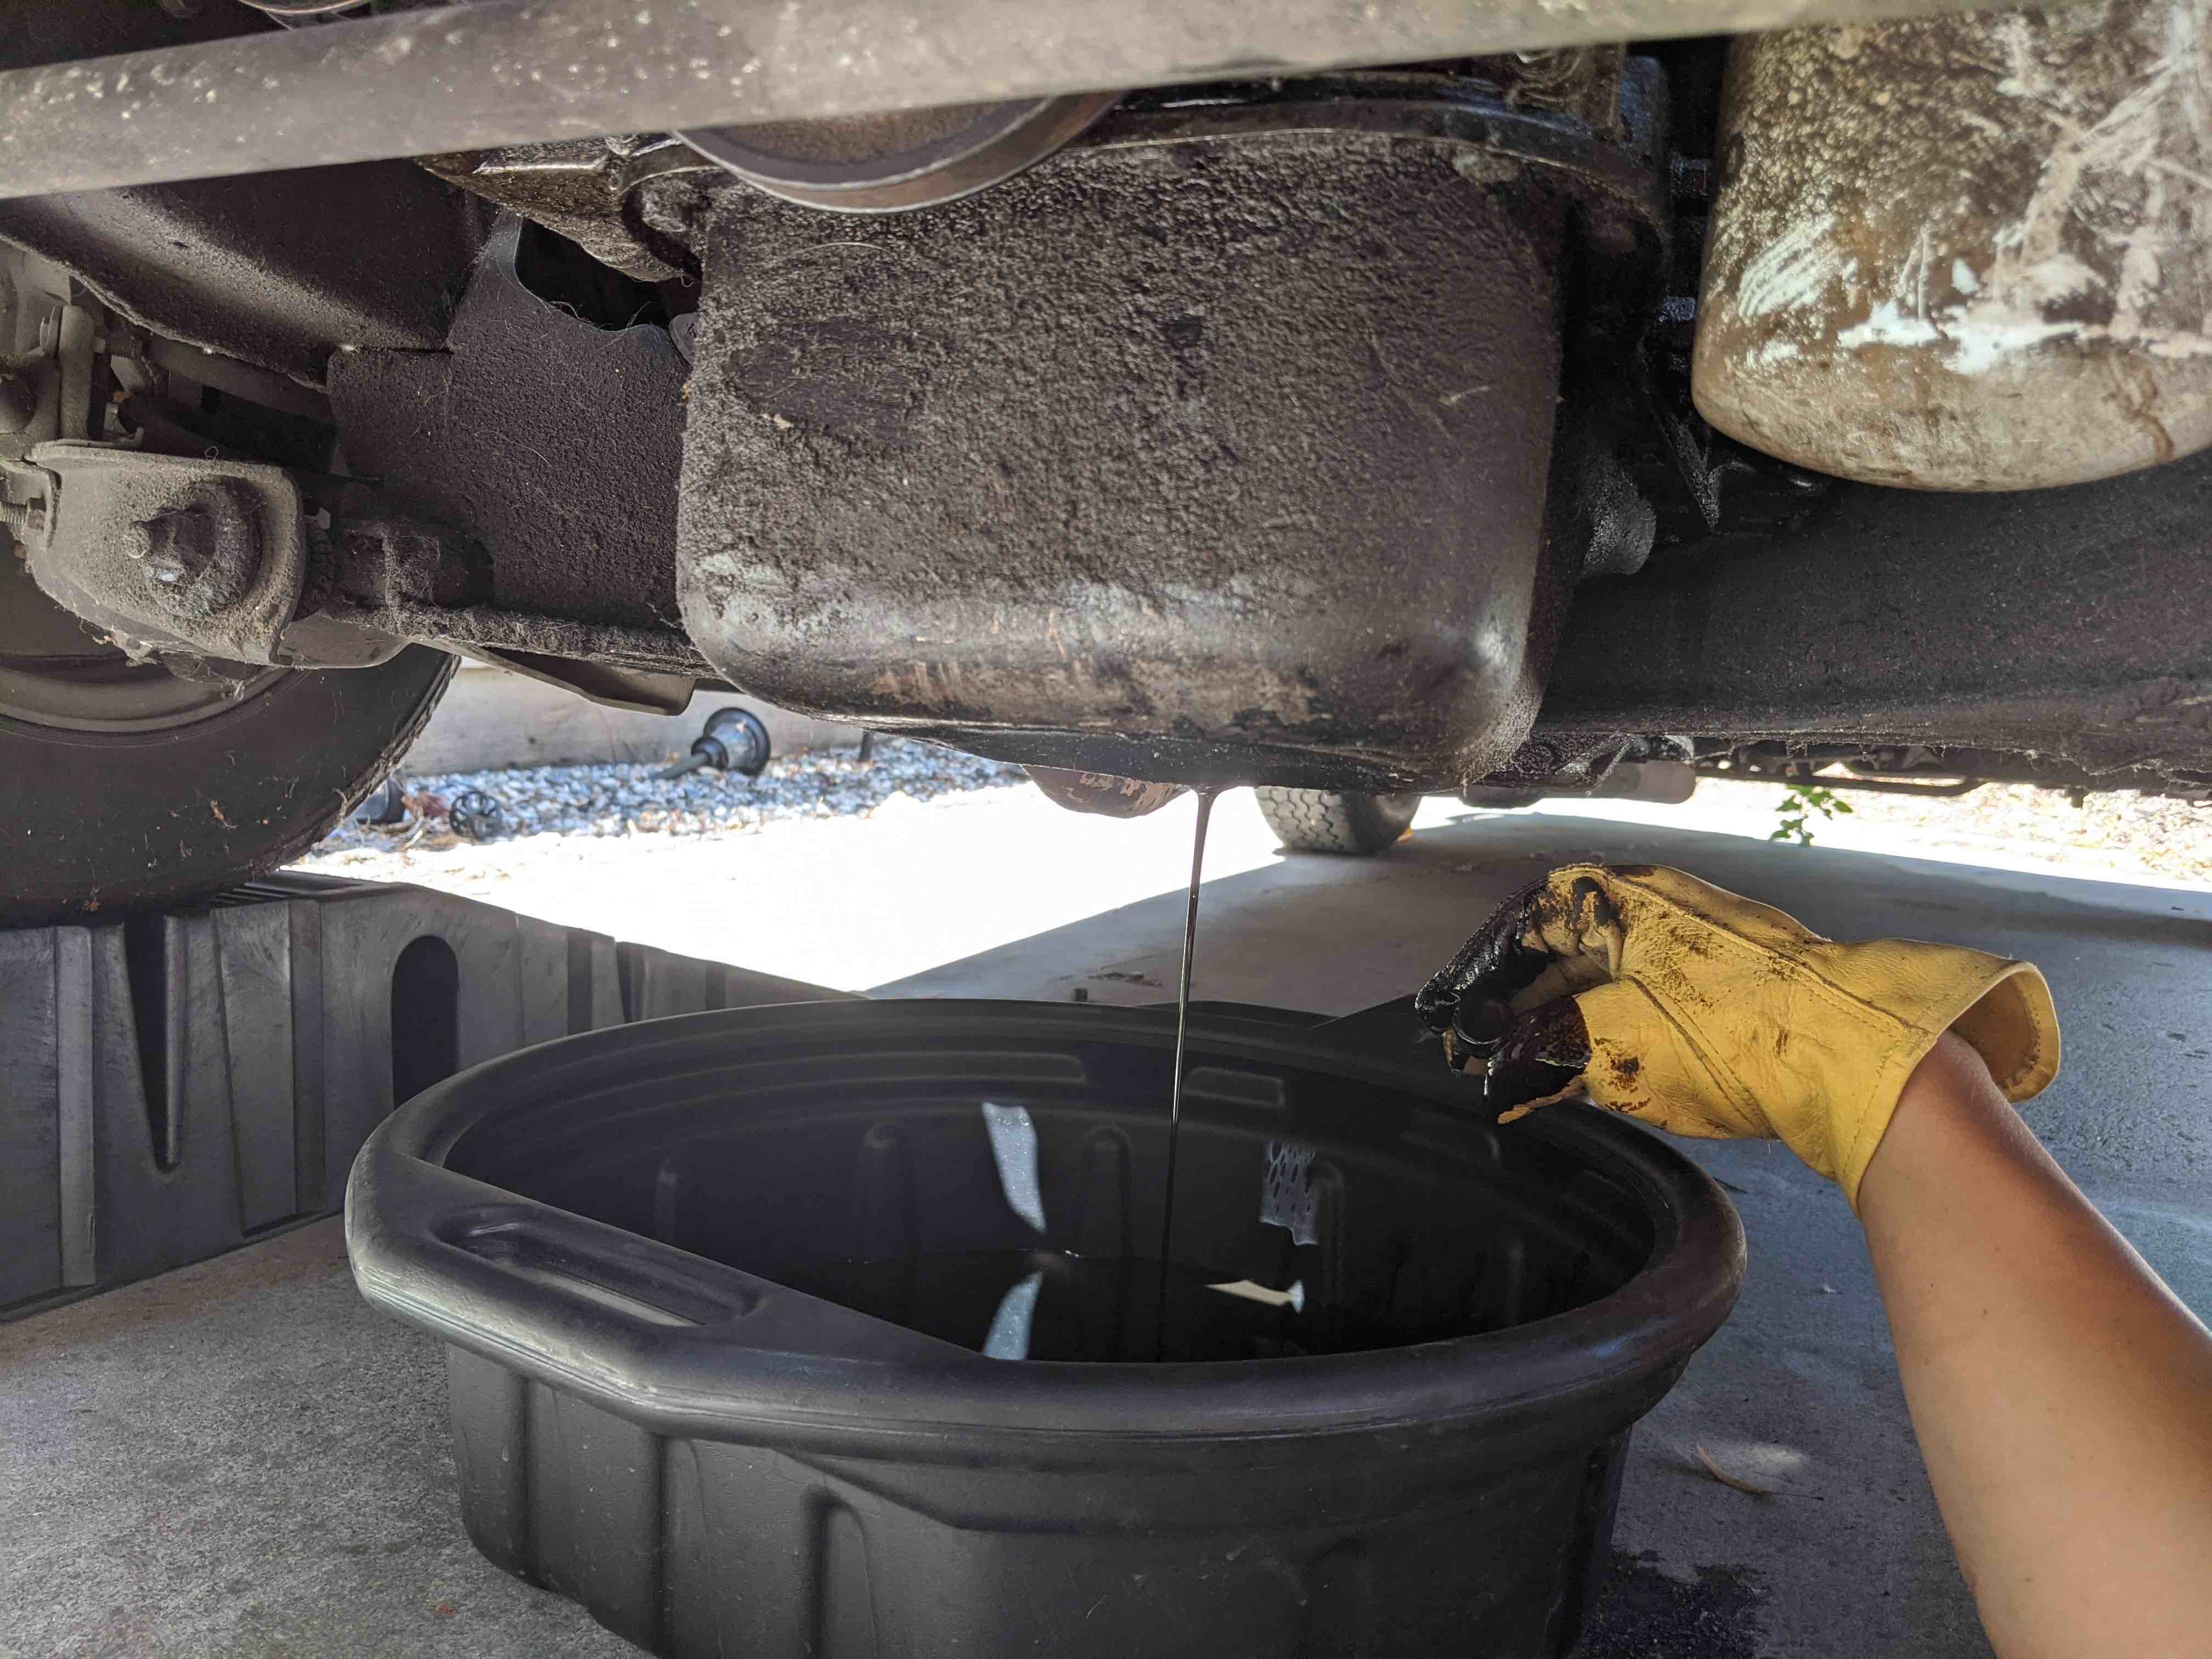
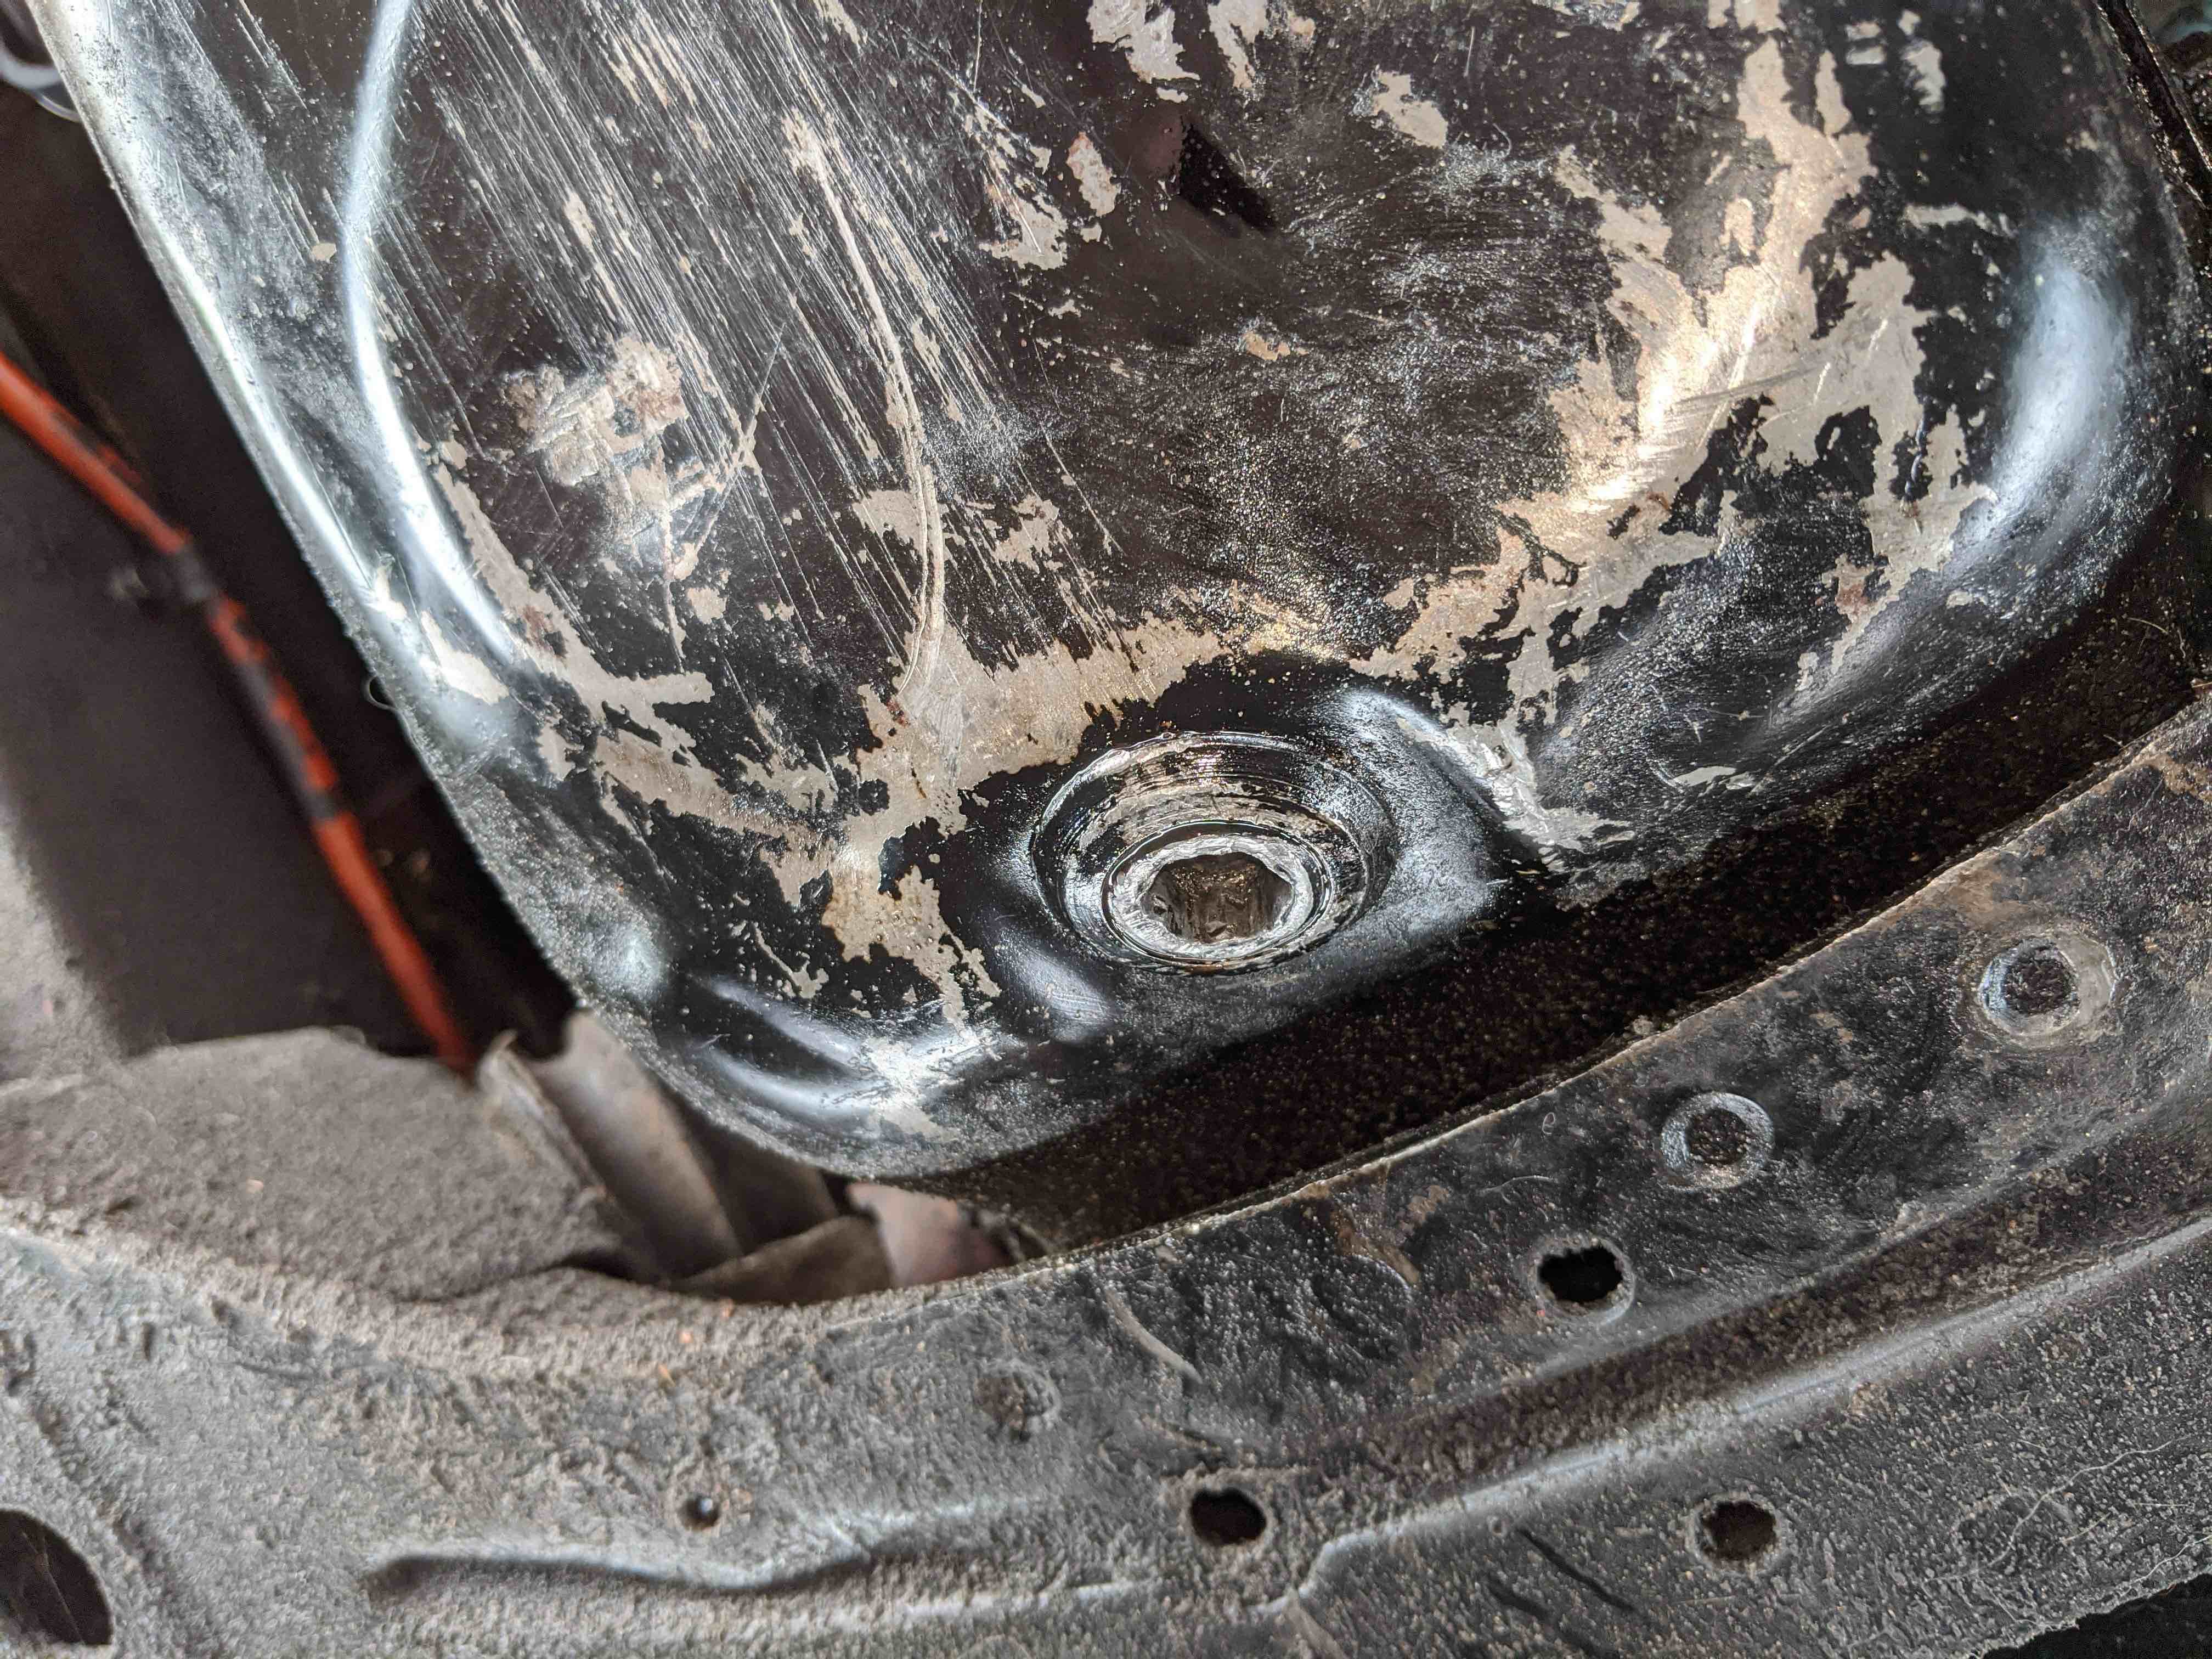
With the drain pan in place, we can use the 12mm allen wrench to remove the drain plug. It's possible that the drain plug was replaced at some point, so make sure the 12mm is the right size for the plug. It's very important to keep in mind that depending on how long the car was run for, the oil may be very hot. I quickly checked the temperature of the sump itself to make sure it wasn't too hot before continuing. When the plug is removed, oil will immediately come out so if the oil is still hot, it will burn you. Be careful!
Once the drain plug is out, the oil will start draining into the drain pan. We'll have to let this sit for around 20 minutes to let it drain completely. While it's draining, there are a couple things we can do.
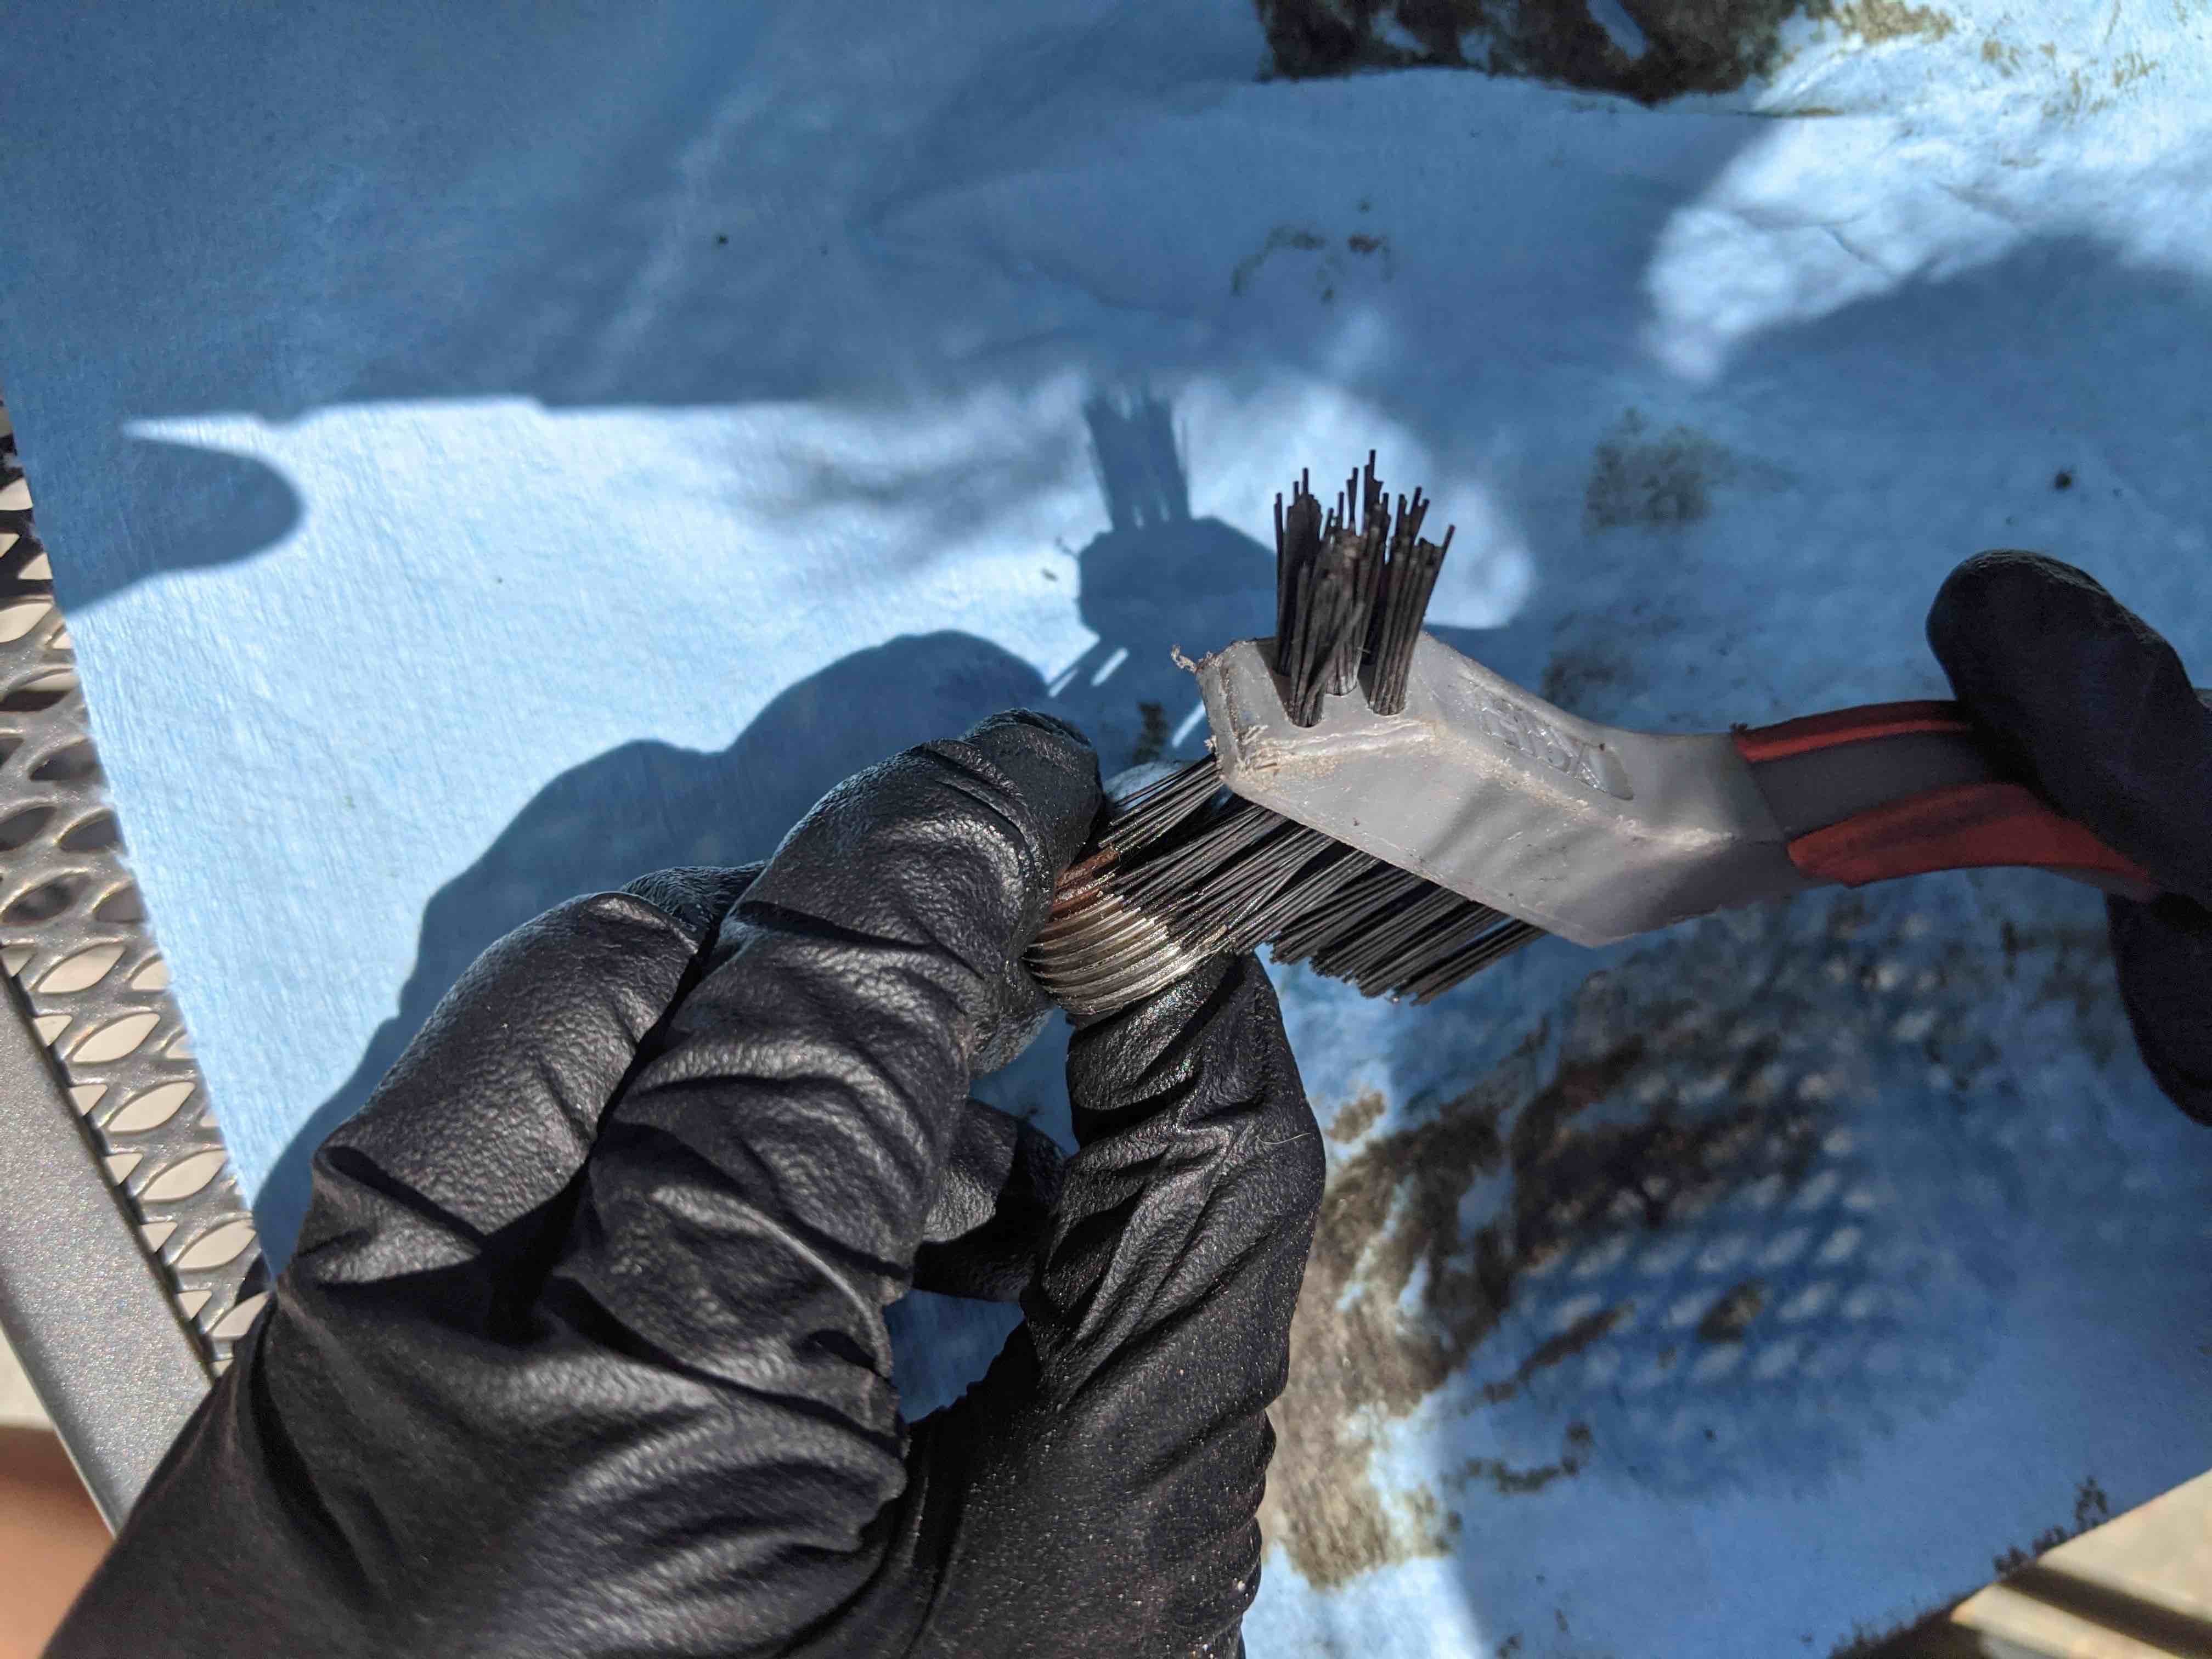
The first thing we can do clean up the drain plug. I cleaned all the gunk out of the threads of the drain plug to make sure it was all clean for when we reinstalled it. This is also a good time to inspect the plug itself to see if you may want to replace it.
The other thing we can do is take some time to go around and make sure the sump mounting bolts are tightened to spec. This is where we'll use the 10mm socket. I believe the torque spec is just 5.7 lb-ft, so we'll need to be gentle here.
These two things will likely not take enough time, so there will probably be some thumb twiddling to be done. In my case, there was a piece of the convertible top frame that was snagging on some rubber lining when the frame is opened and closed. This piece was a little bit bent out of shape and one of the heads of a mounting bolt had broken off. I spent my time removing the piece, setting it back to the proper shape, and removing the broken bolt. I managed to get that installed and was able to get it to not have issues when opening and closing the top.
Once the oil is all drained out of the sump, we can replace the drain plug. We have to be careful with the drain plug as to make sure we don't cross-thread. Start the plug by hand, making sure to have the threads lined up right. Once the threads are in, it can be tightened with the allen. Make sure to not over-torque the plug. I could not find an exact spec for this car, but typically, drain plugs are torqued around 20 lb-ft. Also keep in mind that if there's oil on the threads, there will be reduced friction on the bolt which can disturb the torque measurements.
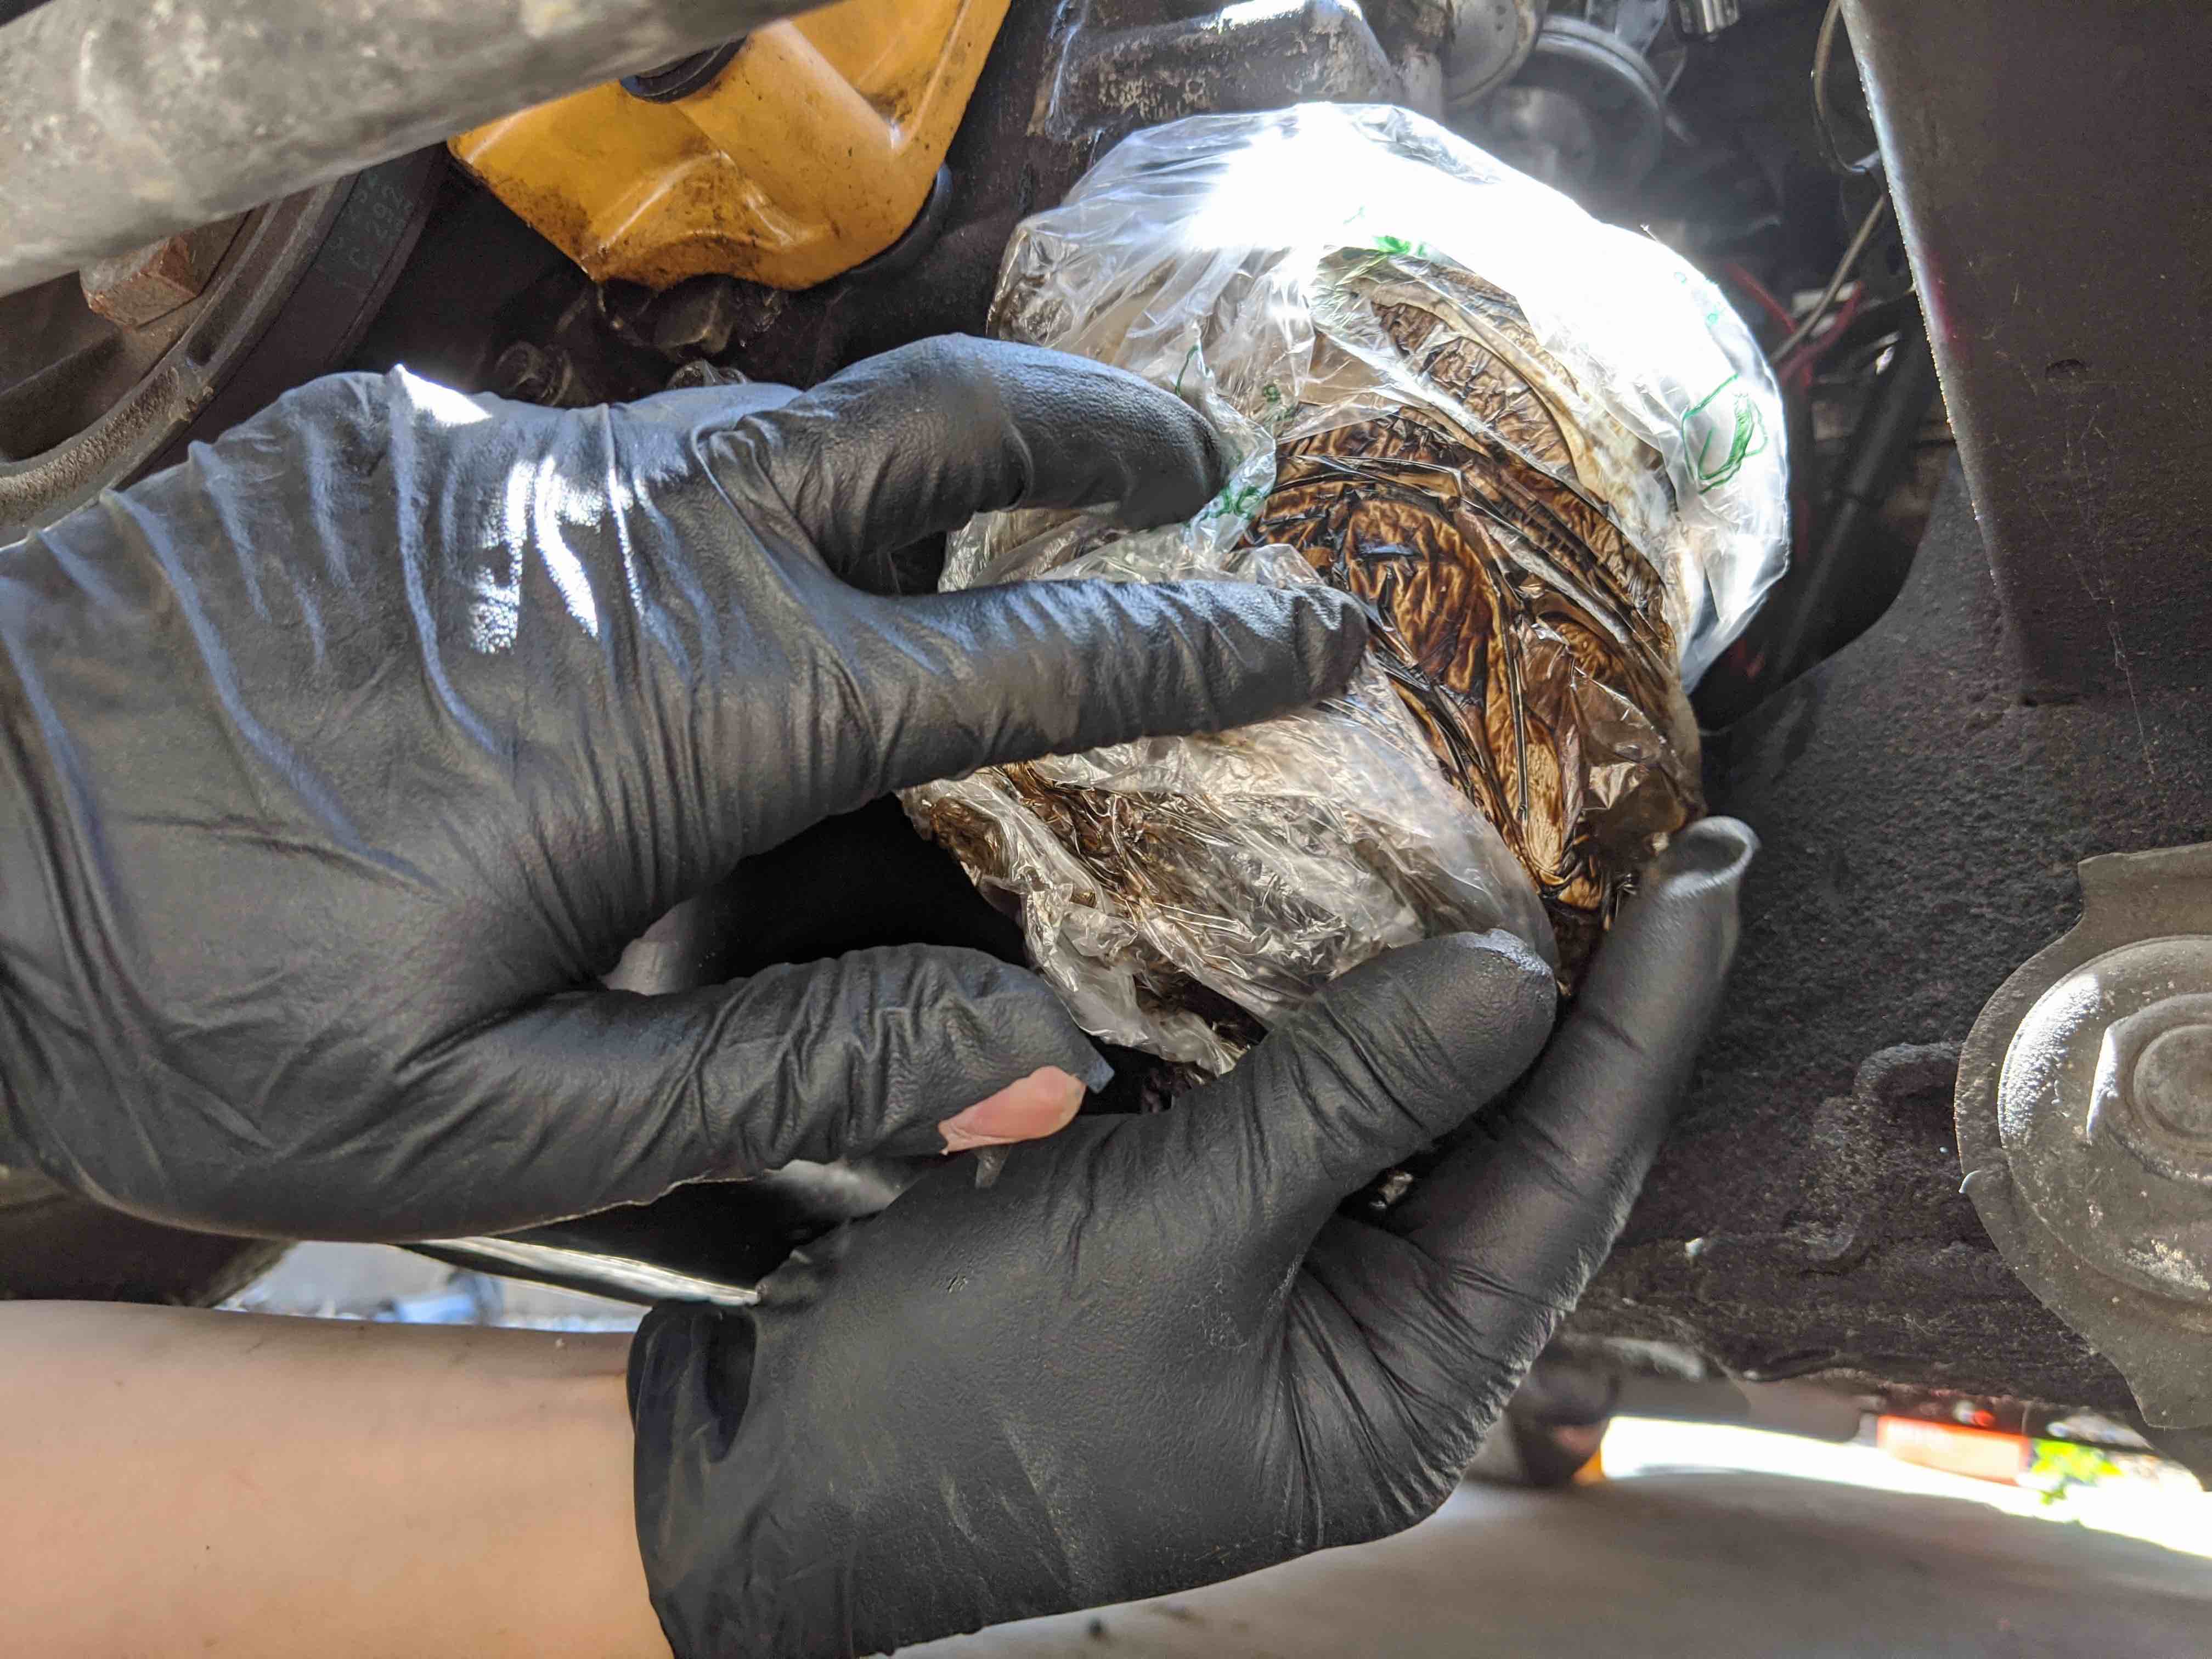
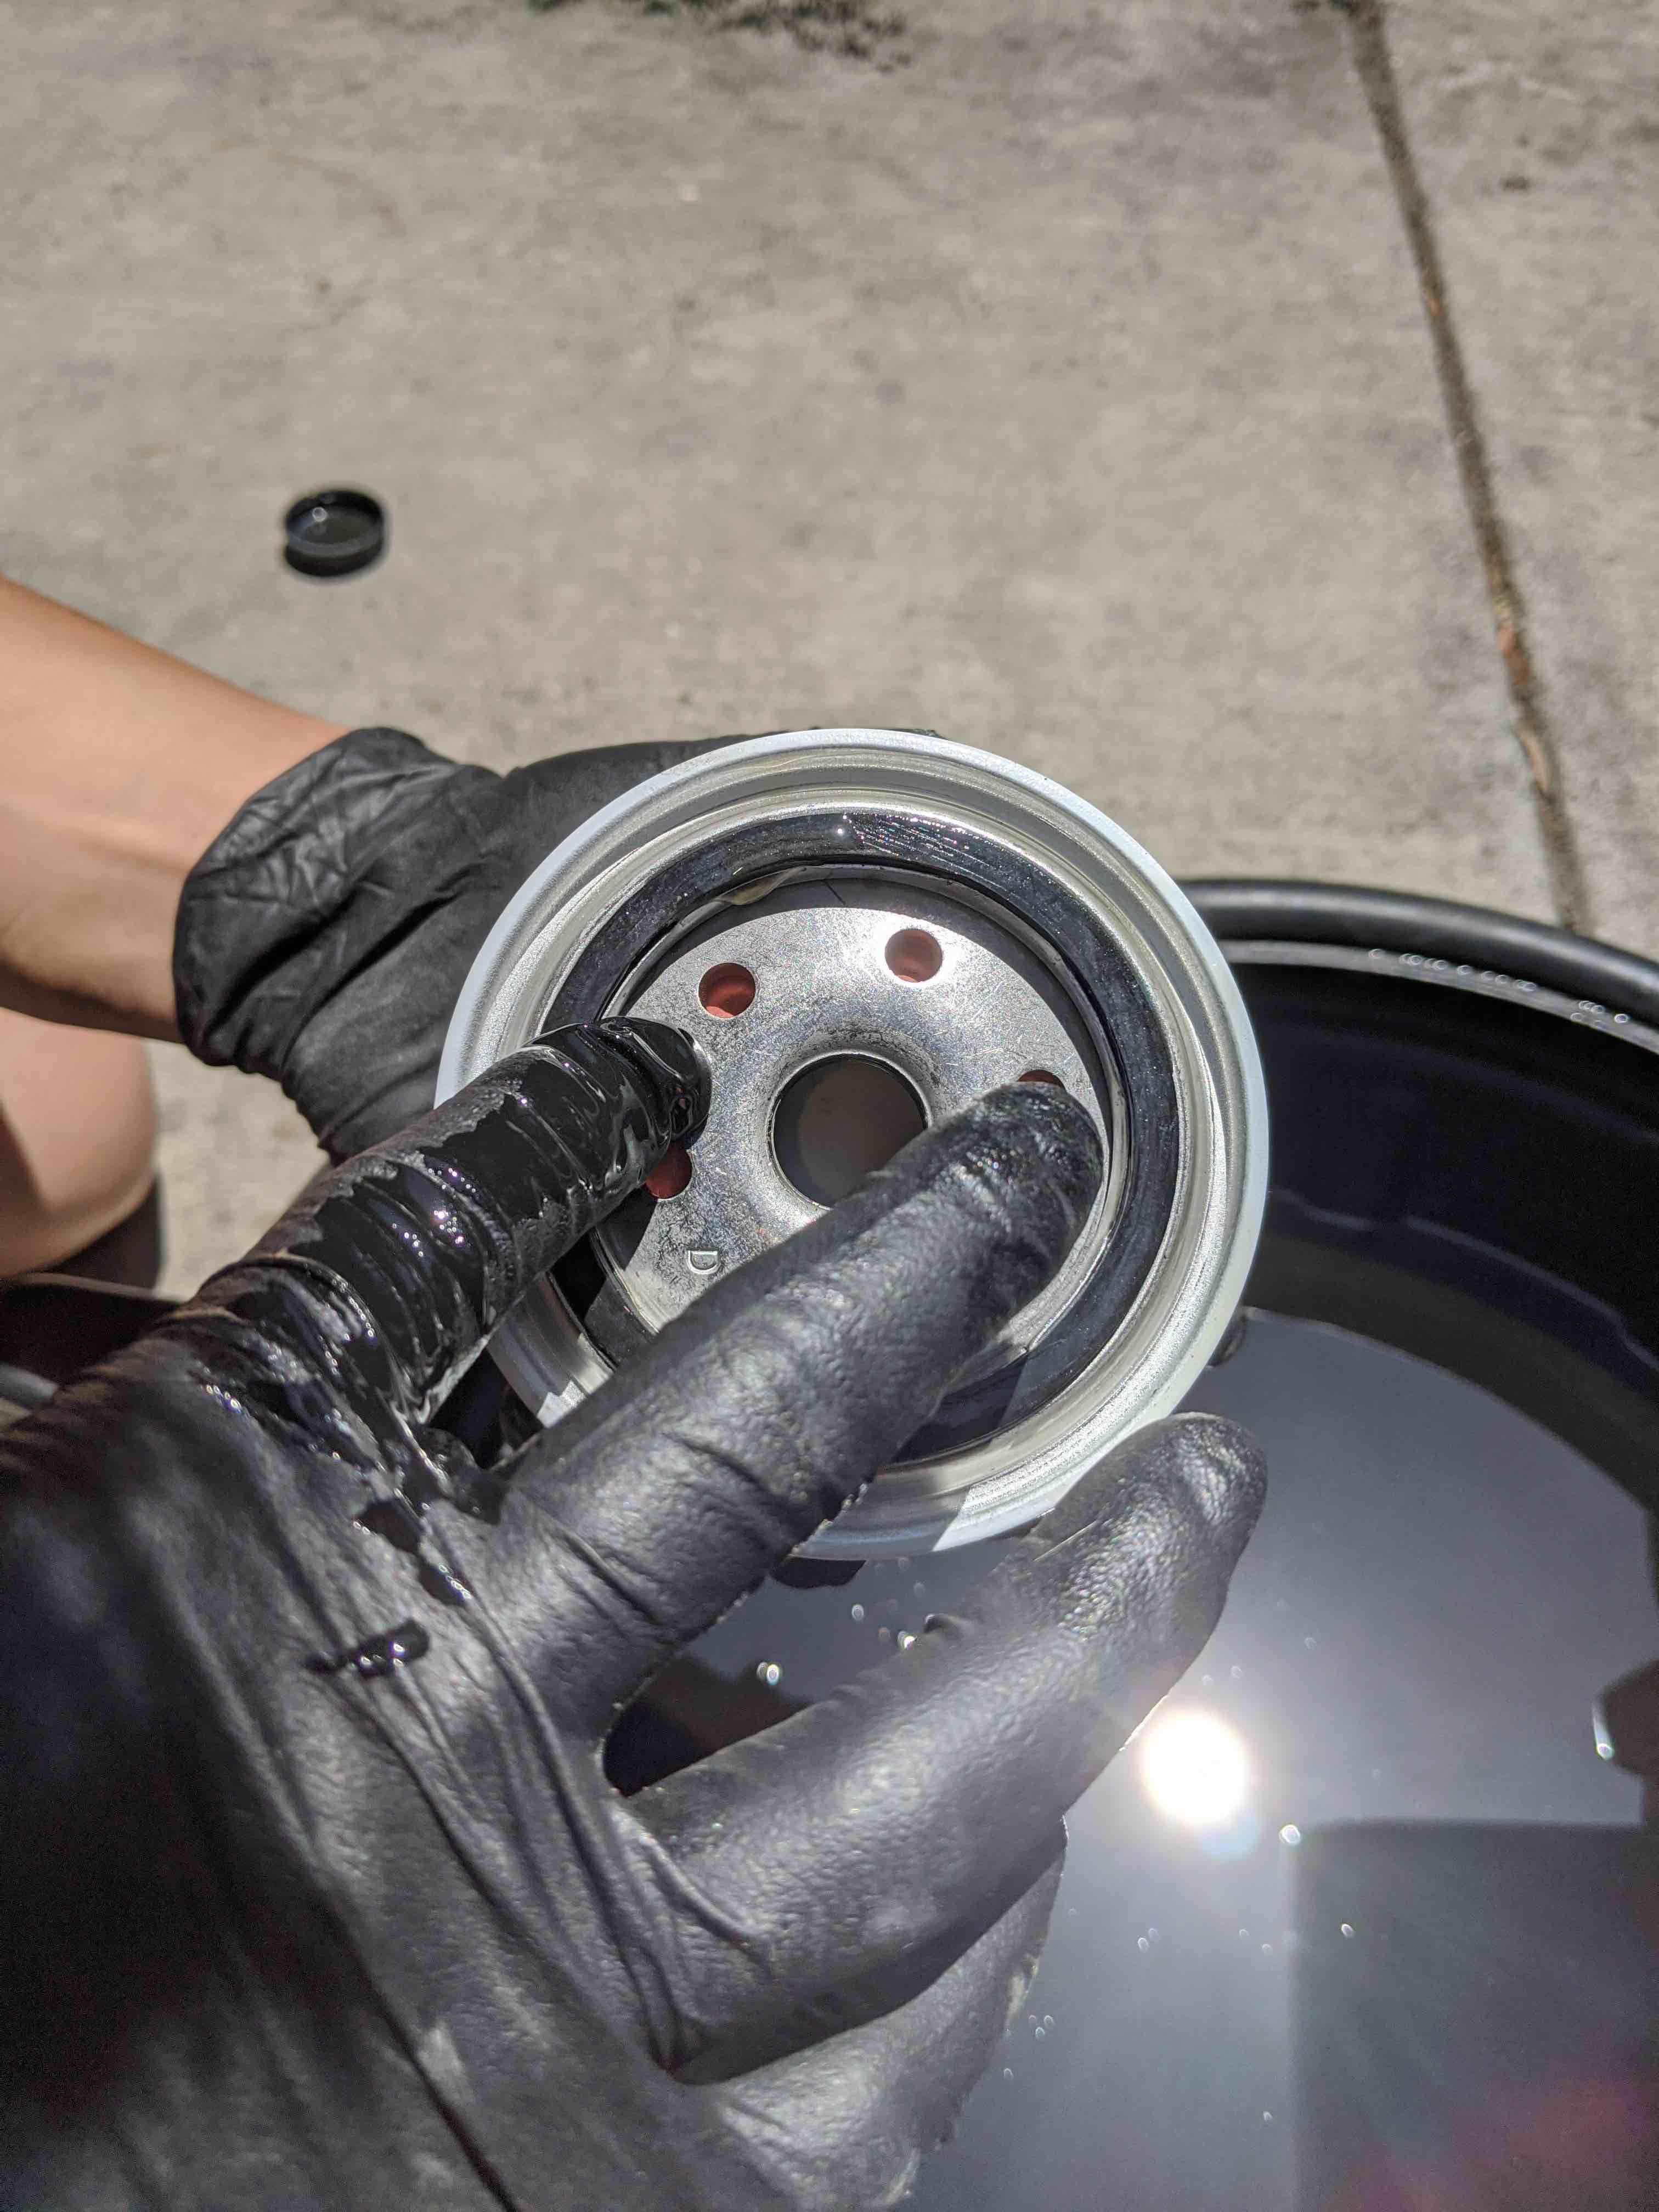
With the drain plug back in, we can move on to the oil filter. Using an oil filter wrench or pliers, loosen the oil filter just to get it started. Once it can be removed by hand, I'd recommend putting a bag around it to catch the oil as you loosen the filter.

Before putting on the new oil filter, take some fresh oil and apply some to the gasket on the new filter. This will help ensure that the gasket doesn't stick to the sump and also create a nice seal to help prevent oil leaks.
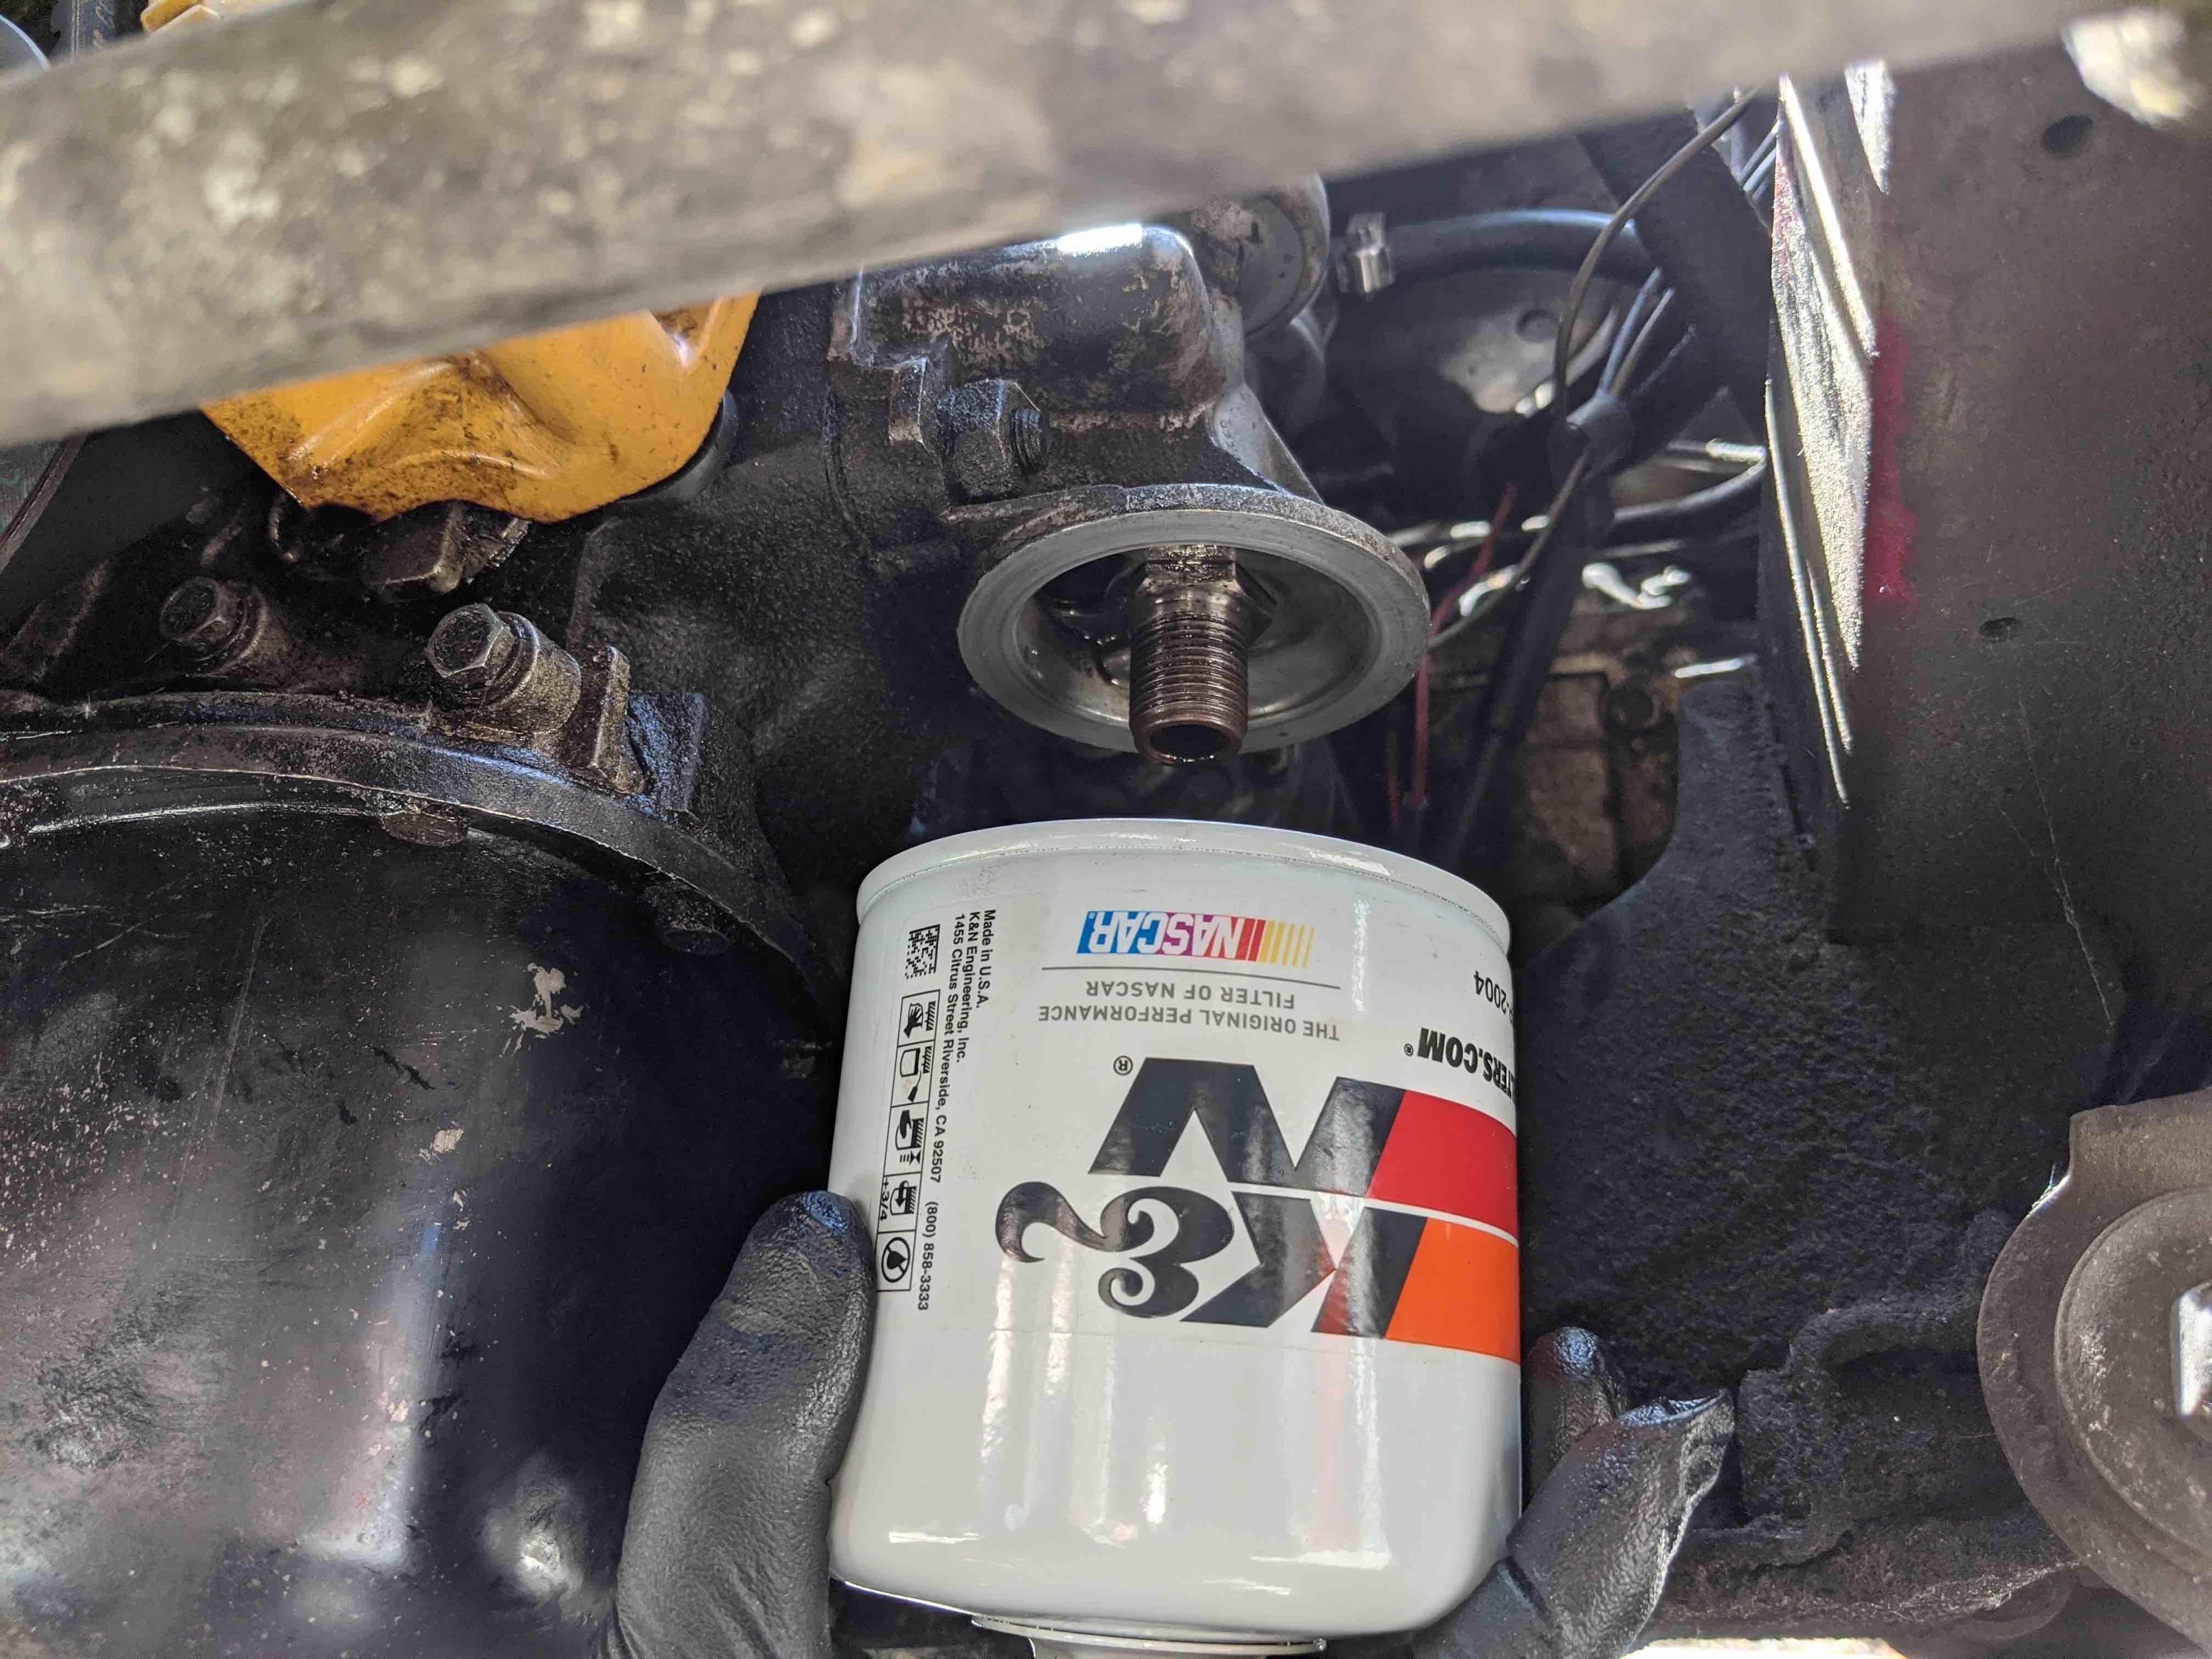
Installing the new filter should be done by hand -- there's no need to use the wrench or pliers to tighten it. Make sure to avoid cross-threading when attaching the new filter, and we just need to make it snug. It should spin on easily, and once it starts getting tight, give it another quarter turn and that's it.
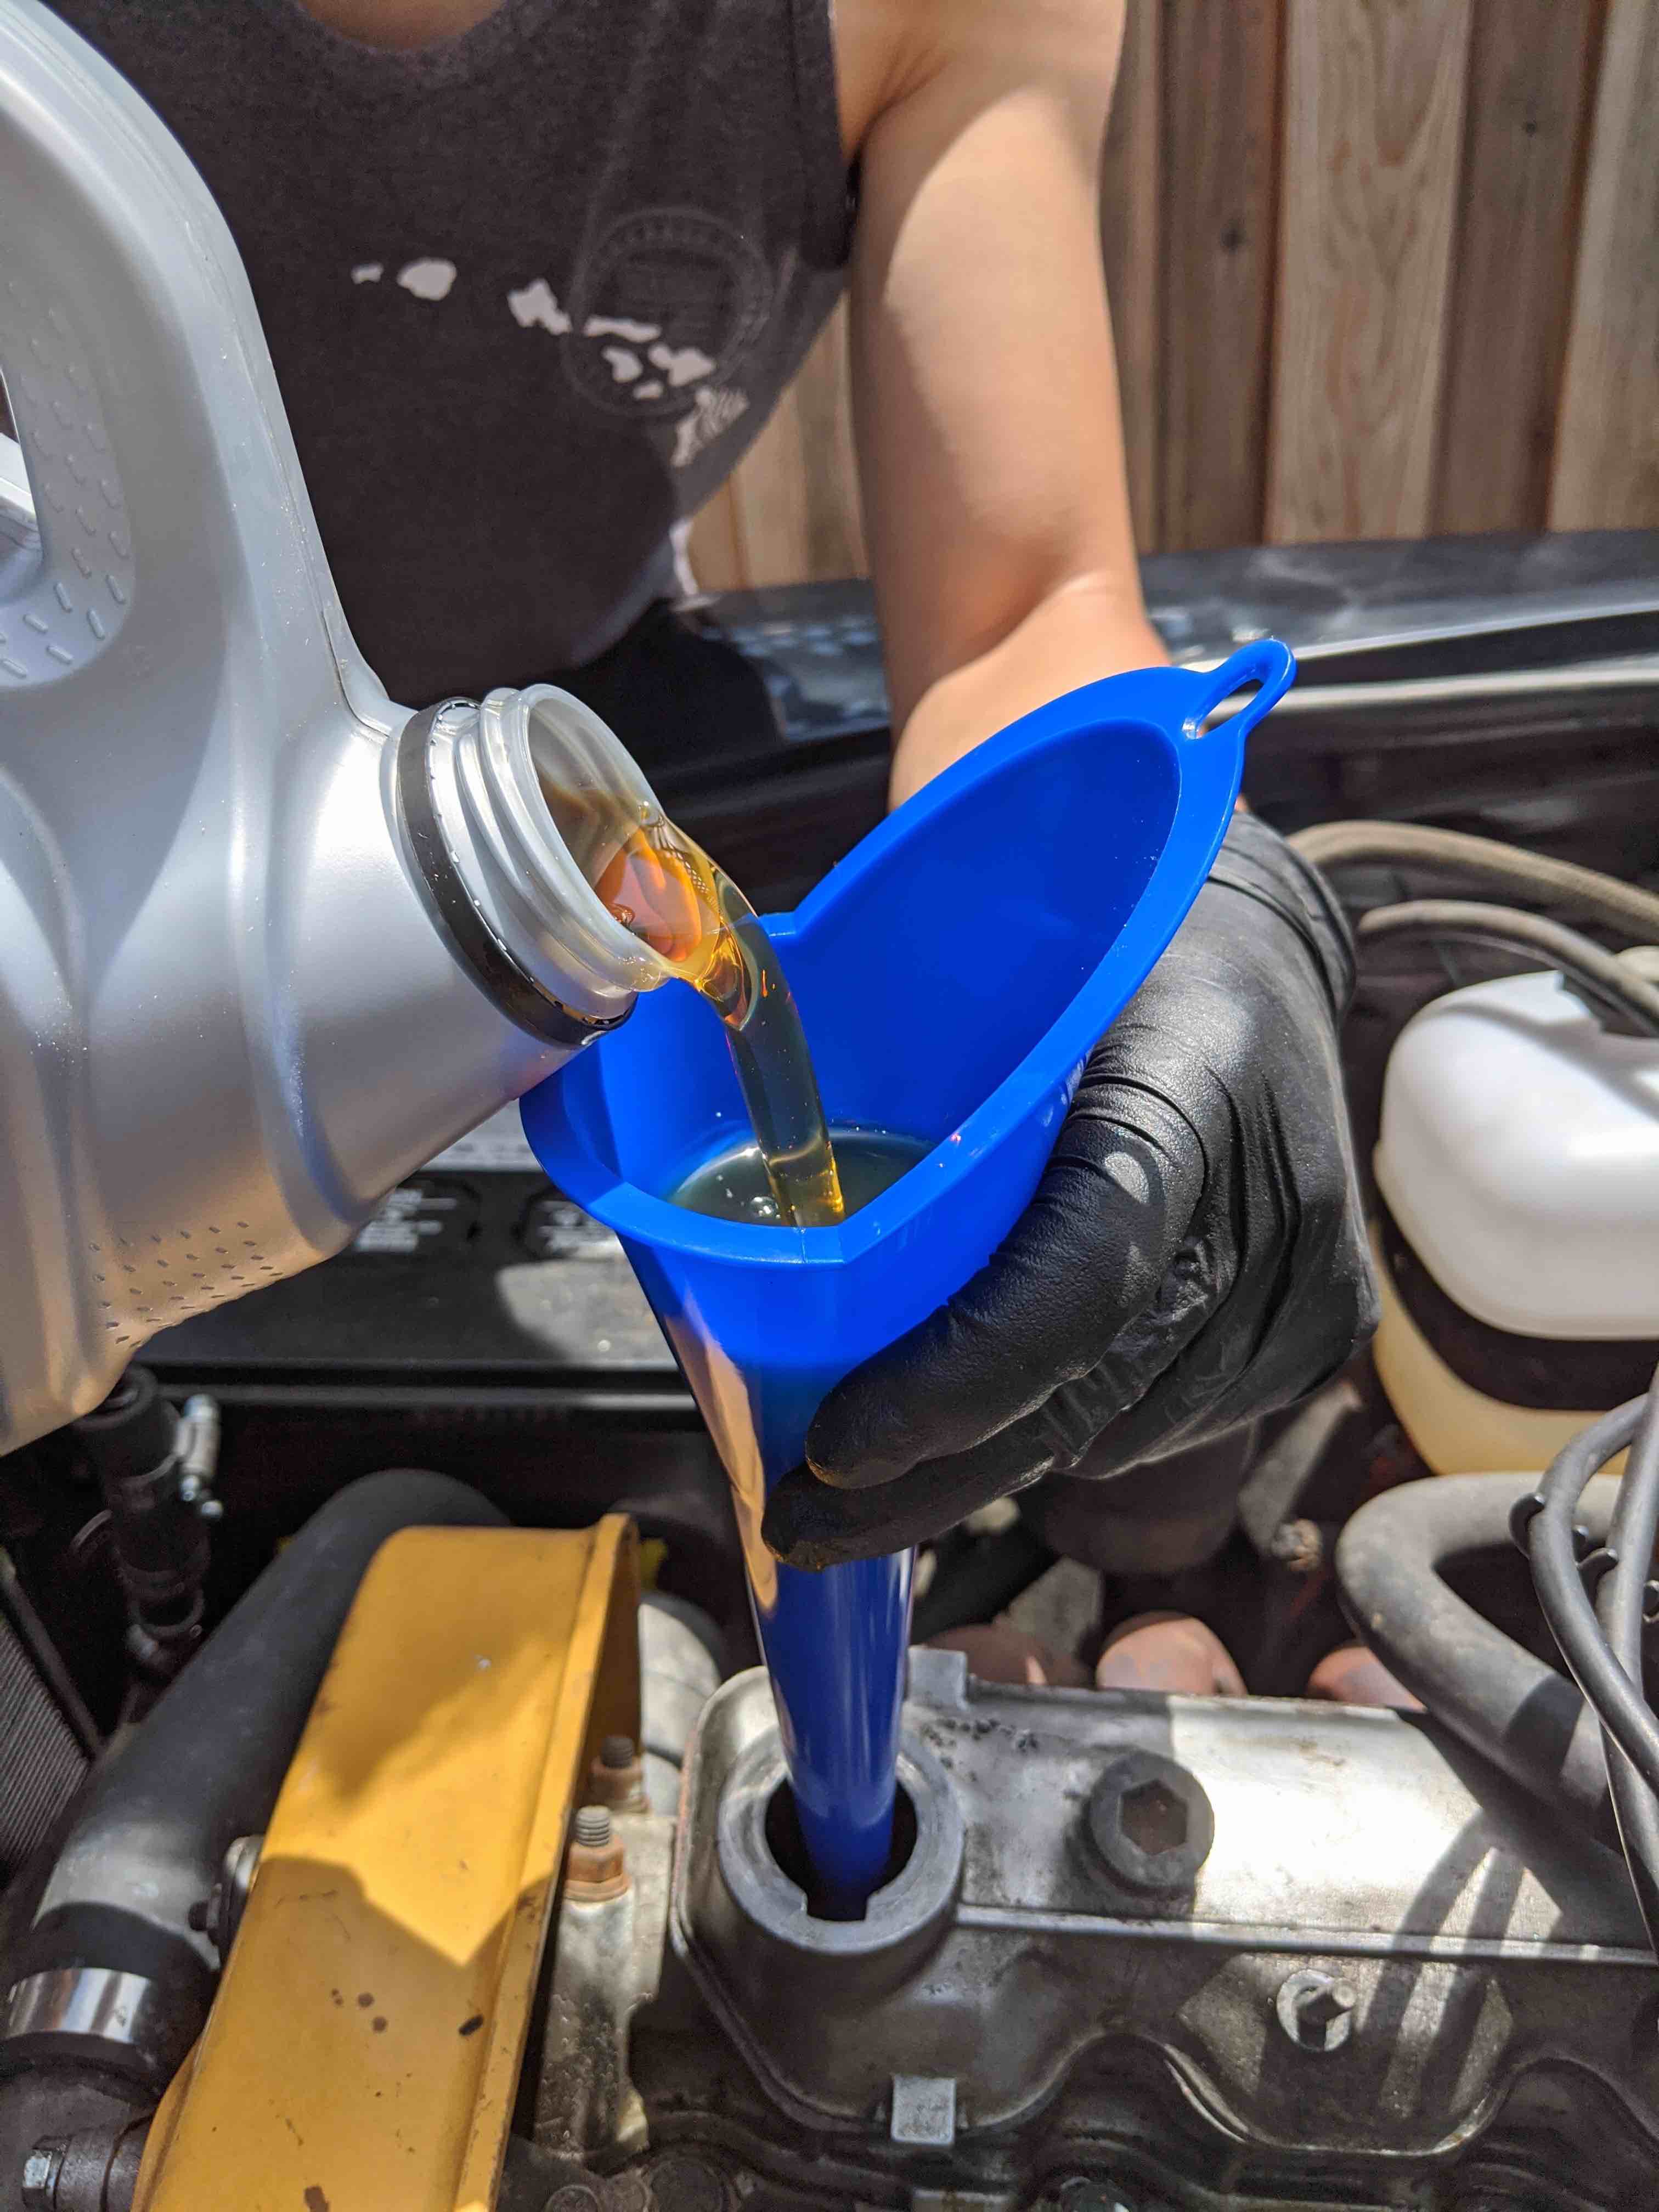
Now that the new filter is installed, we're ready to add new oil! The oil filler cap is located on the top of the cylinder head on the passenger side by the timing belt cover.

Remove the cap and using the funnel, add in the new oil and close it up once its full. Check the level by taking a peek at the dipstick. It should take around 3.8L of oil.
Once it's full, we're done with the oil change! Carefully lower the car off of the jackstands or roll it back down the ramp. Start up the car and watch the oil pressure gauge. The light should blink as it's starting up and shortly after the gauge should start reading. Once the pressure is up, leave the car running and check back under the car for any oil leaks. If there are leaks, you'll have to go back through the process and find the issue. In this case, it most certainly would be an issue with how the plug or filter were attached, or with the fit of the filter itself.
Assuming no leaks, we're done! Make sure to keep the old oil somewhere safe for proper disposal and make sure to dry out any oil-soaked rags before throwing them away!
Still interested? Go back to the Project Car page and check out how other things work!