Project Car
Project: Cooling System Replacement
My first project was to replace the cooling system. The radiator itself was completely nonfunctional so it had to be replaced. The coolant overflow tank had also melted all the way through due to excess heat from the exhaust manifold so this had to be replaced as well. Since I was doing these two, I figured that I might as well replace all the coolant hoses as well.
- Radiator
- Radiator lower support pad
- Radiator mount grommets
- Coolant overflow tank
- Coolant hoses
Before we start, we need to make sure that the car has been cooled down. In my case, it hadn't been driven for quite some time. If the car is still hot, make sure to wait for it to cool. Once it's cool, we'll drain the radiator. We'll drain it using the petcock. On mine, the petcock was on the driver side at the bottom corner.

Place the drain pan under the petcock and open it. I had to use pliers to get mine open since it was pretty stuck. The coolant should start flowing out! It helps to also open the coolant overflow cap or radiator cap to let some air into the system. In my case, my coolant overflow tank had a huge hole in it already so this was unnecessary.
The second step is to disconnect all the hoses that are connected to the radiator. I started with the hose on the bottom by the petcock by loosening the hose clamp on the radiator side and making sure to catch any remaining coolant in the drain pan. I found that it was easier to detach the hose that was connected to the water pump from the water pump side instead of the radiator side.
As a part of disconnecting all the hoses, I removed the coolant thermostat and the thermostat housing. I did this because I wanted to make sure that it was working before I finished the replacement. You can read about how I tested it on my page about testing the thermostat.
After disconnecting all the coolant hoses, I removed the radiator filler hose, which is the hose that connects the coolant overflow tank to the radiator. It connects right by the radiator cap.
There are also some wires that need to be disconnected around the petcock. There's a brass plug that connects directly into the radiator. This plug is a switch that turns on the fan when the coolant running by the plug hits a certain temperature. It is used to turn the fan on when the radiator requires additional airflow to properly cool the coolant.
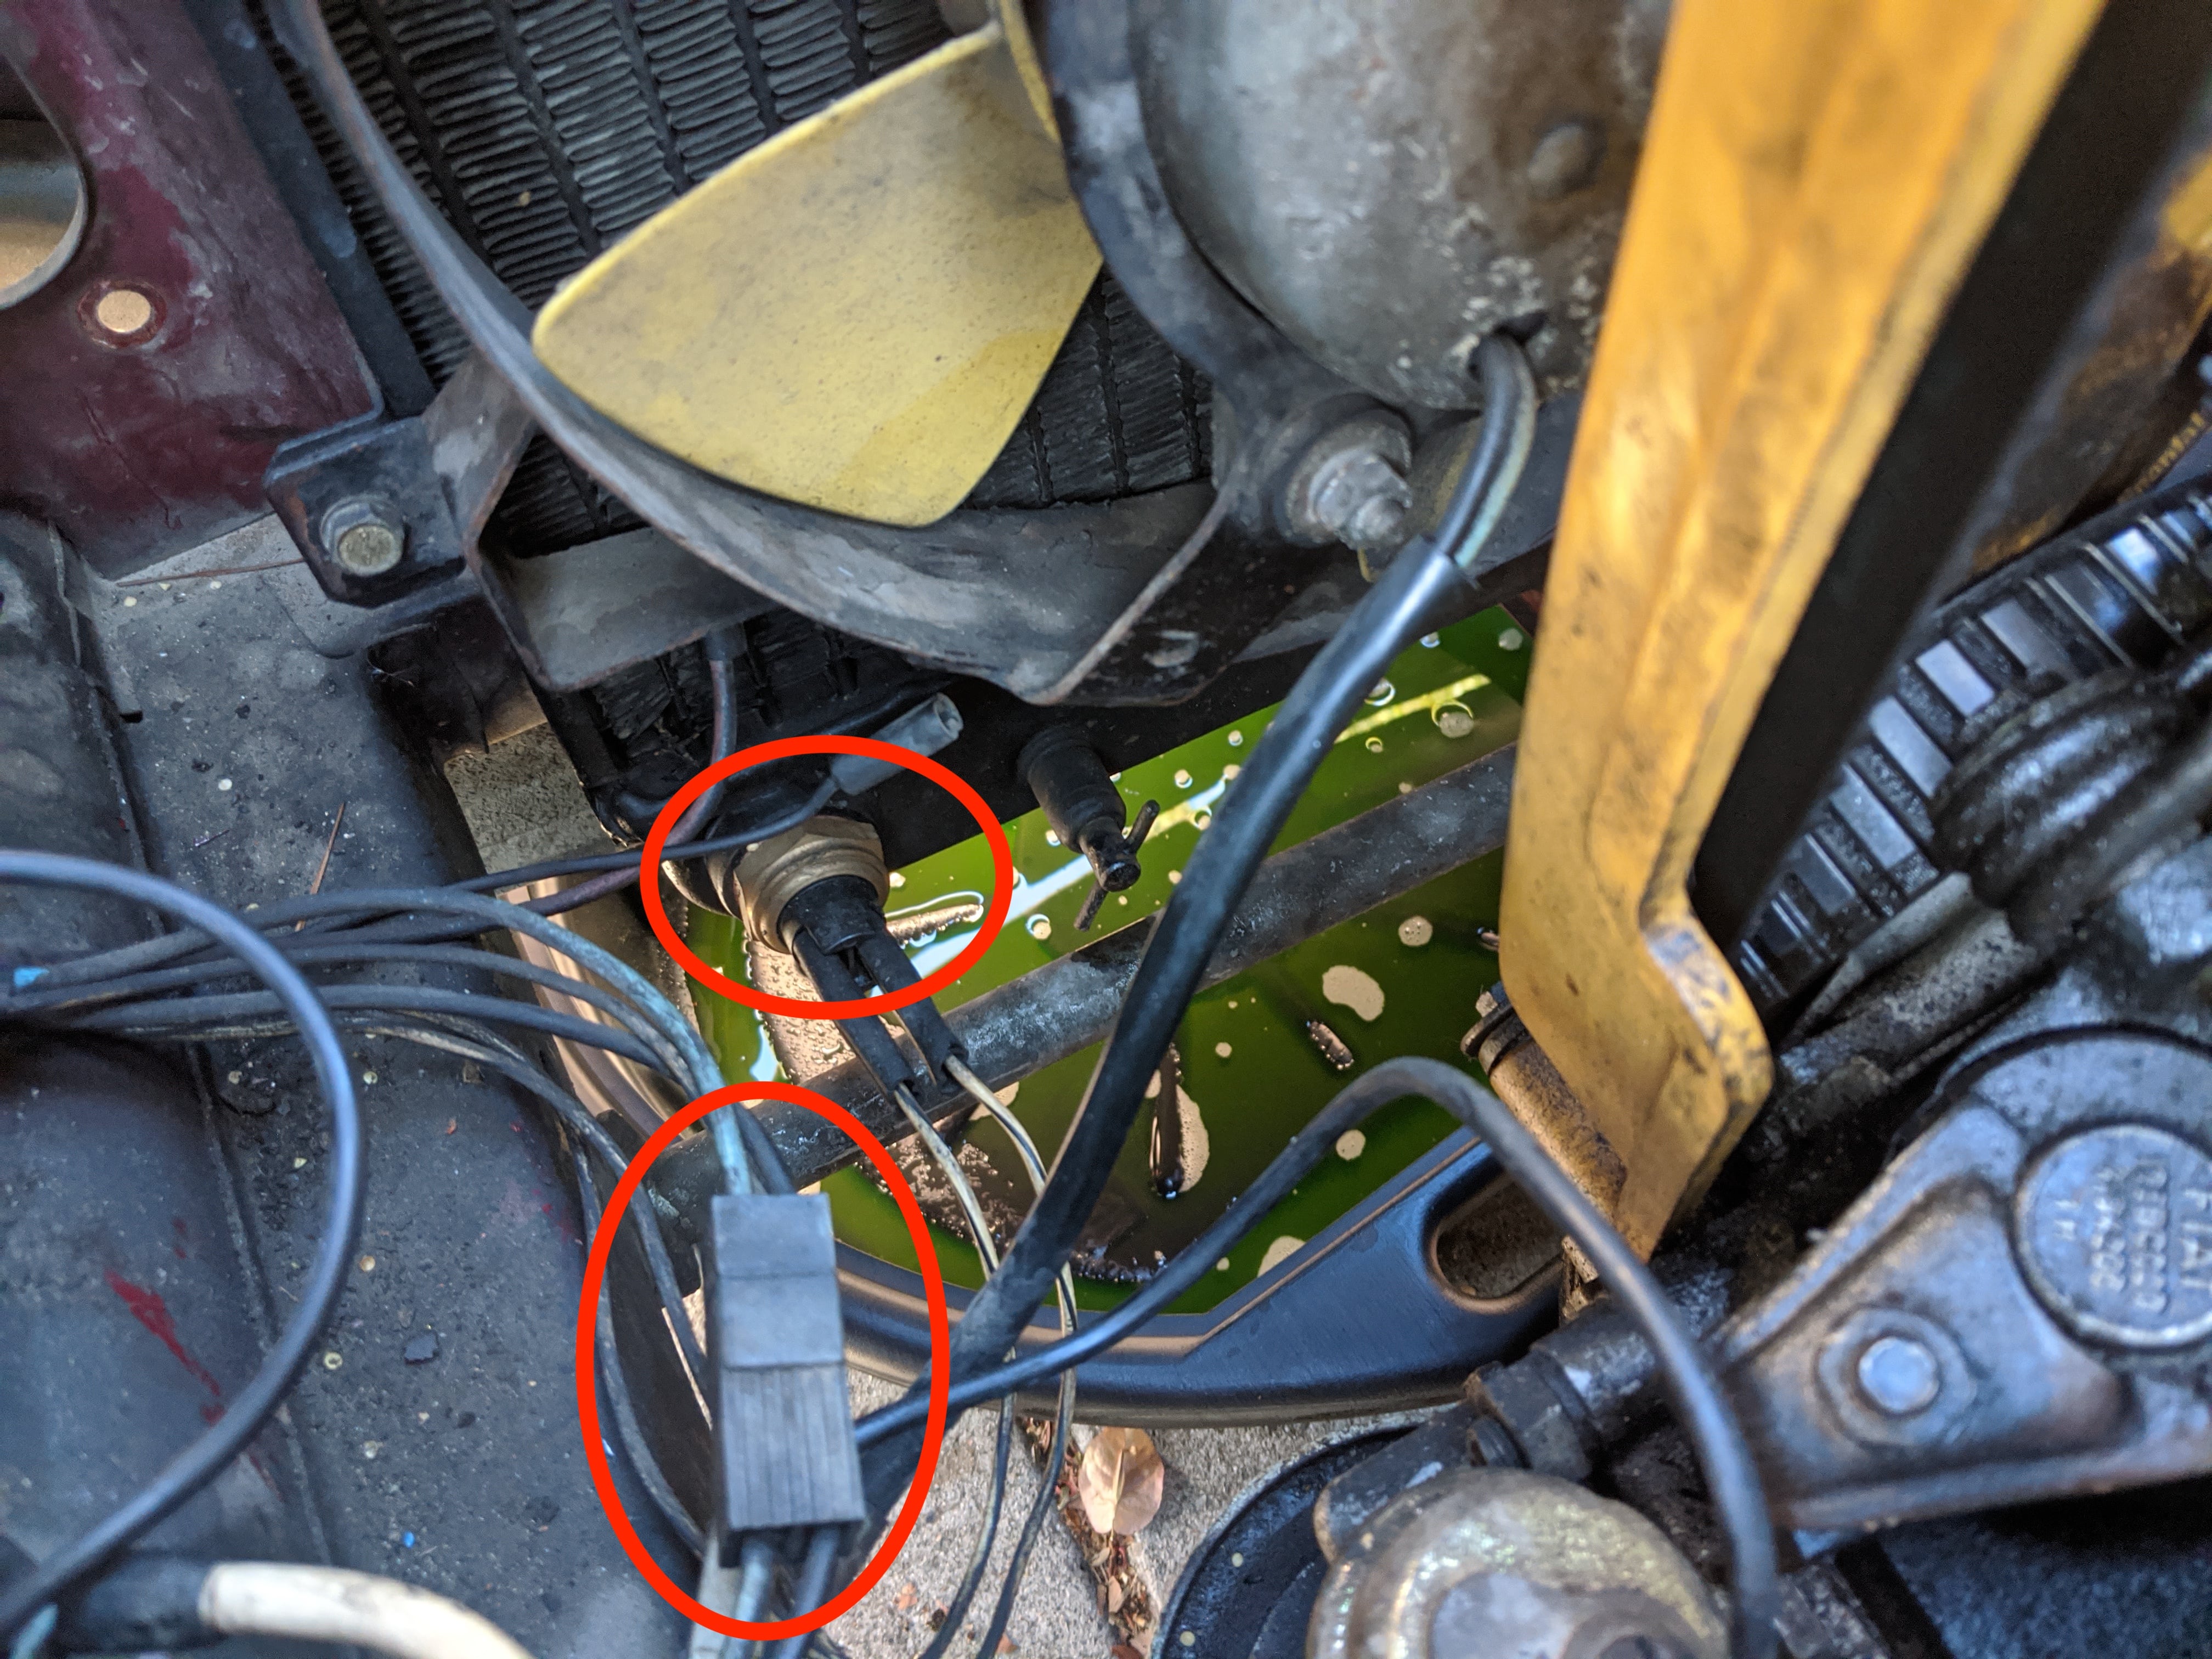
Around here there is also a wire connection that needs to be disconnected. I believe this provides the power to the fan when the brass switch is closed.
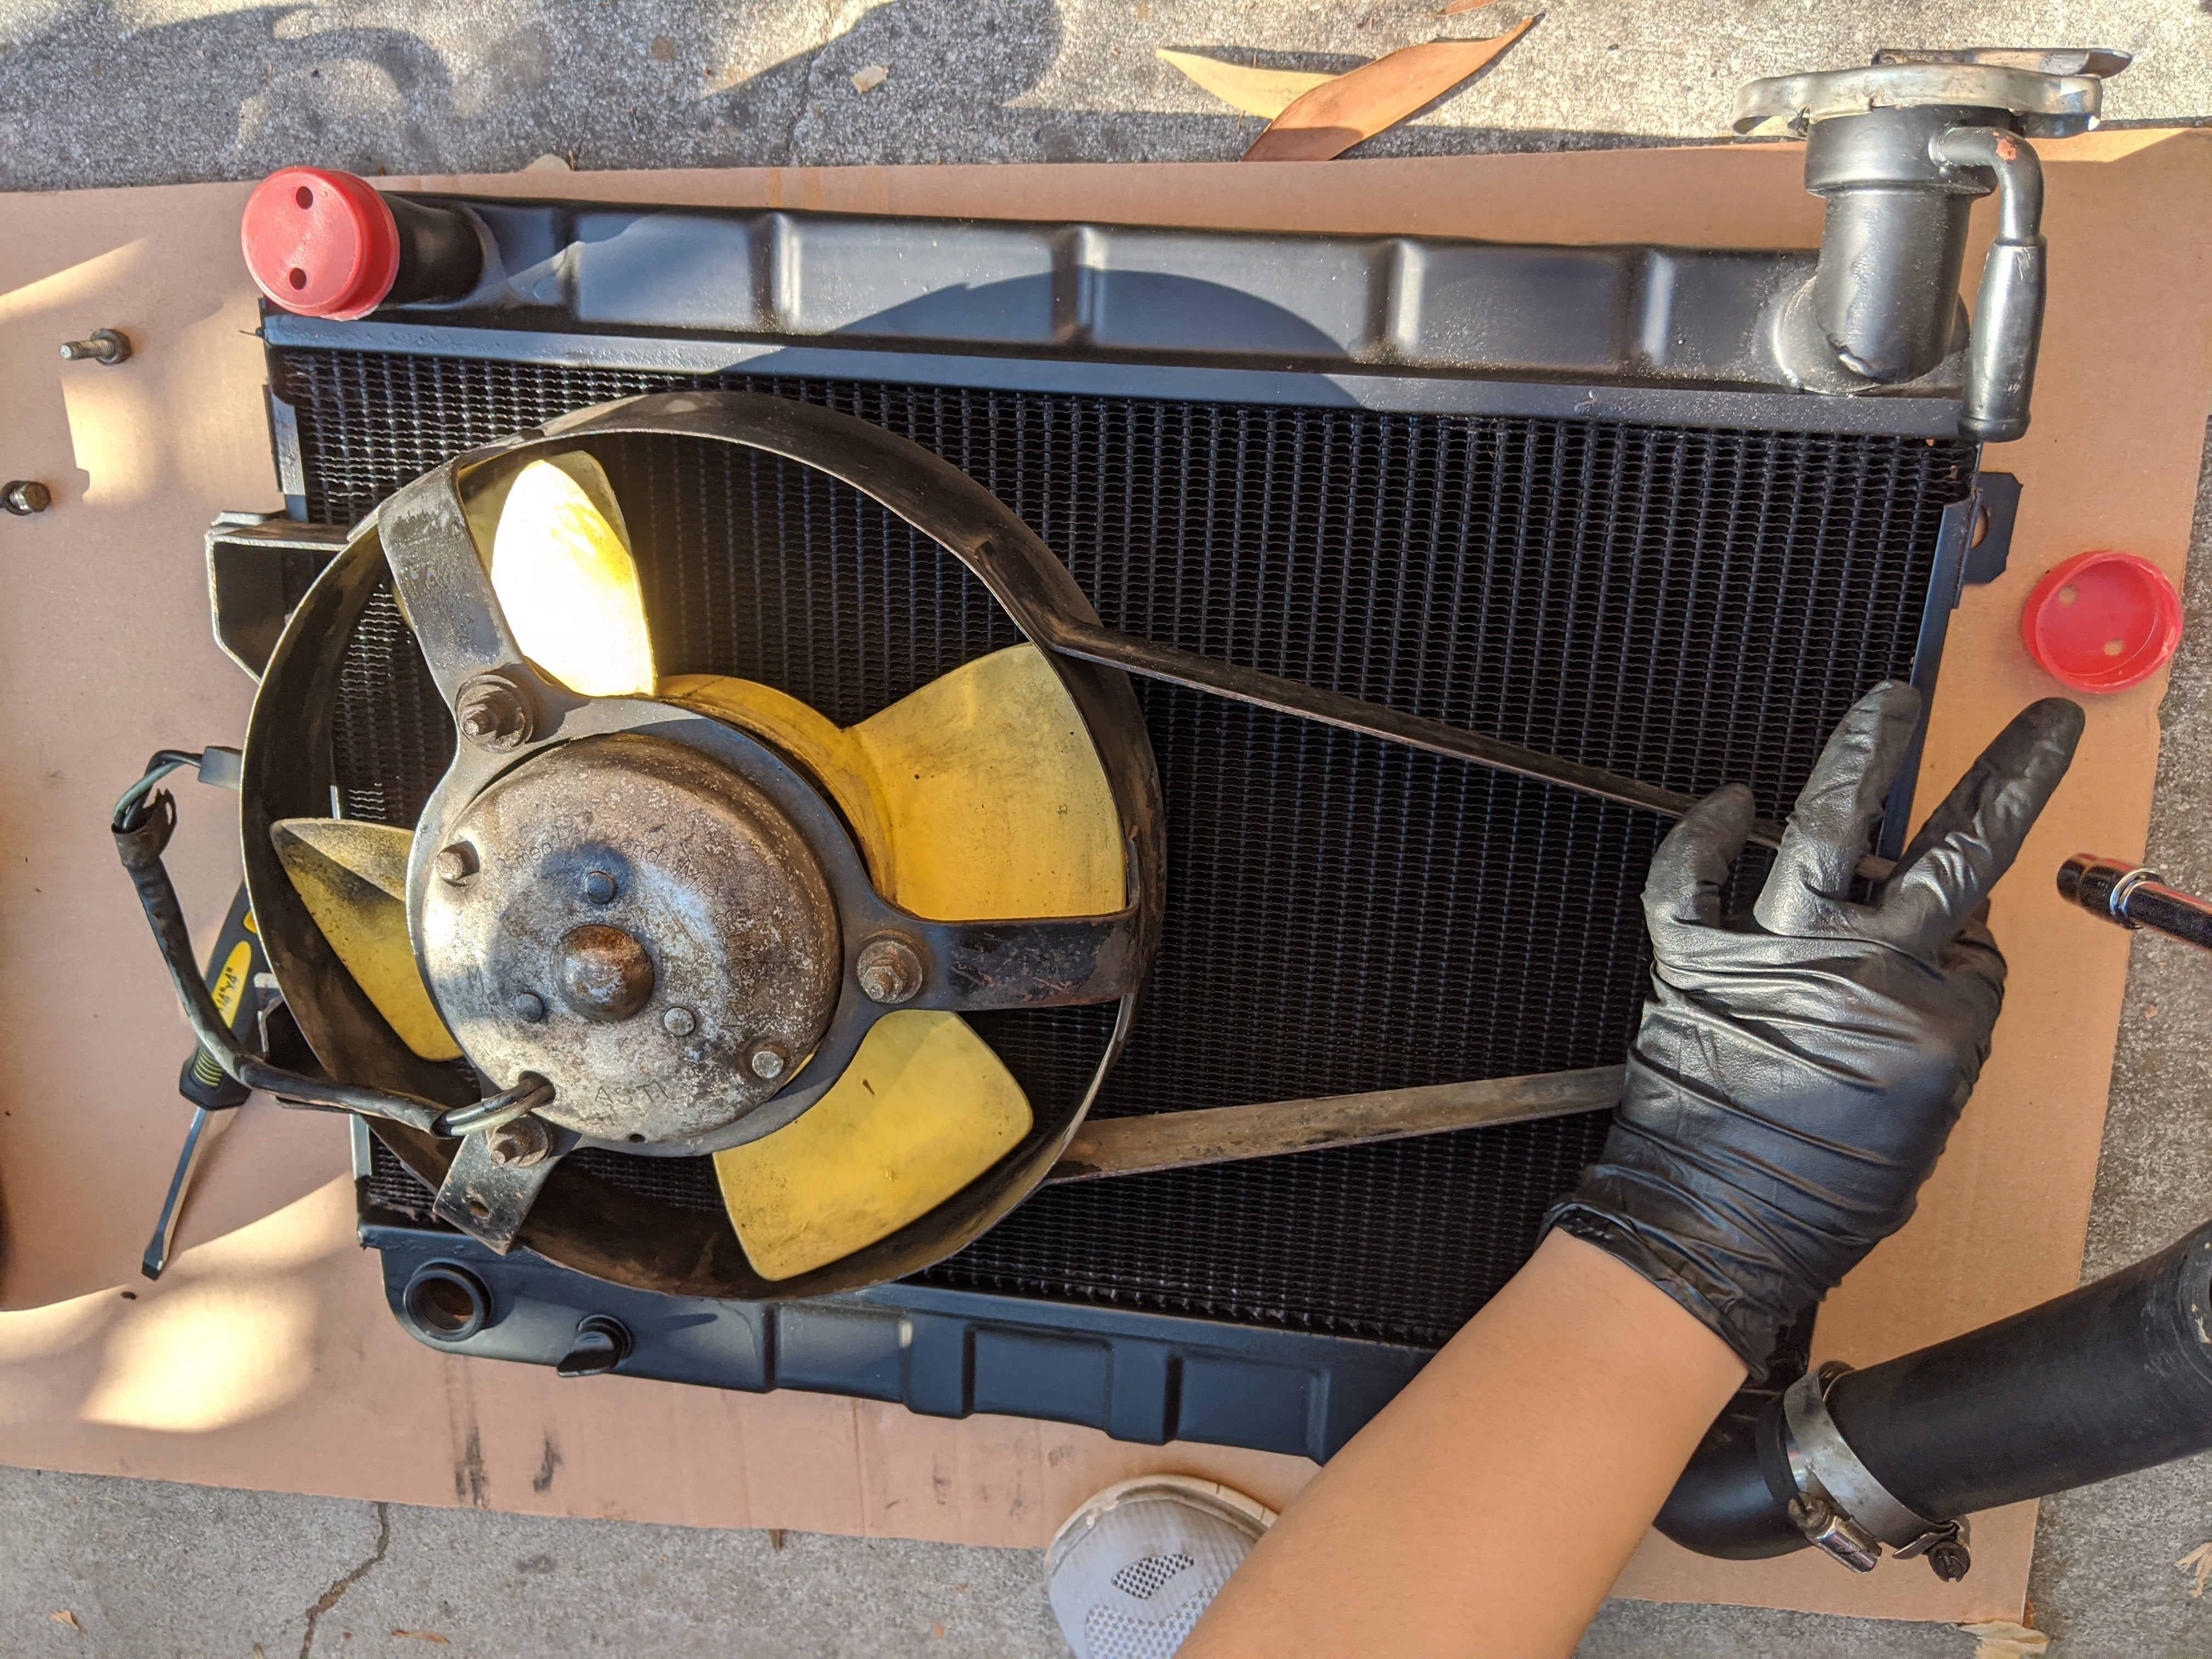
Once everything is disconnected, we can start removing the mounting points for the radiator. There are just two 10mm bolts towards the top corners. Once these are removed the radiator and can fan can be lifted upwards together and out of the engine bay.
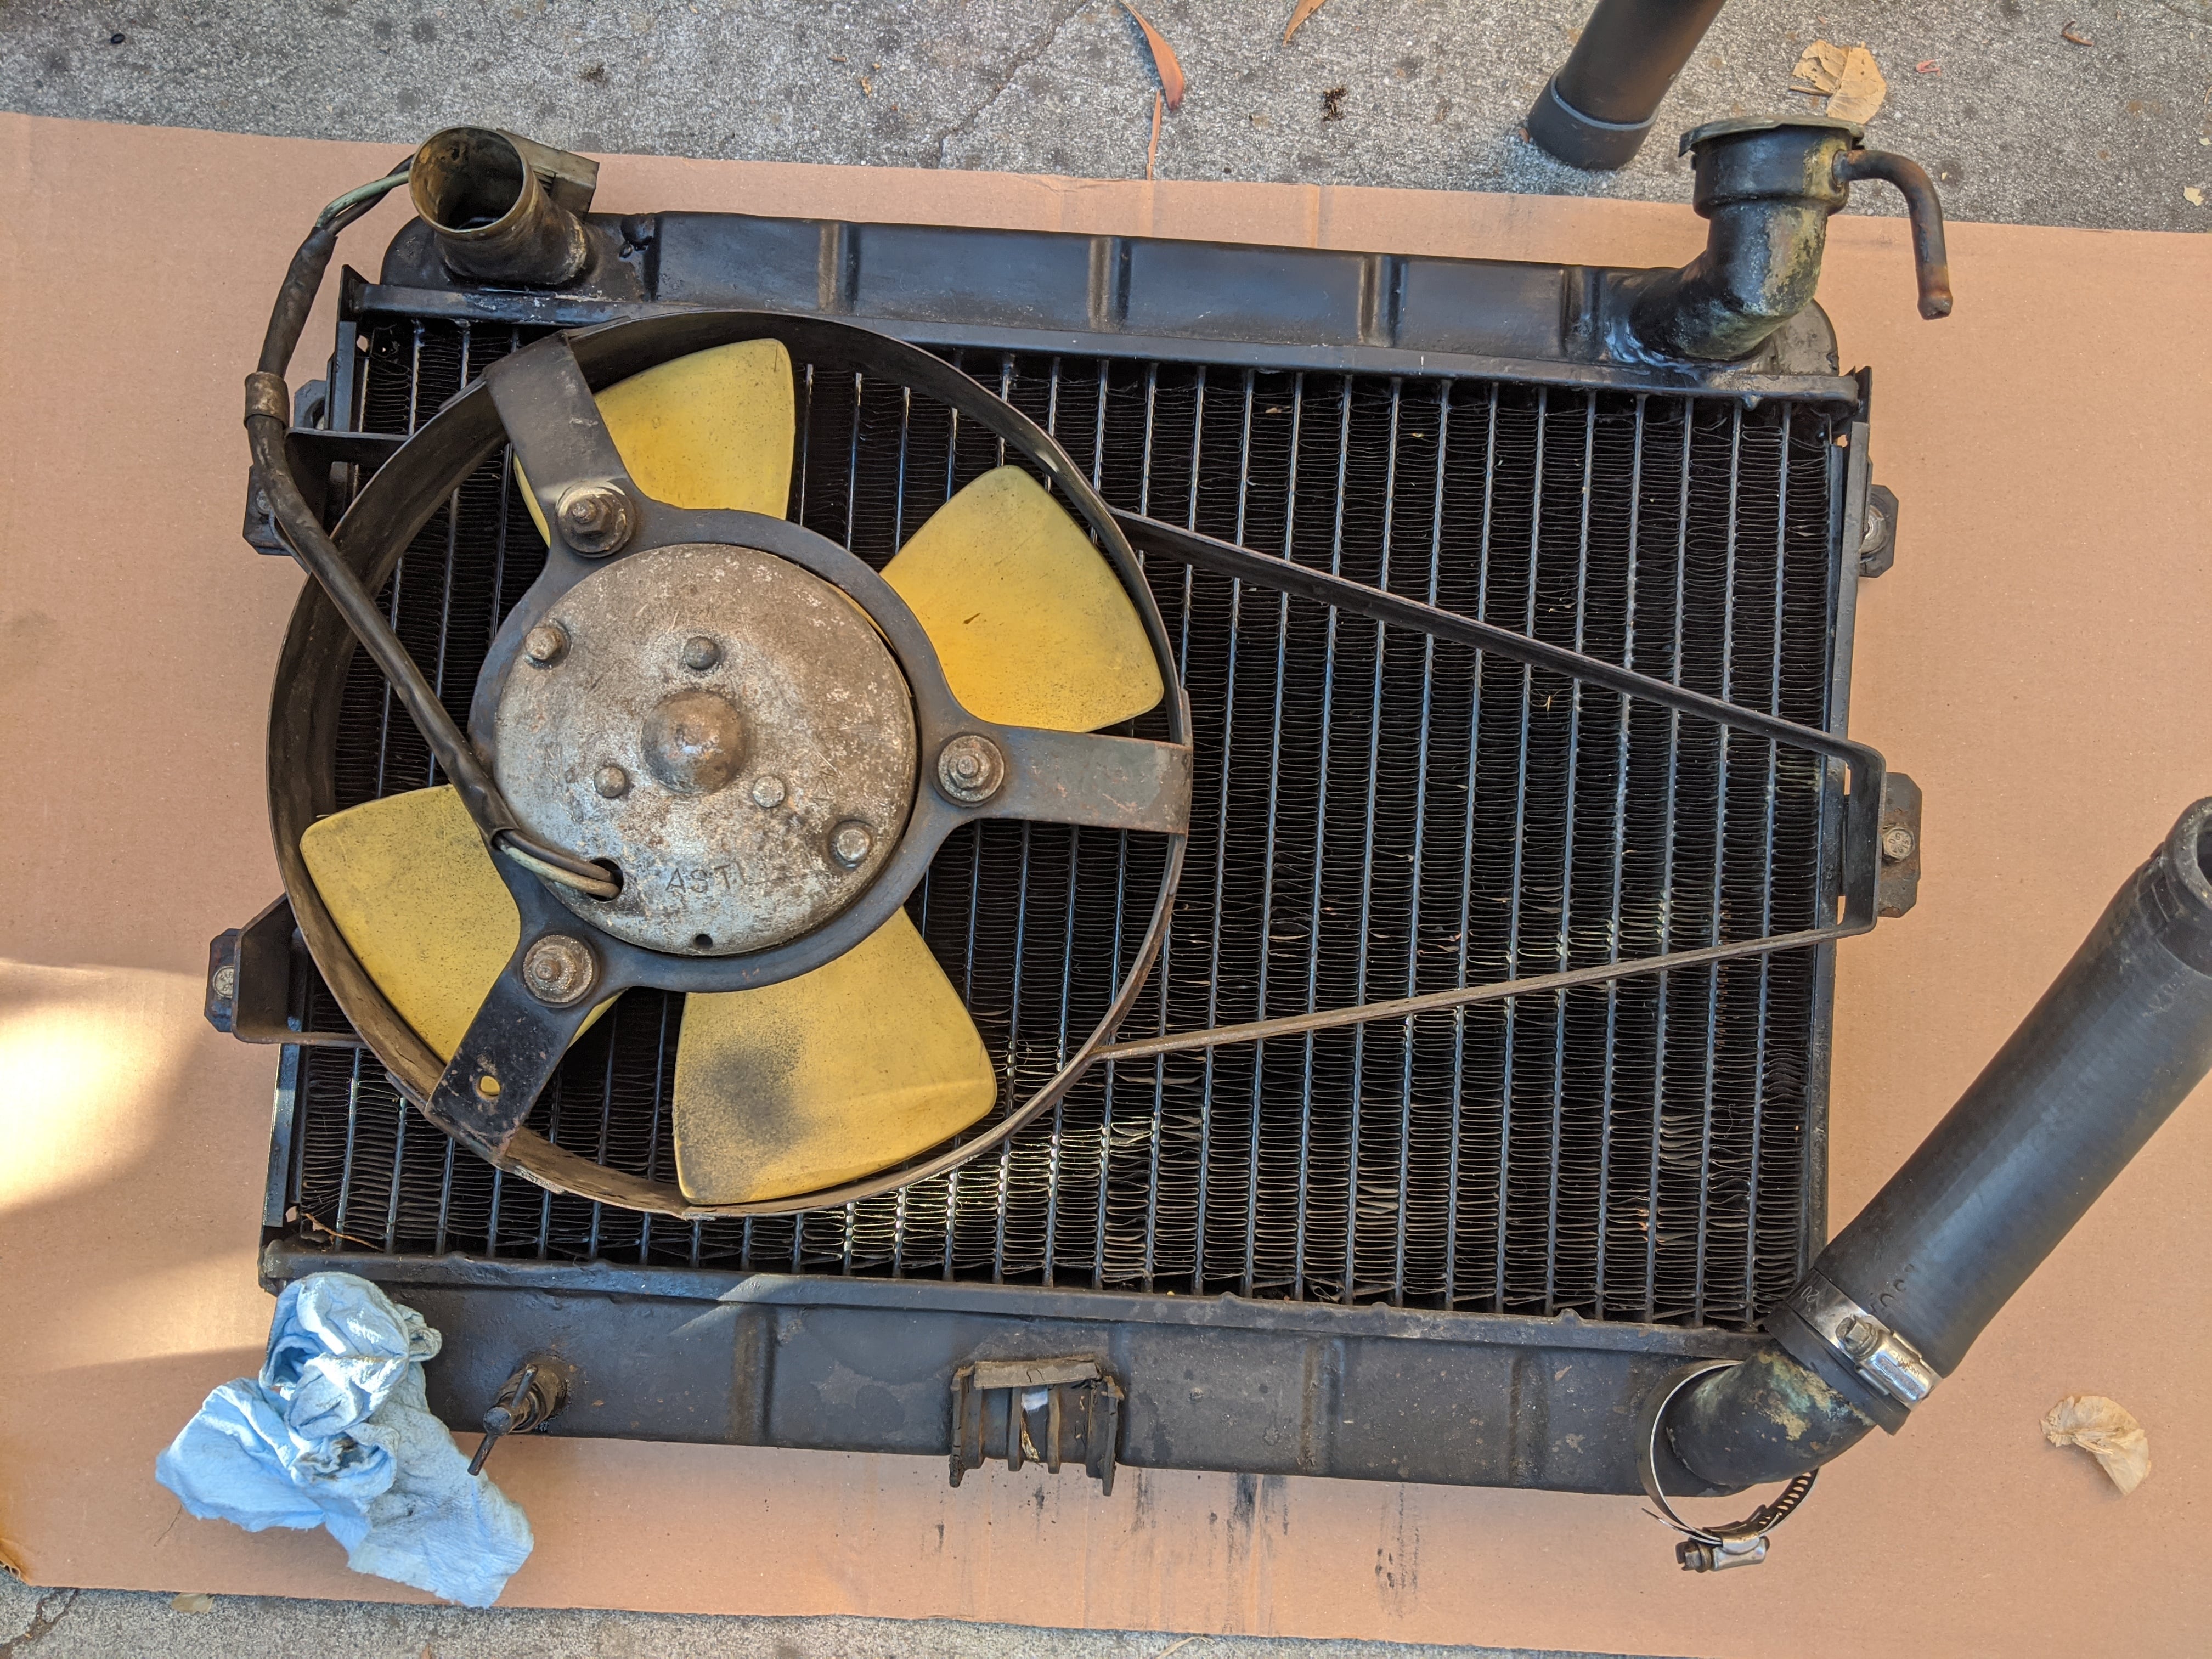
Once the radiator and fan have been removed, the fan should be disconnected from the radiator and migrated over to the new fan. In my case, I didn't have to replace the fan since it was working just fine. There are two bolts on the left side and one bolt on the right that attach the fan. Remove these, and mount the fan on the new radiator using the same mounting points.
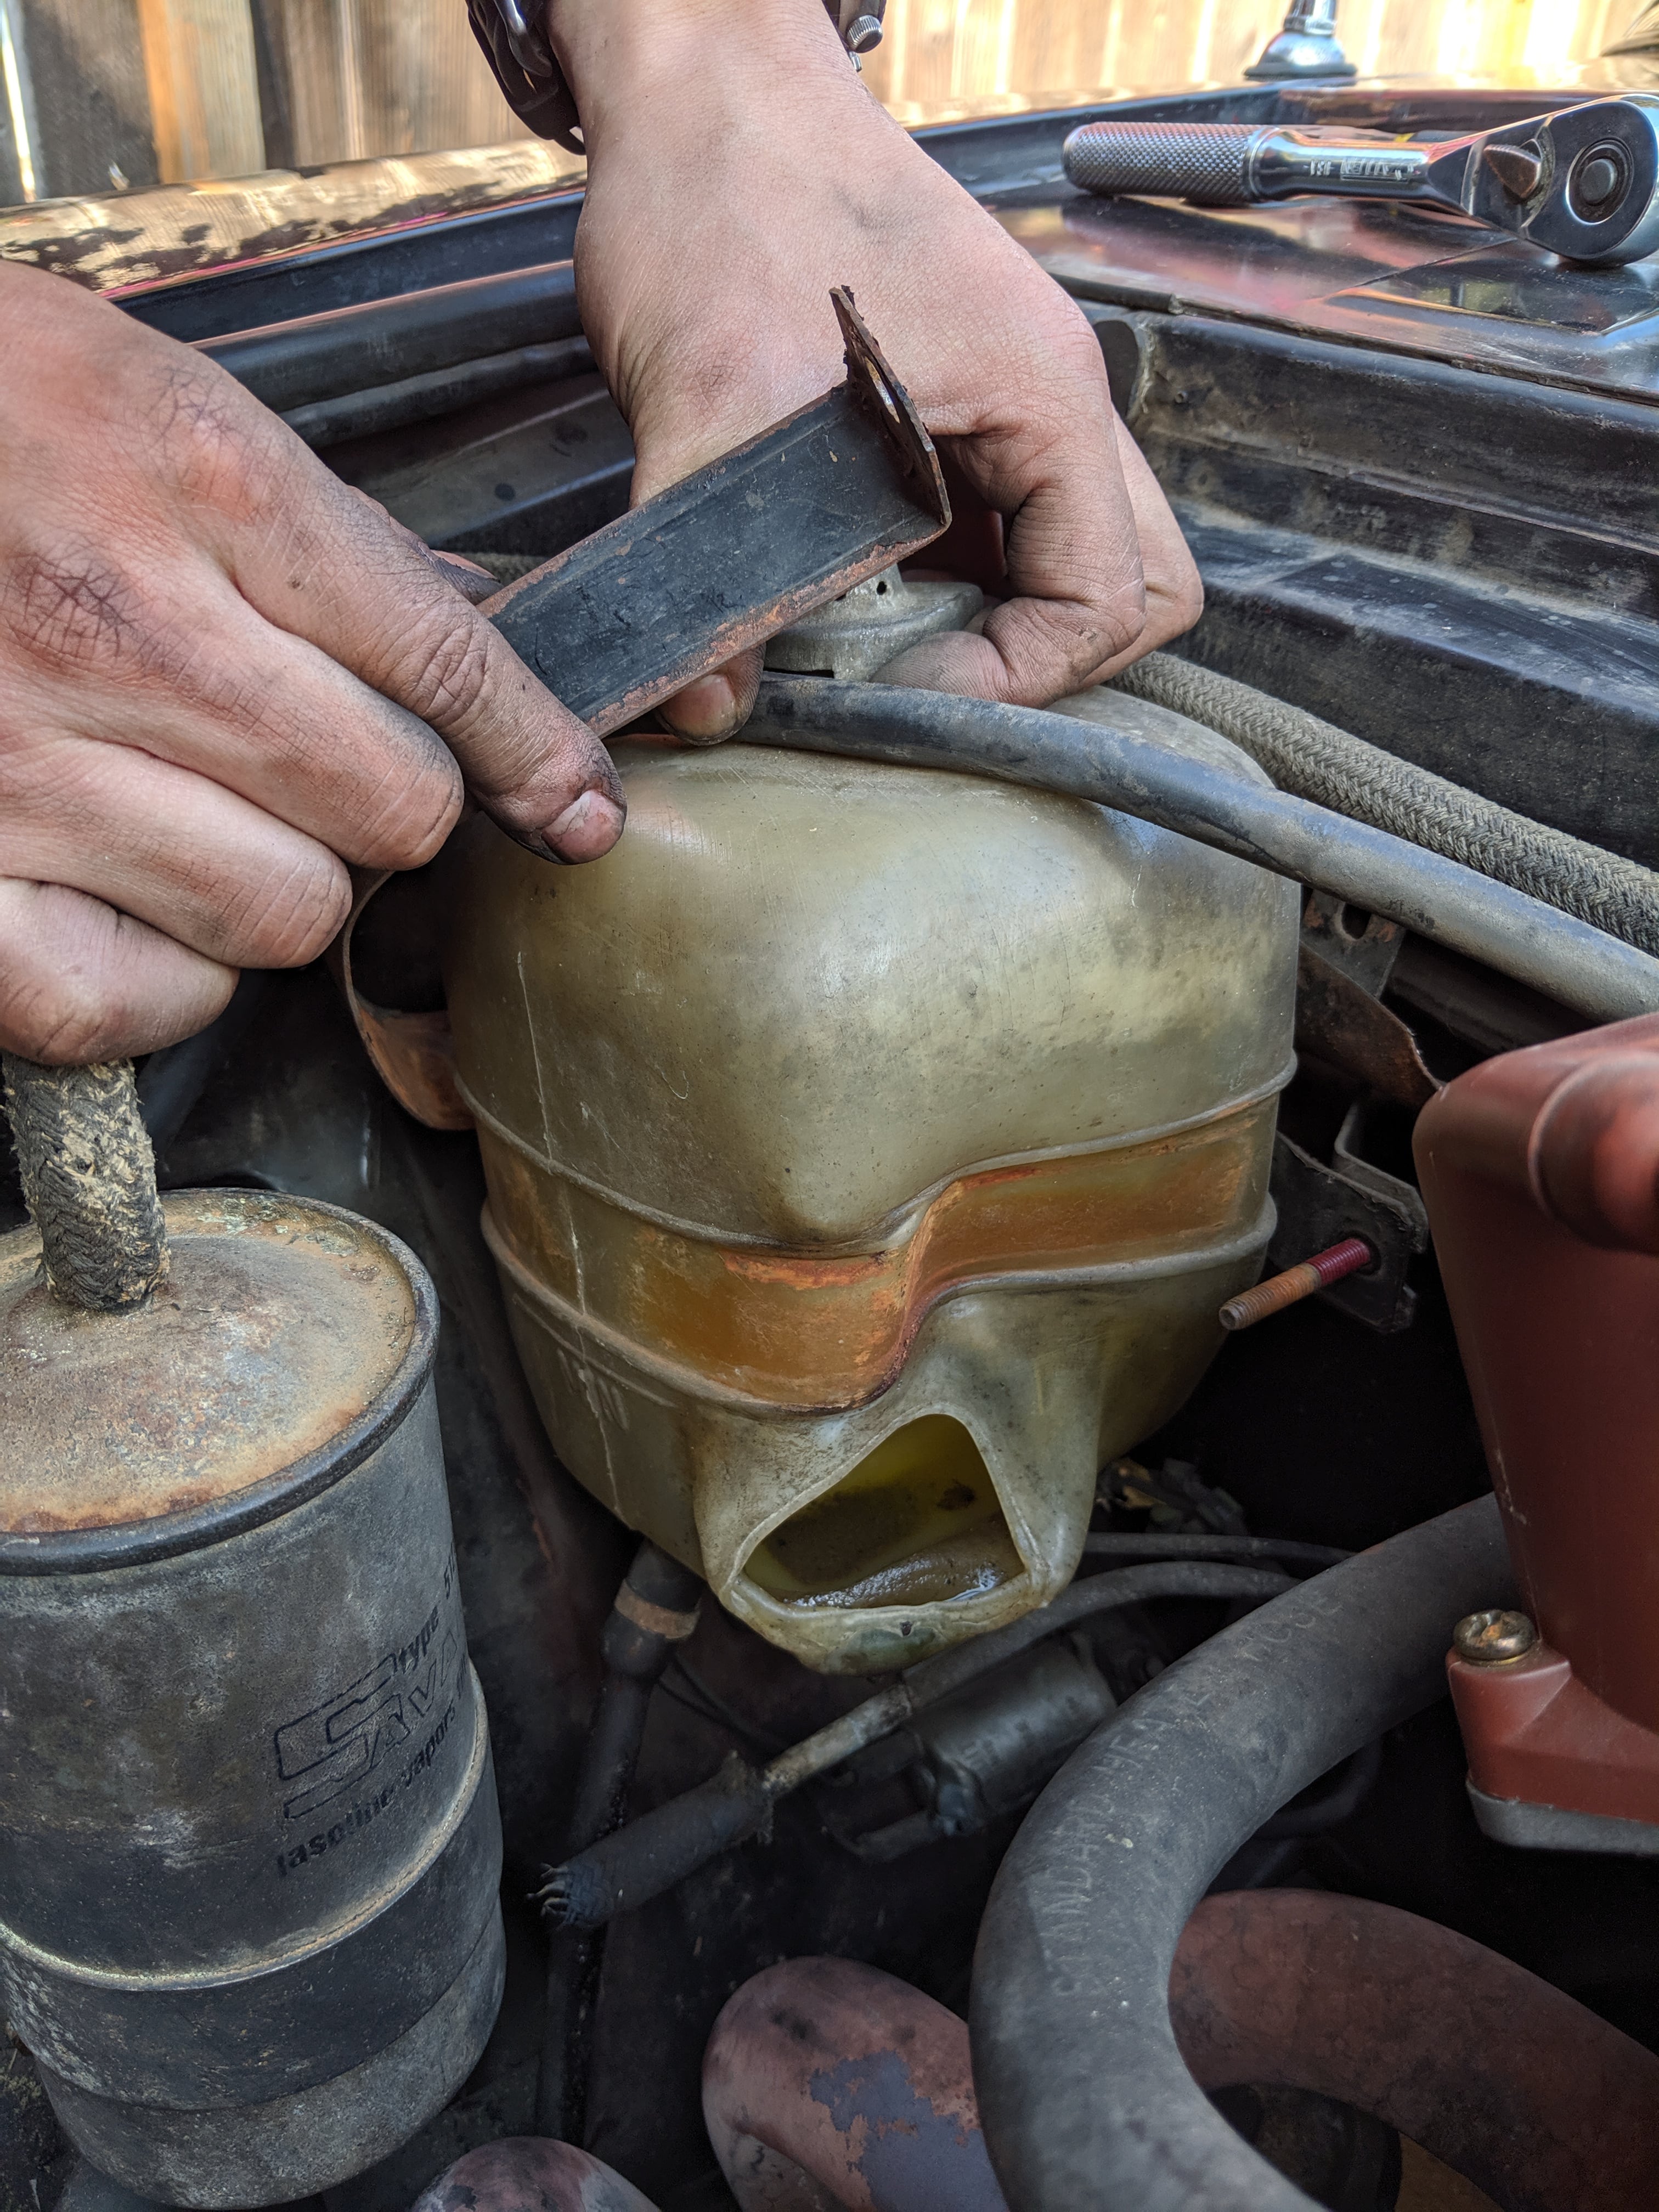
We're almost ready to drop the new radiator in! I first attached the new lower support pad to the mounting brack in the car and also inserted the new mounting grommets into the mounting points on the radiator. The lower support pad that I had purchased raised the radiator up a little bit too high to be able to mount it properly, so I had to trim off some of the height with a knife.

We can now carefully place the radiator and fan can be carefully in and have it seated on the mounting bracket with the new support pad. Even after trimming the support pad, the top mounting points were pretty tight, but then will help ensure that the radiator doesn't move around when driving.
We could then reattach all the hoses and disconnected wires to the radiator. Before this, I had tested the thermostat, so I didn't have to worry about that now. With all the hoses and plugs plugged in, I removed the old, melted overflow tank and replaced it with the new one. For this, I managed to use the same overflow tank hose, but had to use an adapter to get it attached on the radiator side. I'll try to remember to add a picture of this later.
Once that was all in place, I could fill the cooling system back up. I just used distilled water because I was planning on changing the timing belt sometime afterwards and didn't want to have to deal with coolant again.
I filled the system, and started up the car to see if it was working as expected.
It was not.
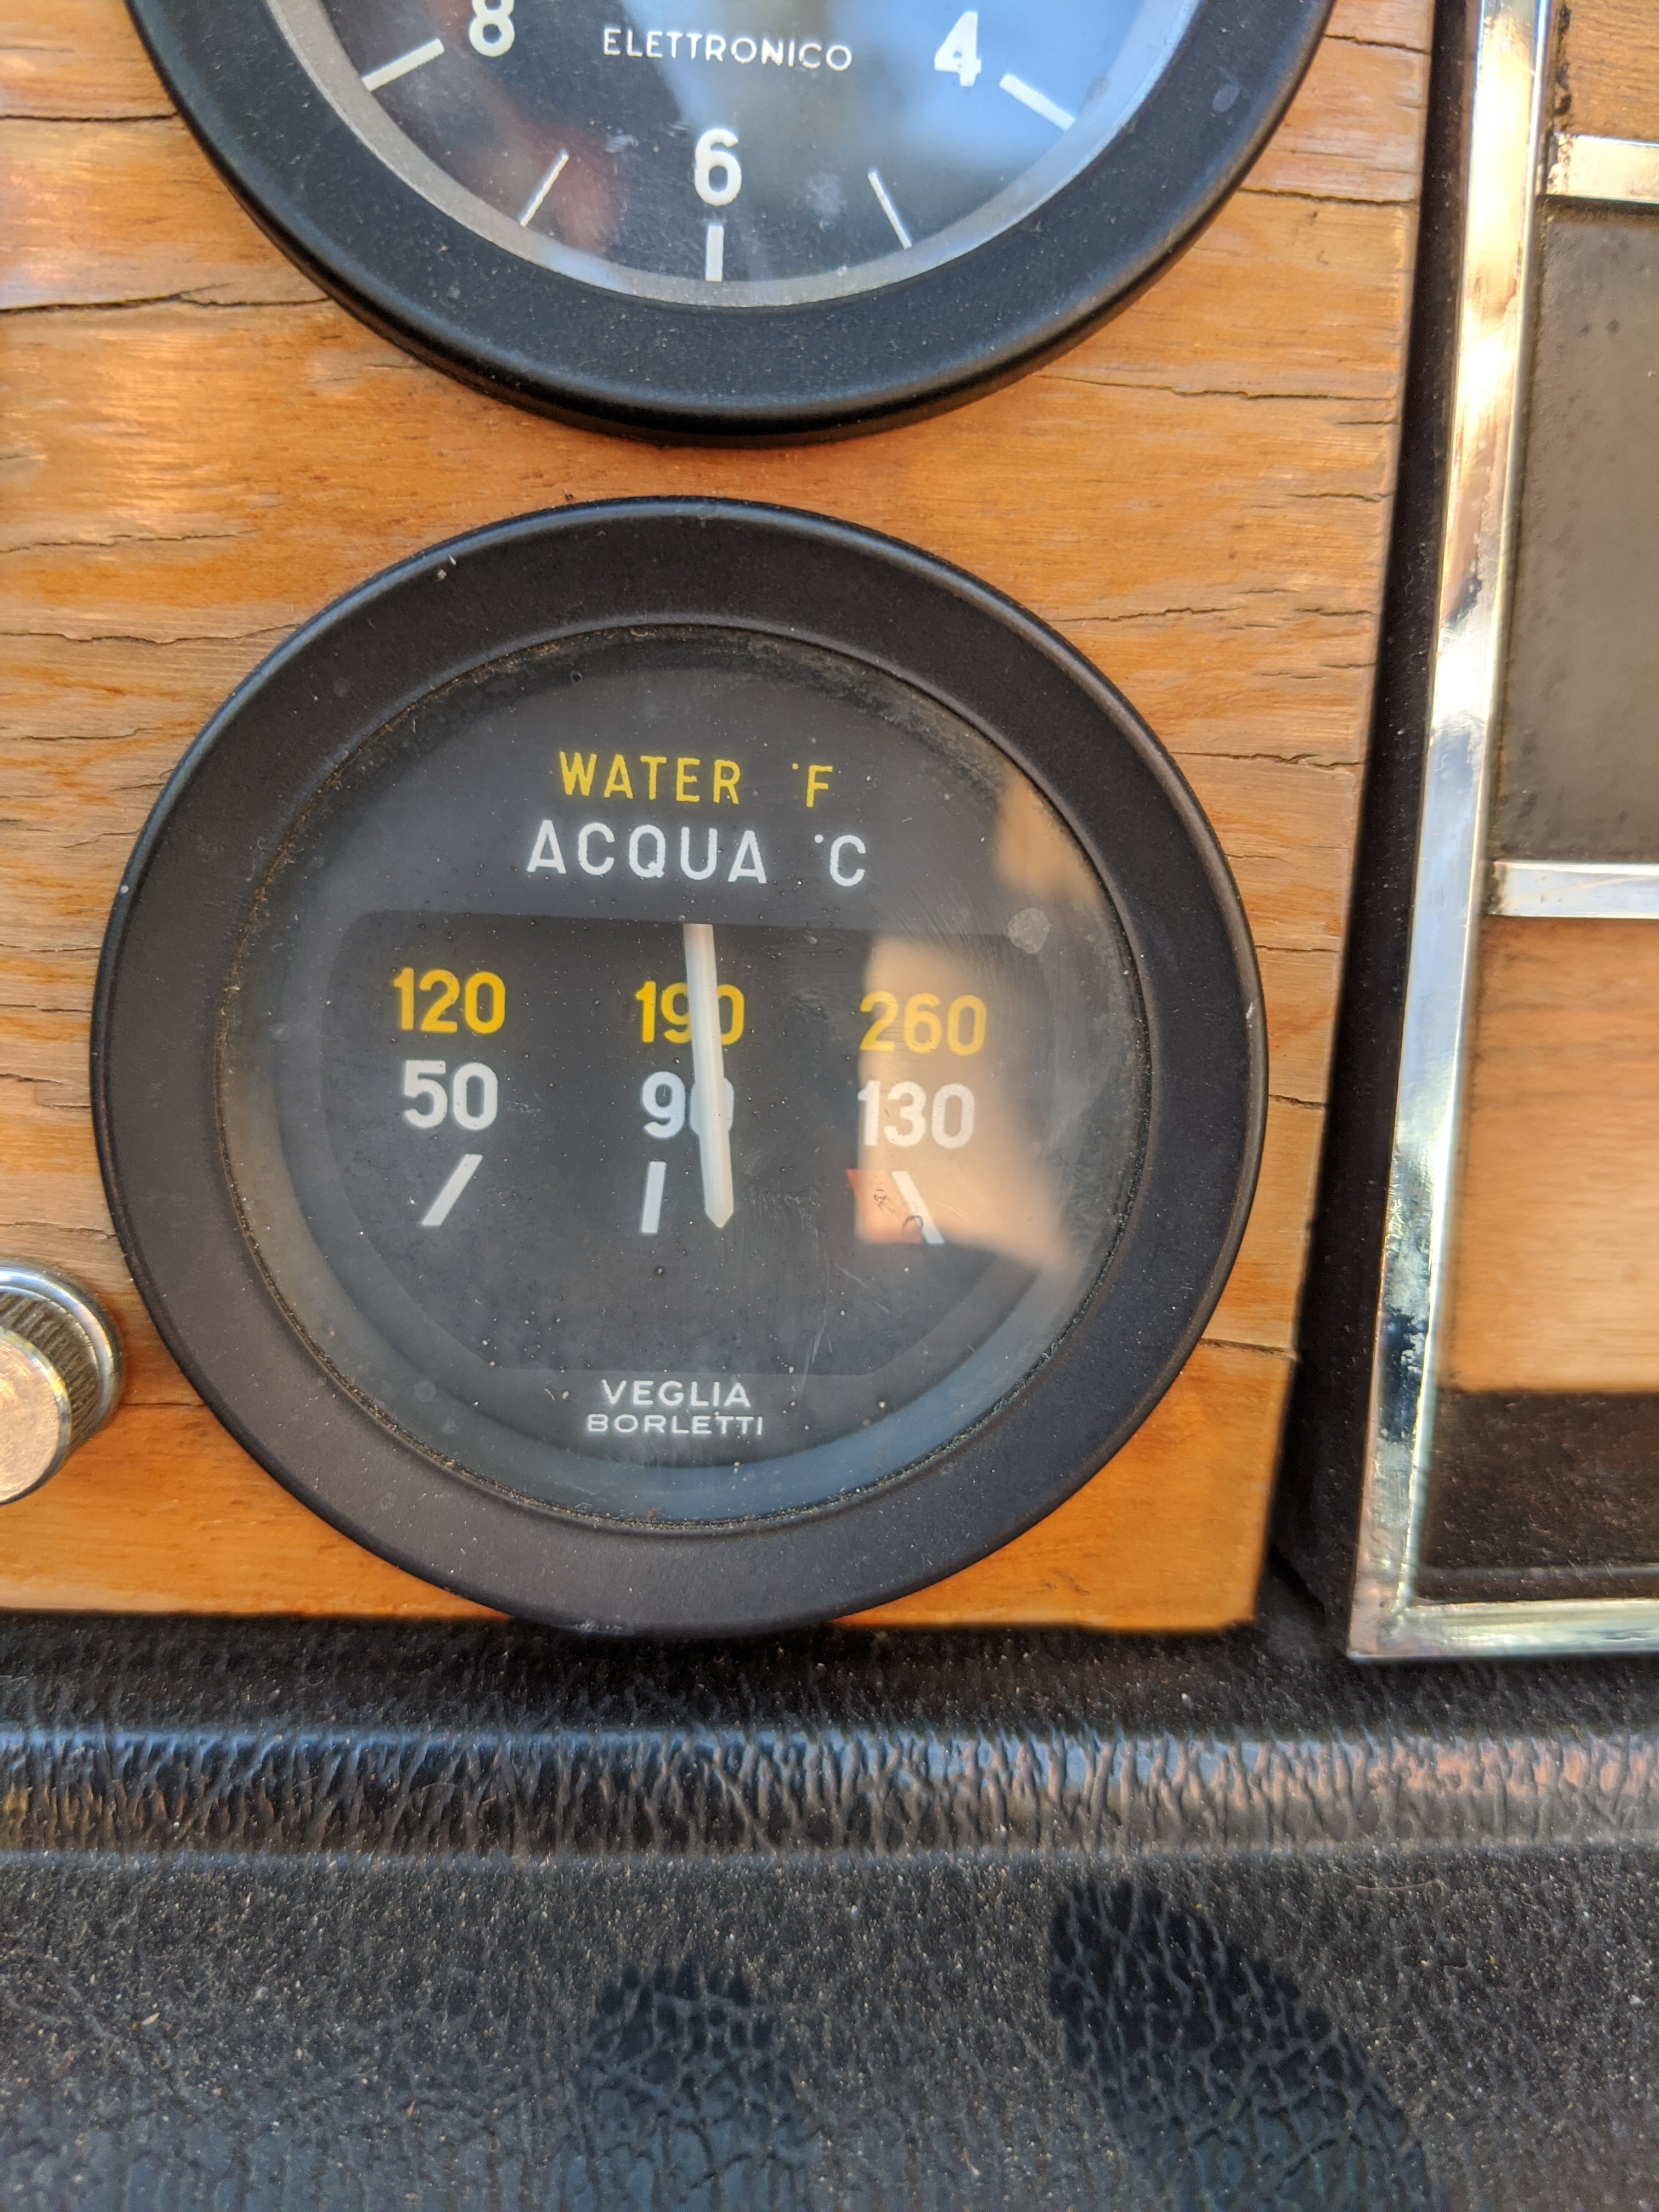
When I started seeing the pin in the temperature gauge going higher than normal operating temperature, I expected to see the fan turn on, but it didn't. This made me quite nervous. I let it run for a little while longer before killing it to investigate.
With a little bit of investigating, I found the problem. The wires that connected the brass temperature switch to the radiator had broken! This was hidden before because there was a sleeve that fit over the switch connections that was holding it in place.
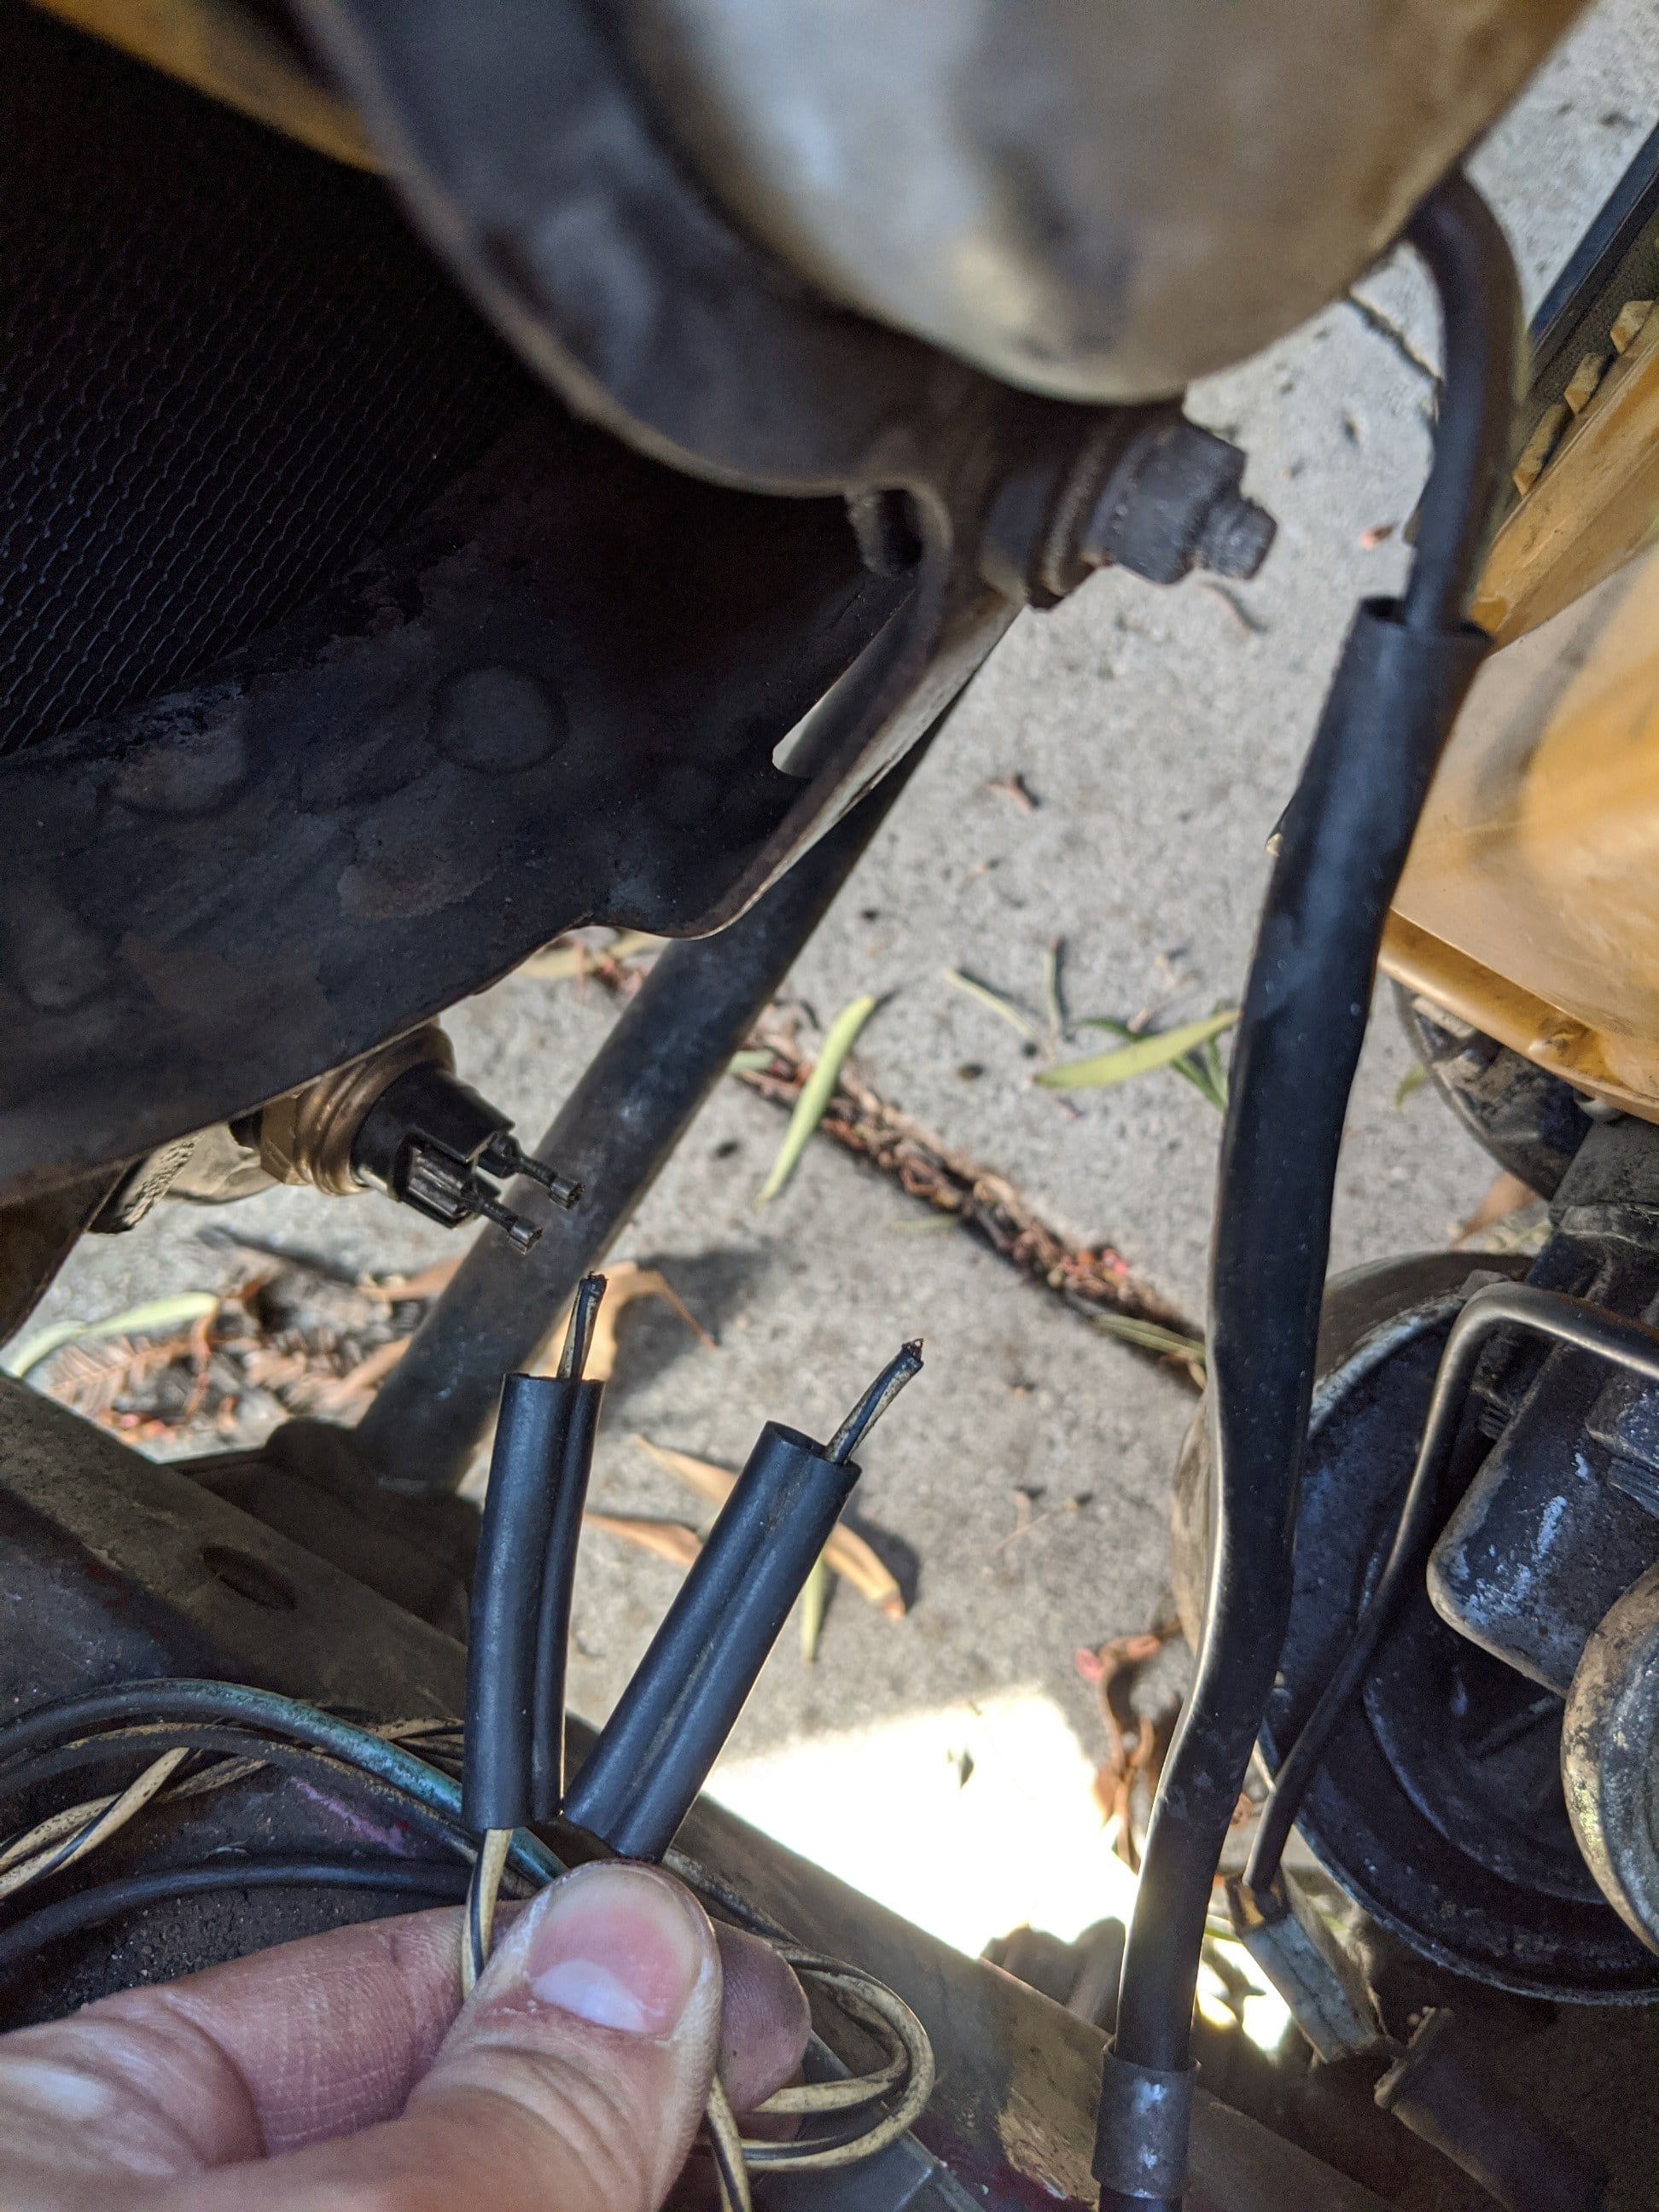
Fortunately, this was an easy problem to solve. All I had to do was strip the wires a bit, open the connector, and get a good part of the wire in there. After getting this back in place, I started the car back up to test the fix.
This time, the fan turned on as expected! The temperature gauge pin stayed right in the middle and everything seemed to be working normally!
This ended up being a great first project and introduction to working on the car! Everything was pretty straightforward and I didn't come across any problems that I wasn't able to solve.
Still interested? Go back to the Project Car page and check out how other things work!